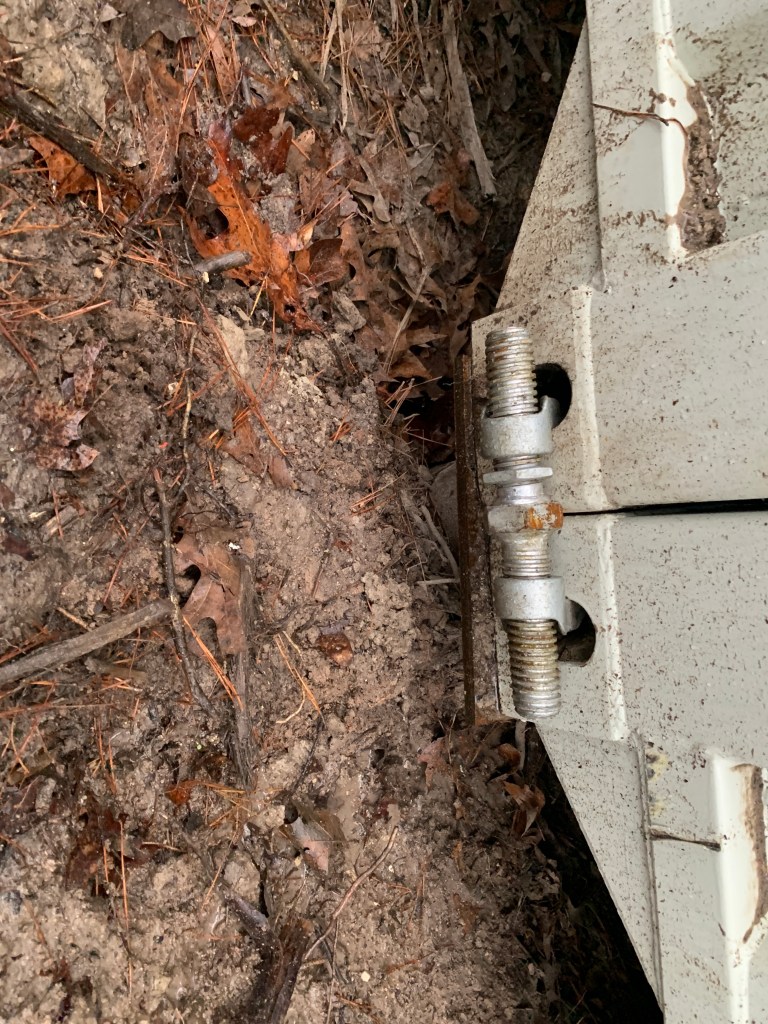
The weather was pretty poor the week after the containers were set. Fortunately I was able to get the bridge clamps installed, even in the rain. These add to the structural integrity of the project. Clamps like these are what keeps the containers from toppling when the ships have run aground carrying these stacked 8 high. In the highly unlikely event of a pier failure, the clamps would keep the structure attached to itself. Lots of people weld the containers together and I did that too on my Houston house. But the structural engineer specified these as the primary method for securing them to each other because if it is good enough when the containers are fully loaded and stacked 8 tall, it is good enough for a two story house.

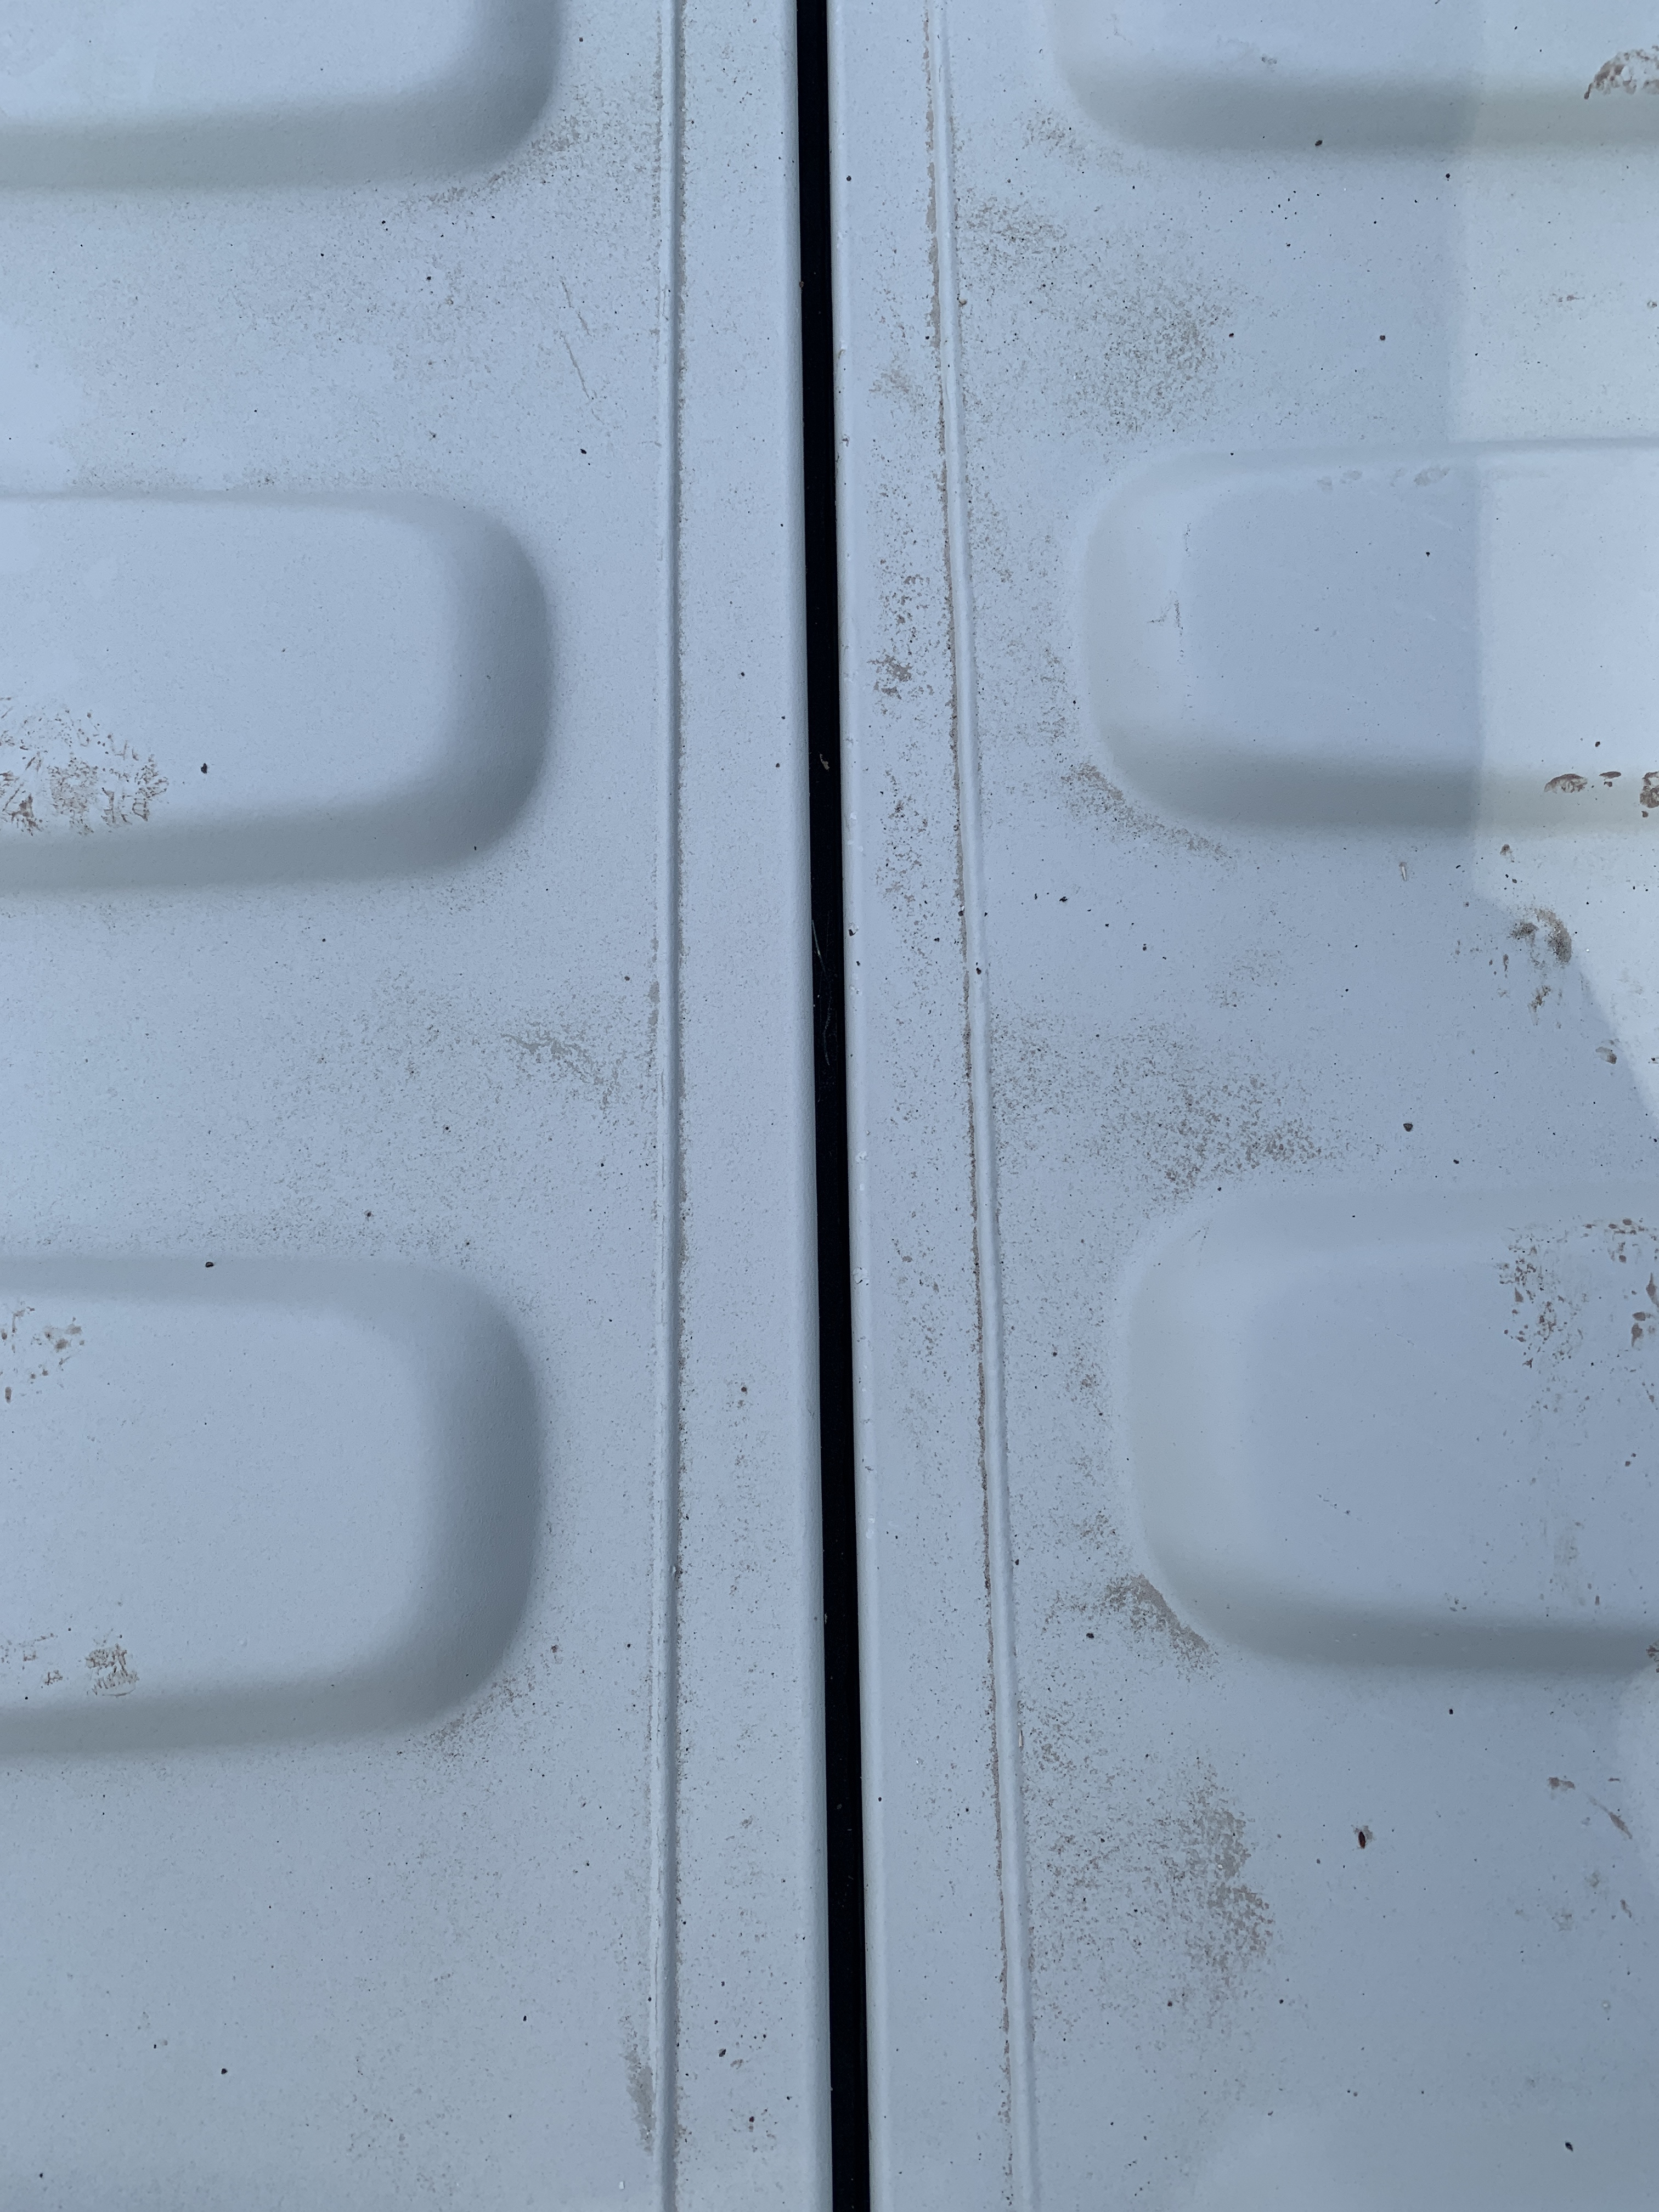
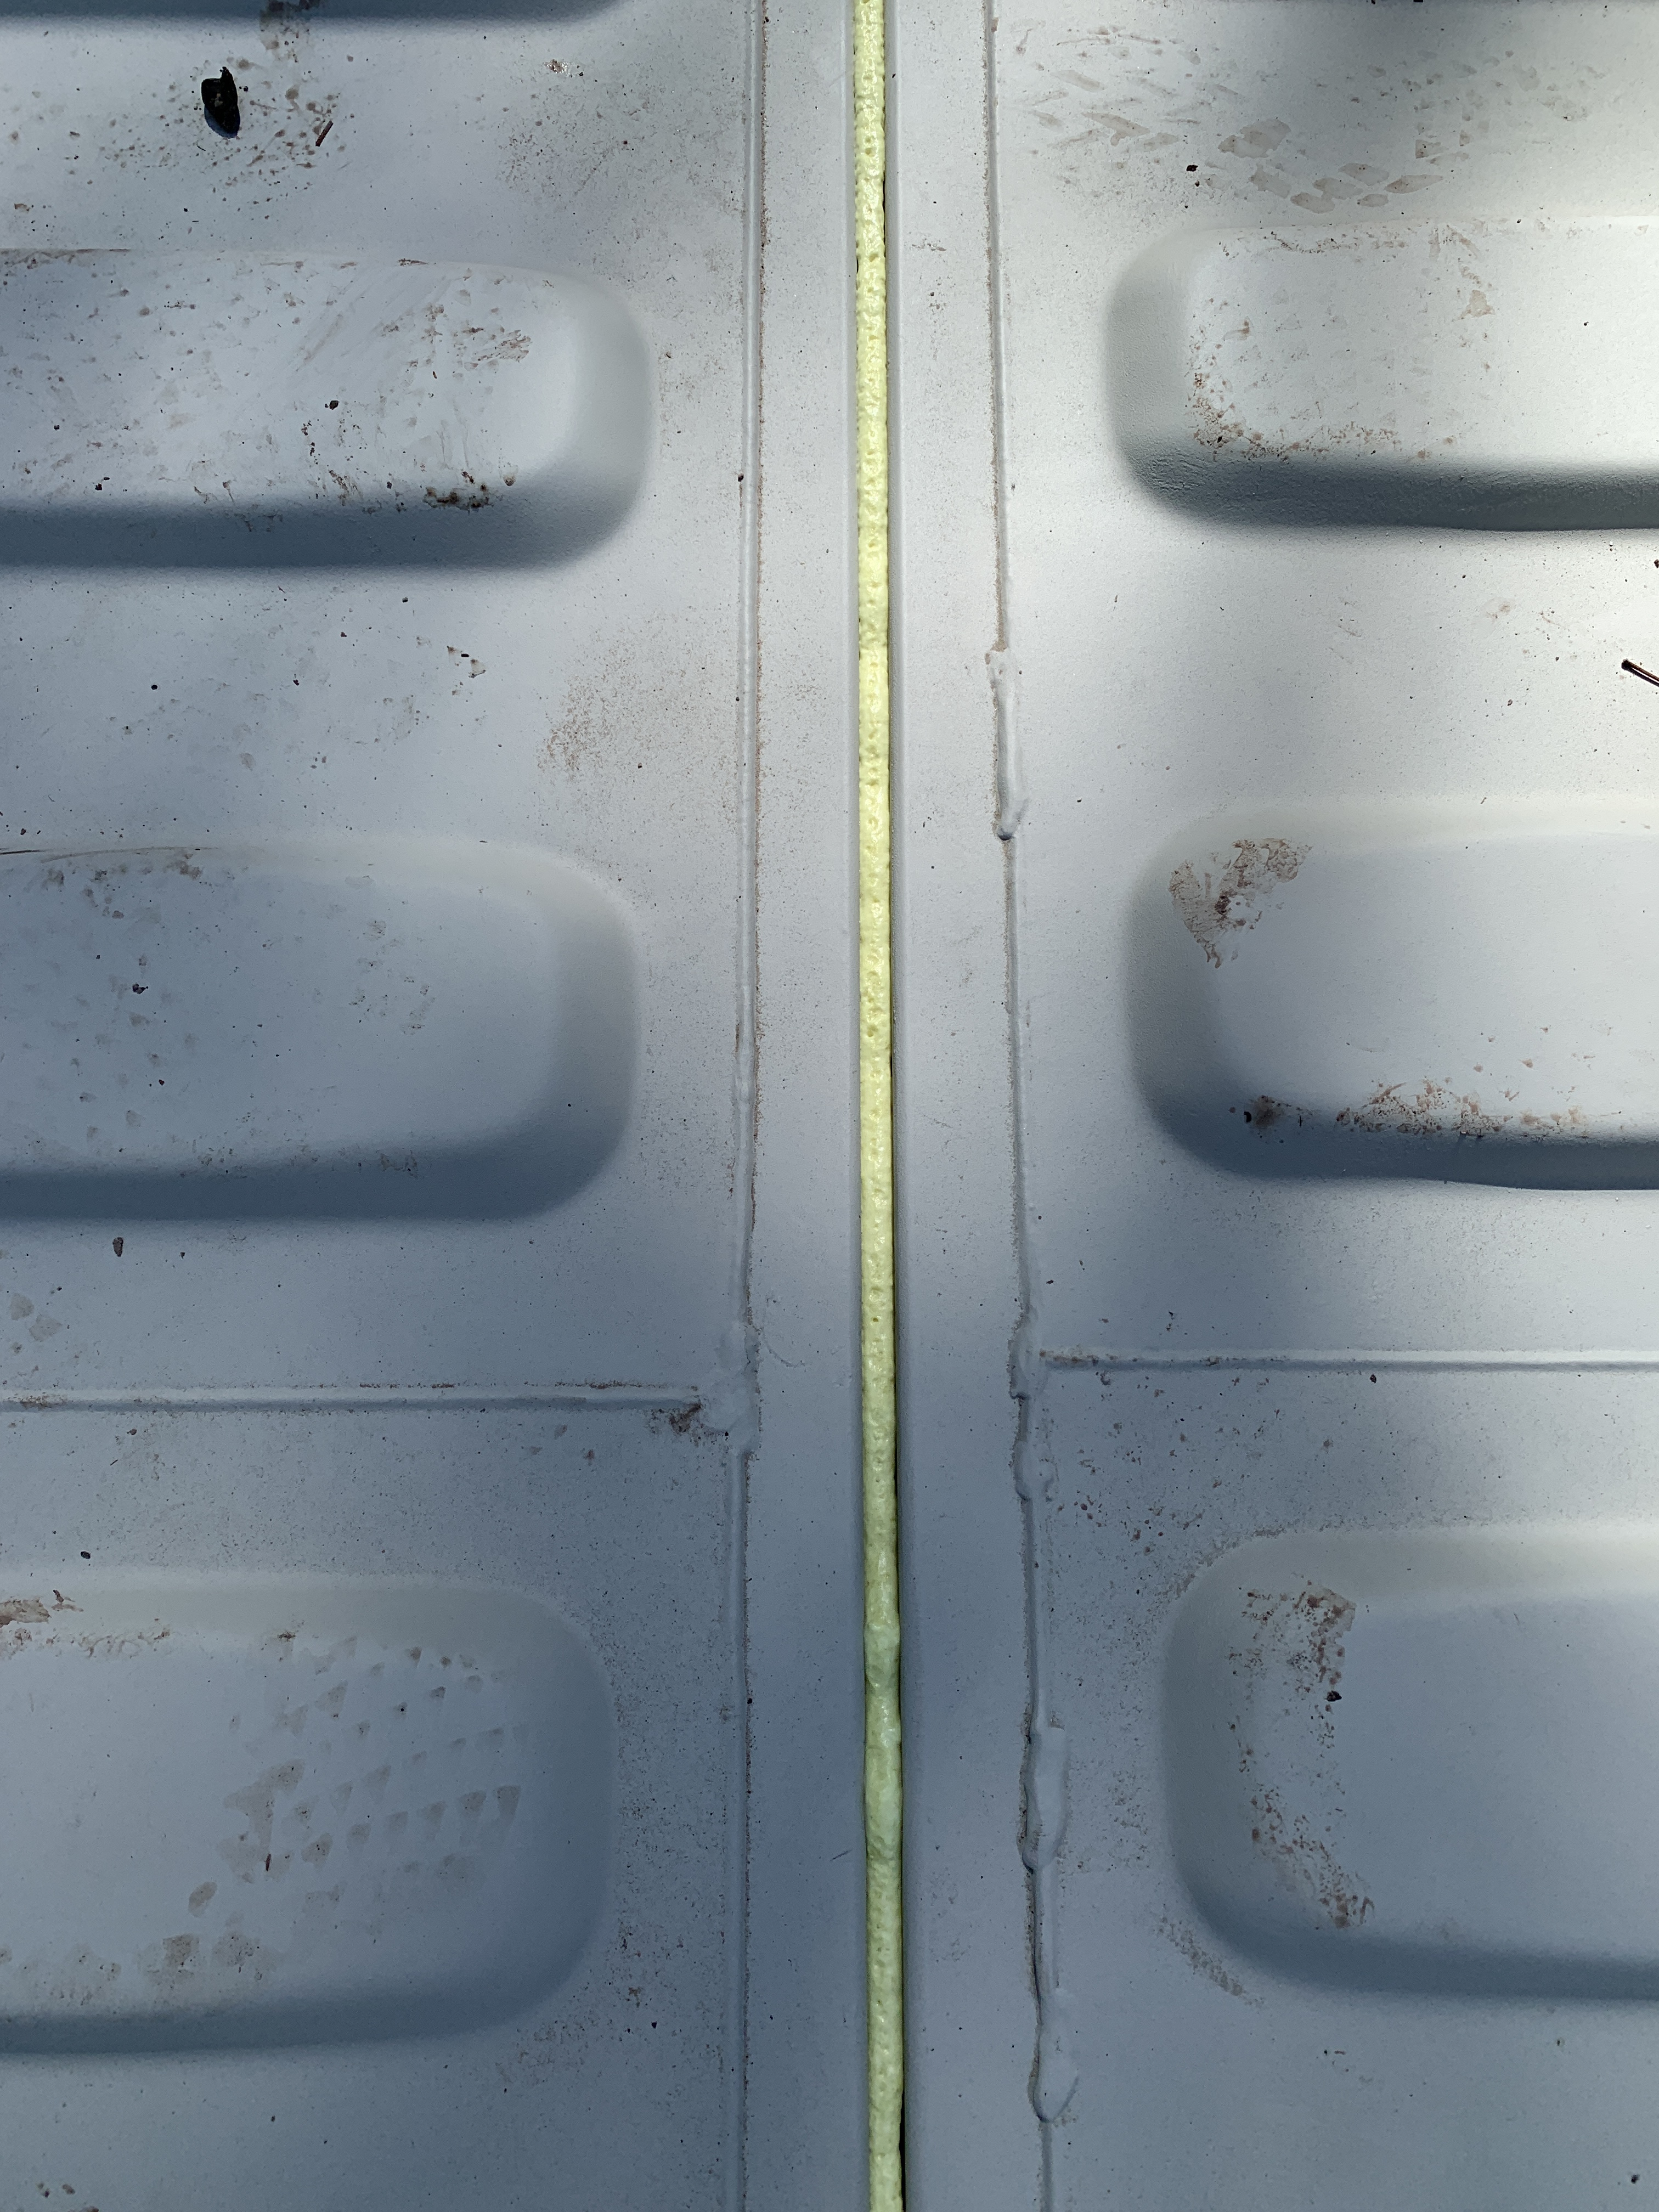
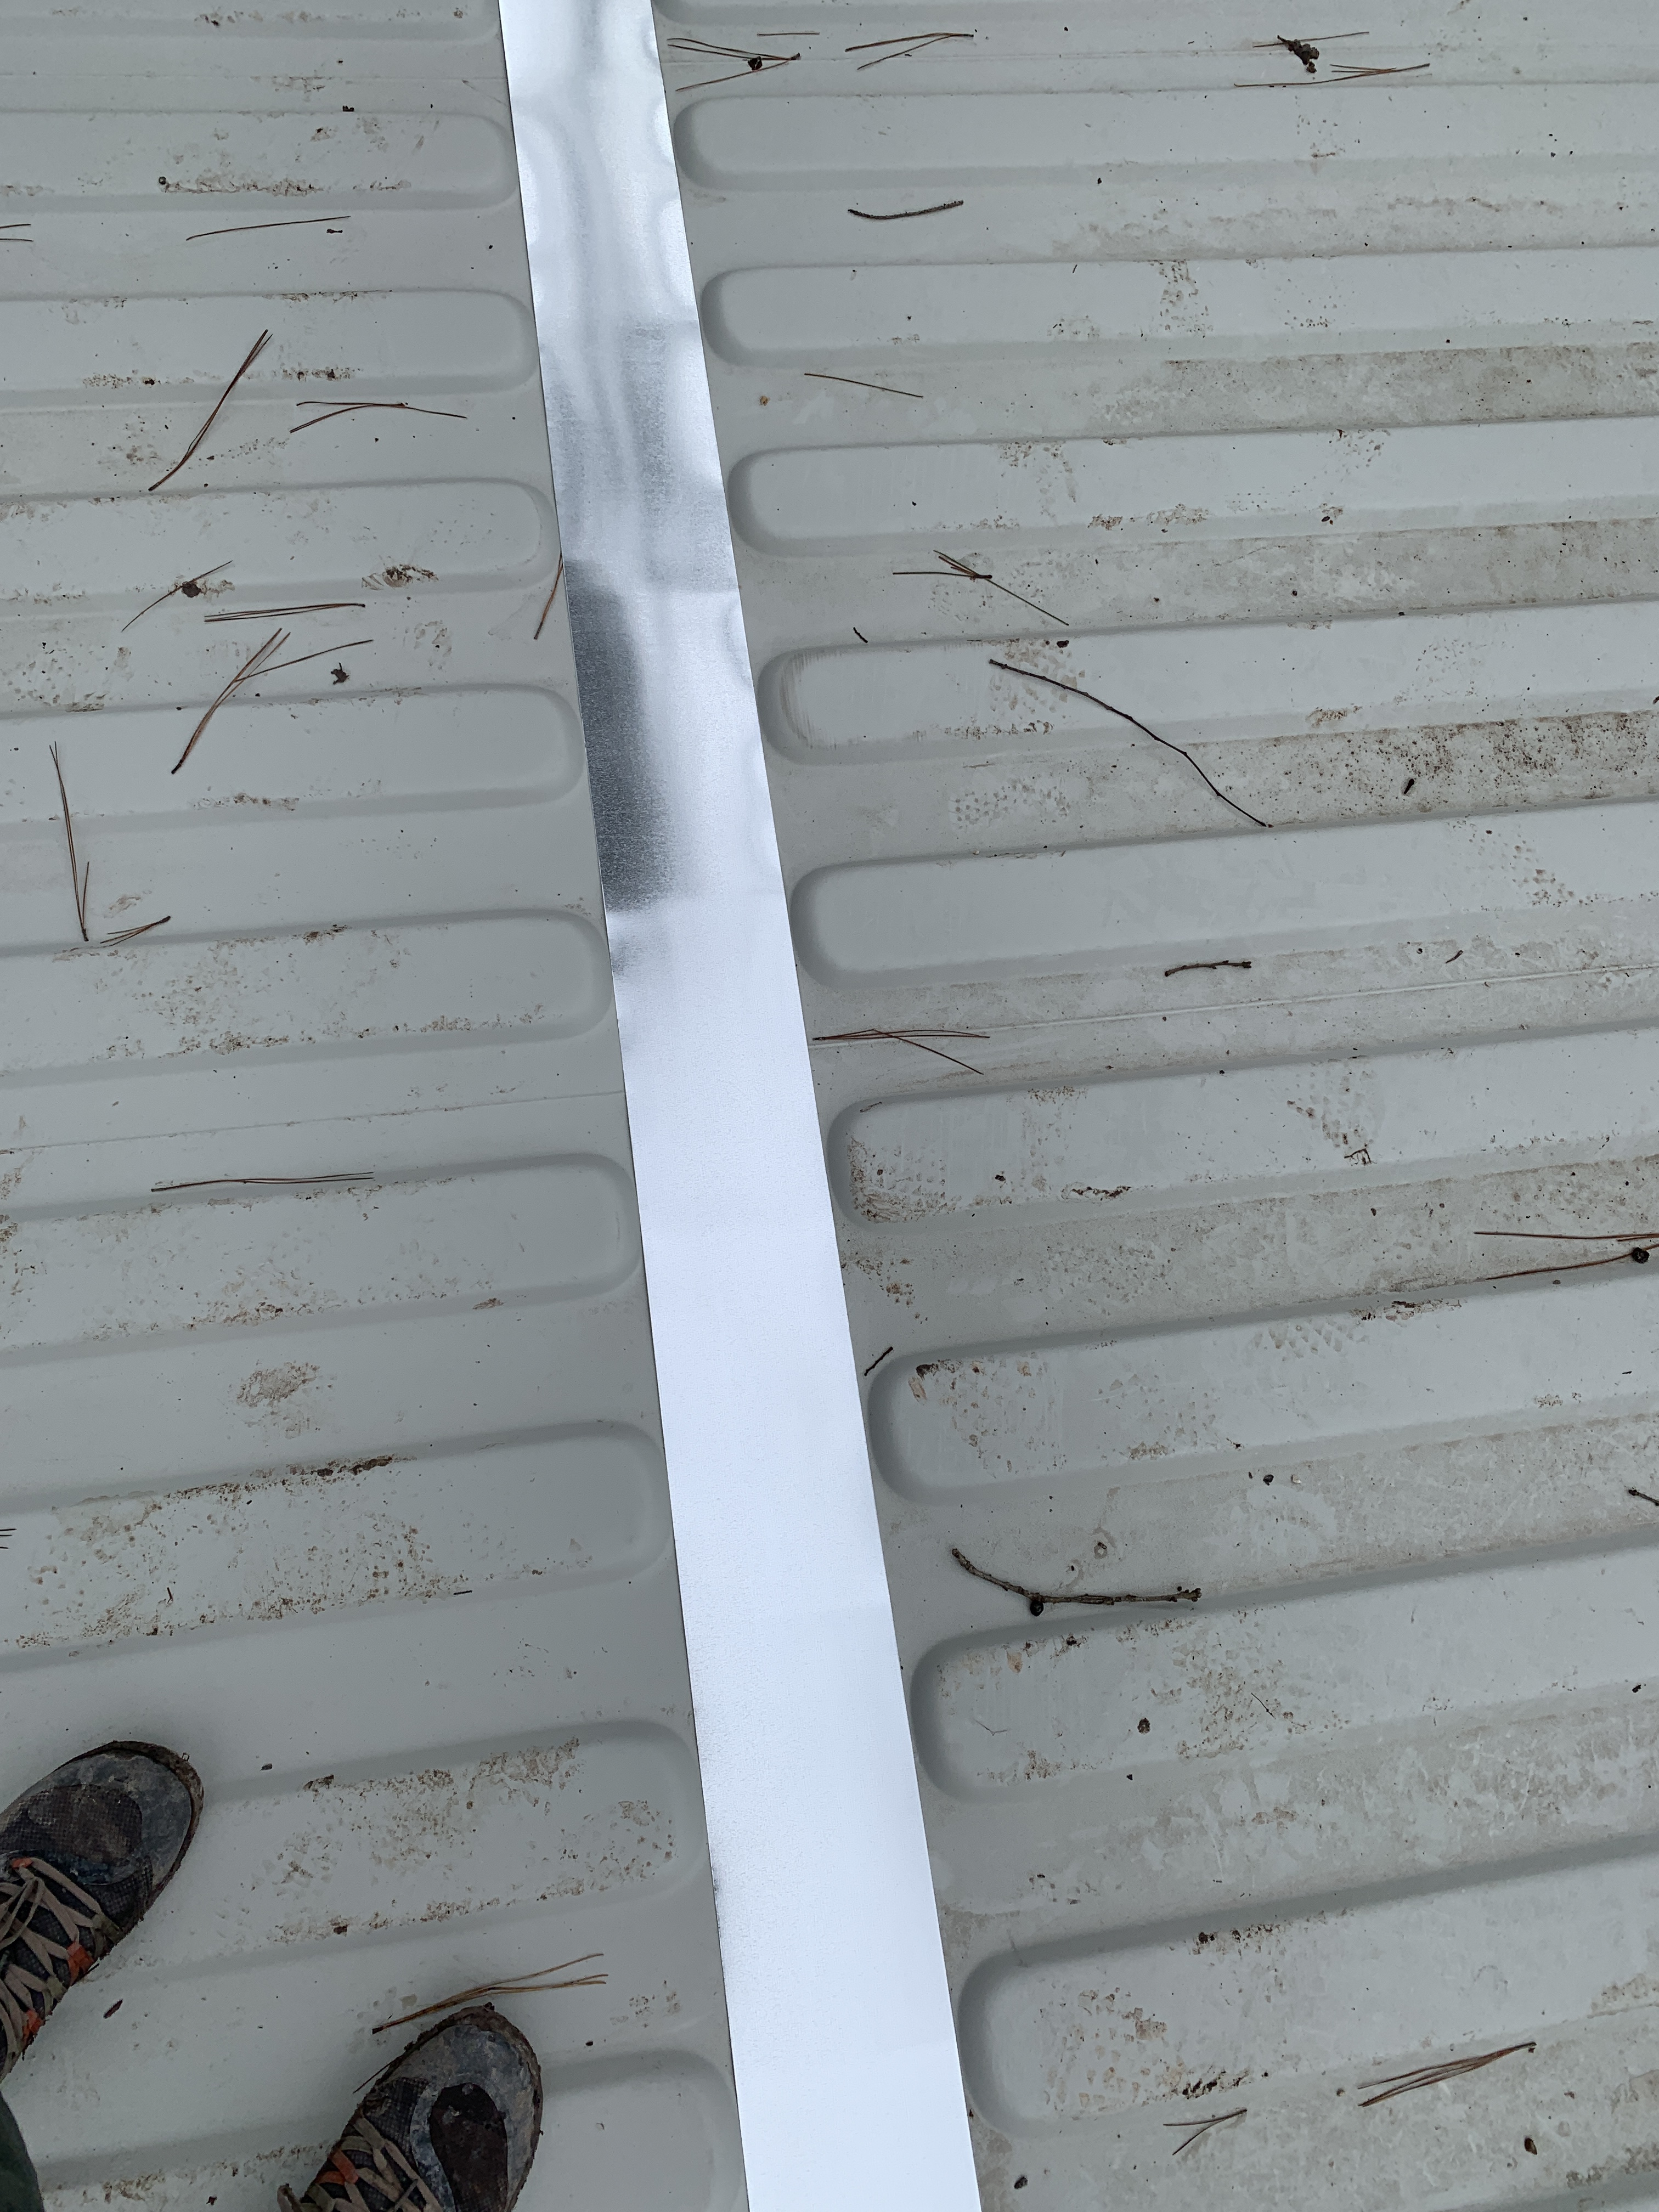
After the containers are clamped to each other and sucked in by wrenching the clamps down, there is not much gap left. Since they are “new” containers, they don’t have much variation or stress added to them that would cause deviations in the gaps either. Therefore I have decided not to weld these together and just weatherproof the seams. I used an expanding foam strip from Frost King that I was able to squish into the gap. It is adhered to one side and then expands out to fill the 1/4″ gap. That alone would probably be enough. But I added more. I went over that with expanded foam gap filler. This added another layer of waterproofing and also created a barrier between the containers so that water can’t flow between the roofs. Everything must be very level because after days of rain, the roofs of the containers were all but void of any water pooling. That allowed me to do this work right after the rain stopped. Then on top of the two layers of gap filler is flashing, roof sealant, roof seam fabric, and then will be a roof coating. I would be very surprised if water could possibly penetrate the seams after all of that. And it was simpler than welding metal strapping down the length of the seams, like on the Houston house. But the whole structure will eventually be covered by an awning roof, so there’s that too. I ran out of screws for the flashing, so the remainder of that, the seam tape, and the roof coating will have to be done this weekend. At least I can expect no more rain inside, even in its current state.
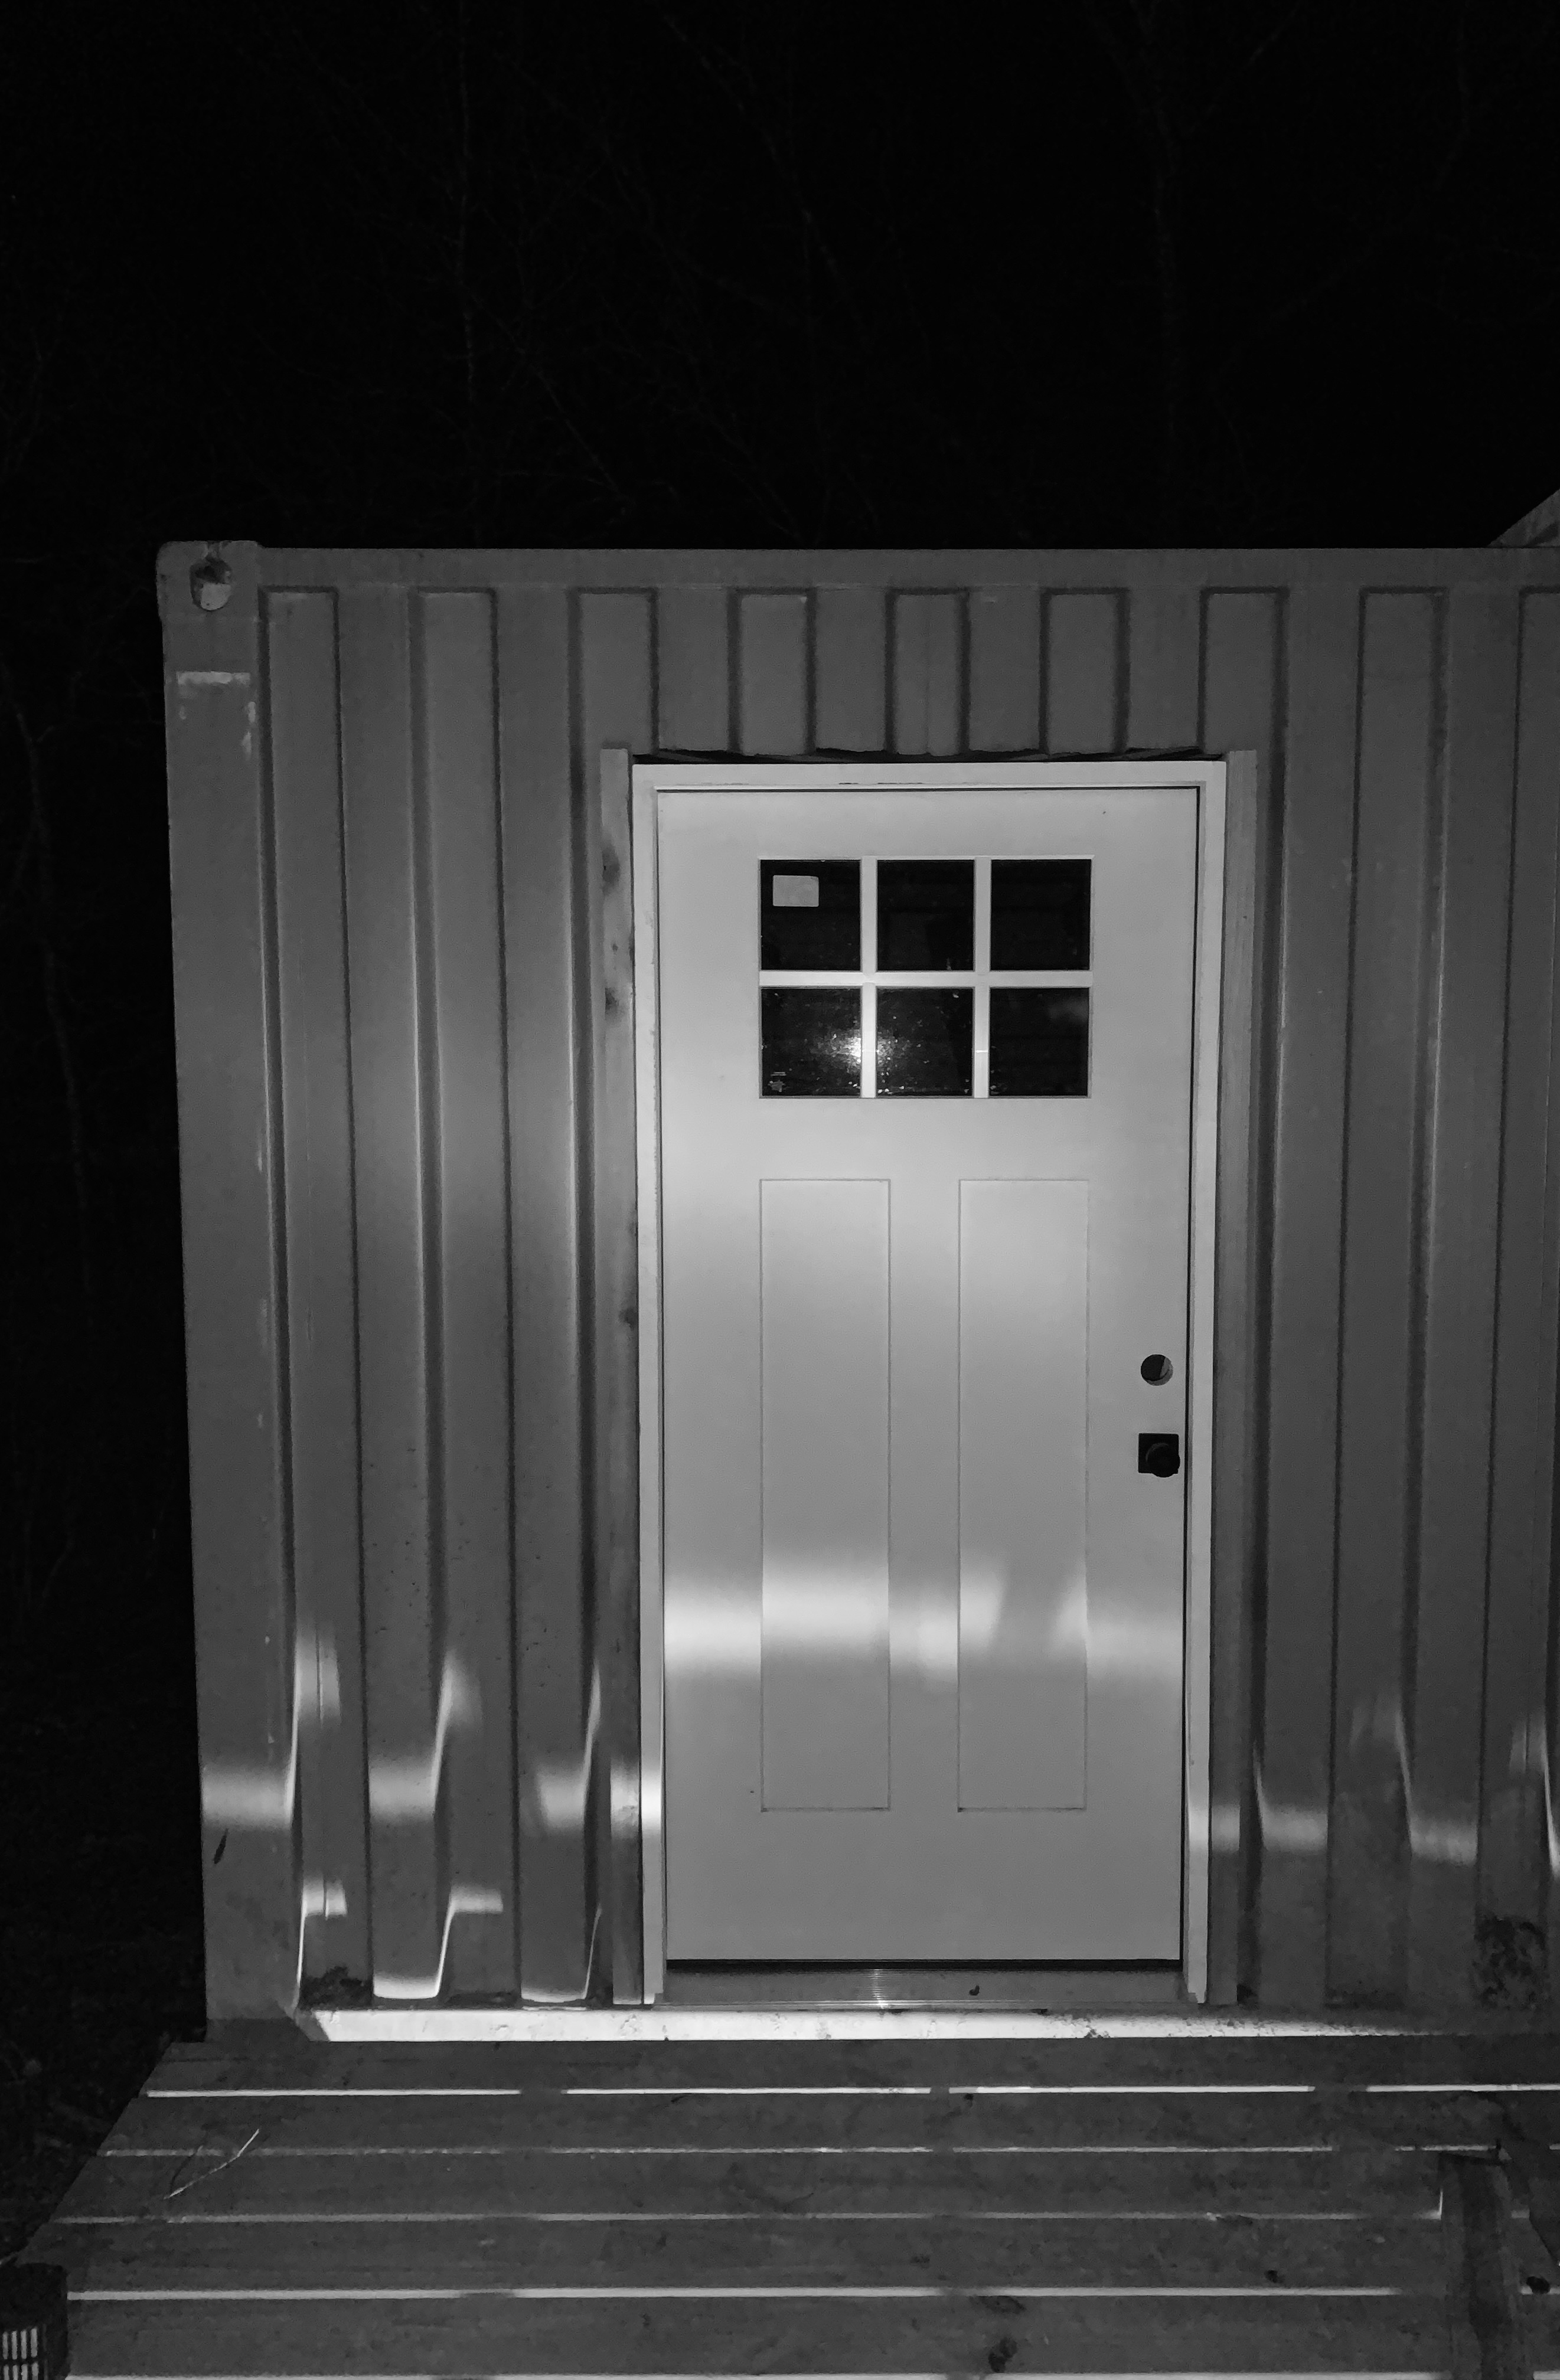
Because half of the weekend was basically rained out, I had to do basic weatherproofing first. I then was able to move onto something that will make access much easier – the front door. As it was, I would have to crawl up a 15′ ladder to get into the first floor through the patio doors. That got old fast. So even though the sun was setting on Sunday, it was important enough that I get the front door in for the next weekend, so I started anyway. Using the plasma cutter (for the first time on 240V), it sliced through the end wall with ease…almost too easily. I had used it before but was limited to 110V that time. It certainly worked, but was slower. This time, it cut as fast as I moved. I keep seeing container modification videos with people using grinders and reciprocating saws. I can’t imagine why anyone doing one or more openings doesn’t drop a few hundred on a Jegs Cut 40 plasma cutter and literally cut their time in half. I got the rough opening cut, basic framing in place, and the door mounted in about two hours. I need to weld in the drip edge at the top, tweak the alignment a bit, install the deadbolt, and seal it. But the bulk of the work is done and it is secure, so access will be easier next time. I am not as worried about heavy duty framing for this opening because it is on an end wall, which has relatively little space to the corner posts. Plus there is no container on top of this one. The structural engineer advised me on the last project that an opening in a container, with no other container stacked on top, only needs wood framing. It was dark by the time I wrapped up, so the picture sucks, but I will eventually post another completed view.

Looking good!
LikeLike