As I’ve stated before, the container roofs are watertight. I didn’t NEED to put another roof on top. But I did for a few reasons. For one, container roofs are almost totally flat. If you just have a single, it’s pretty simple and will shed water naturally. Once you start putting two together, then you have to worry about if water is going to pool, especially at the seam. Even though the seam is watertight, standing water is never a good idea. The second reason is that with a roof up top, I can add traditional type insulation. That’ll certainly help control temps. The last reason is that the upper deck area will have a roof covering to cover the outdoor space. Having a pitched roof over the second floor allows the deck roof to continue on as one continuous covering.
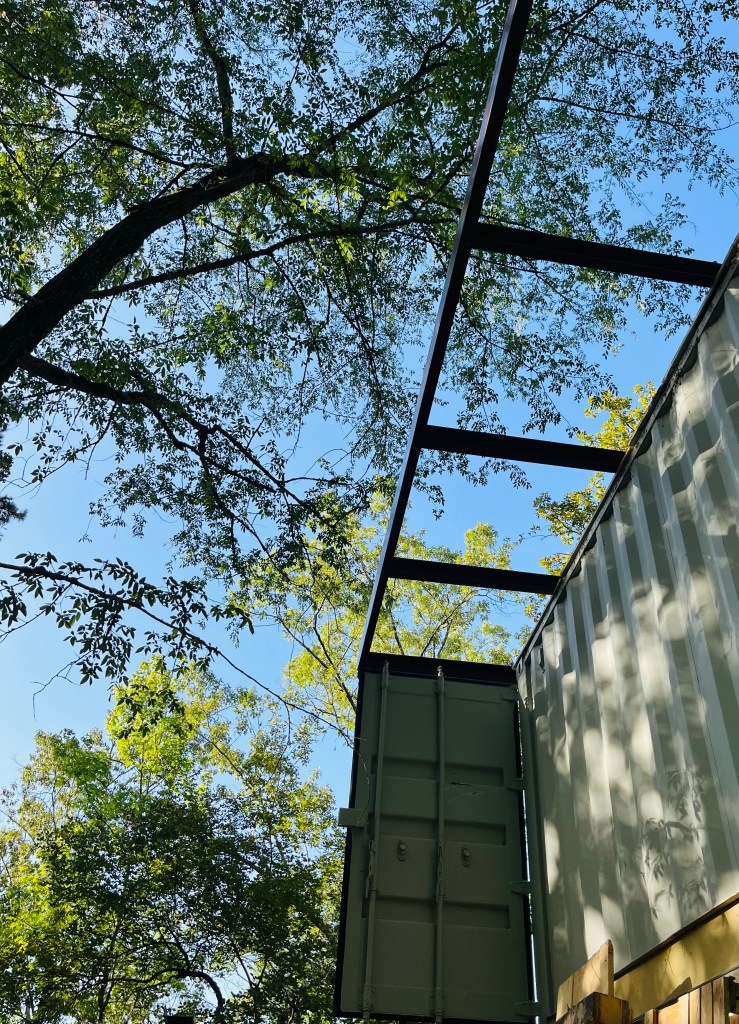
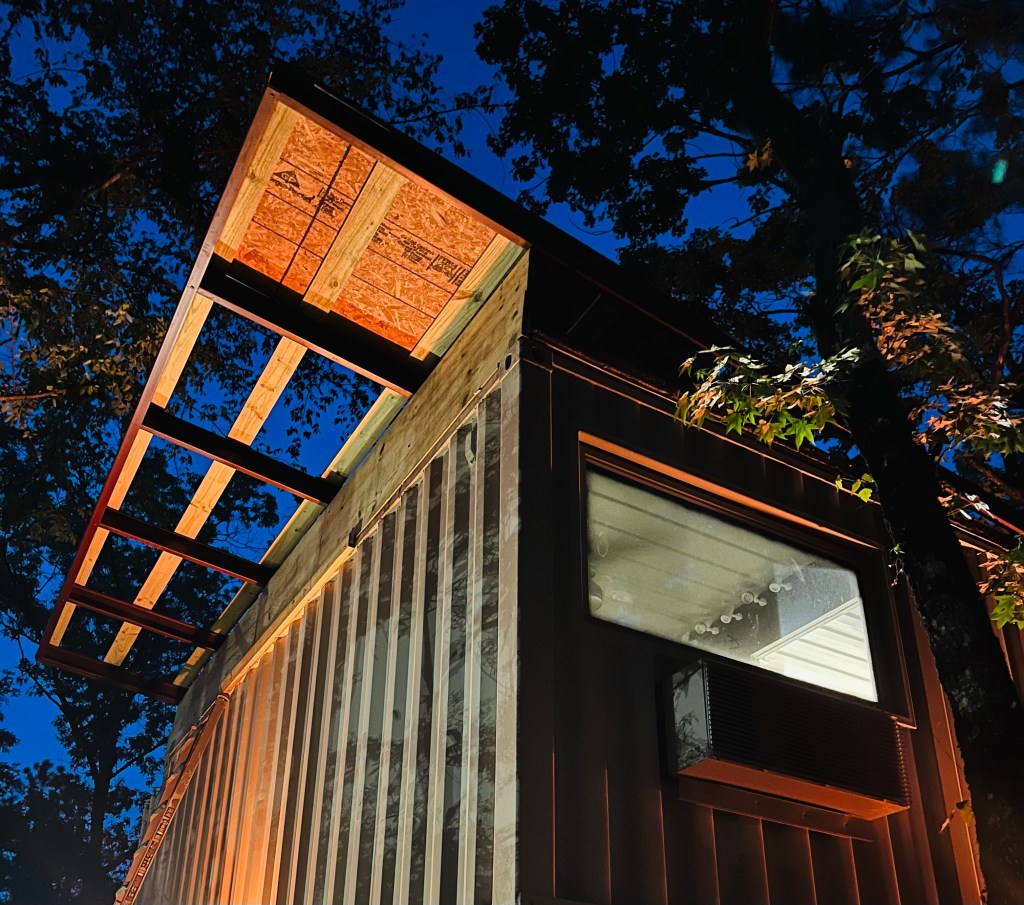
I had put up a steel roof structure months ago when I was really ambitious. Because I’m doing this myself, I got the structure up to the top in pieces and assembled it there. I could have built the supports for the pitch prior to assembly but because I wasn’t dead set on which way I was going to pitch it, I didn’t do that ahead of time. I had an idea to assemble the structure, then pitch one end, and put supports underneath it while that end was up. Spoiler alert: it worked. But it wasn’t as easy as I had hoped.
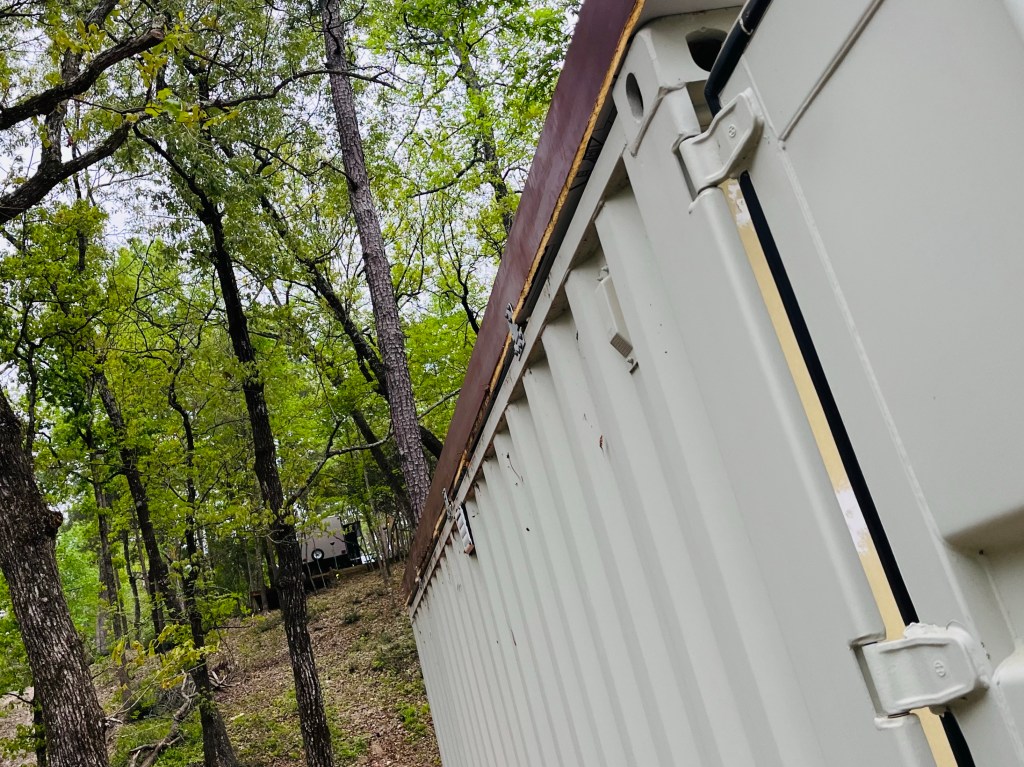

My idea from fairly early on was to use heavy duty galvanized hinges. I secured them between the lowest side of the roof structure and the top of that container. With that side attached but on a hinge, that would keep it from moving but let me jack up the other side and put the structural support needed underneath it. The concept was a success but I made it harder on myself by not putting in the purlins before using the jacks.

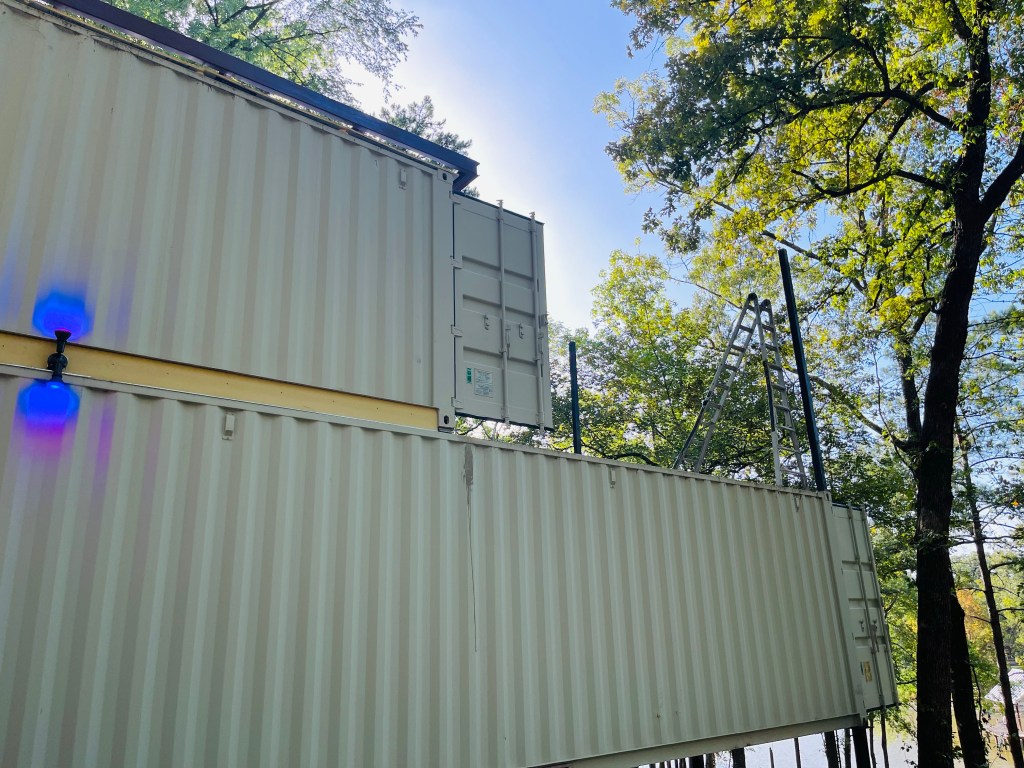
I started by pitching the roof a little to test it. I used 2×12 and 4×4 posts to support it. My truck was in the shop for hail damage from the January storm and I forgot one of my floor jacks in it. So I only had one to work with. It was tedious, at best. But if nothing else, it was proof of concept. It would work. I thought about leaving it with just that pitch, but decided I should make it more like the recommended pitch for the sheathing I was going to use.
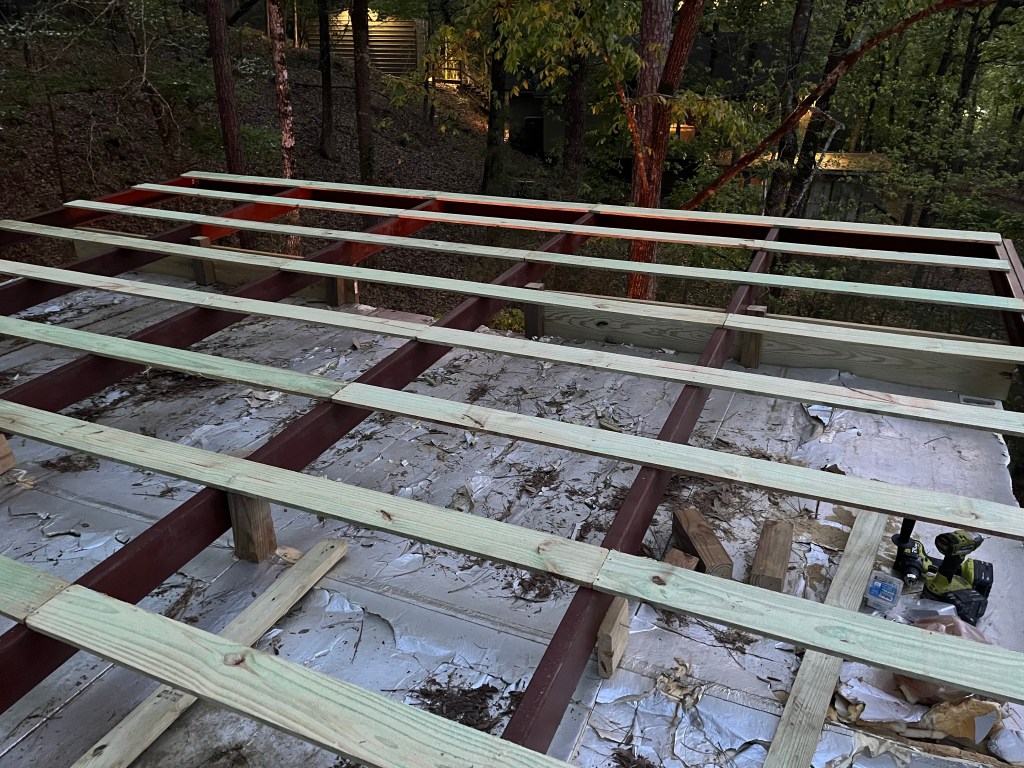
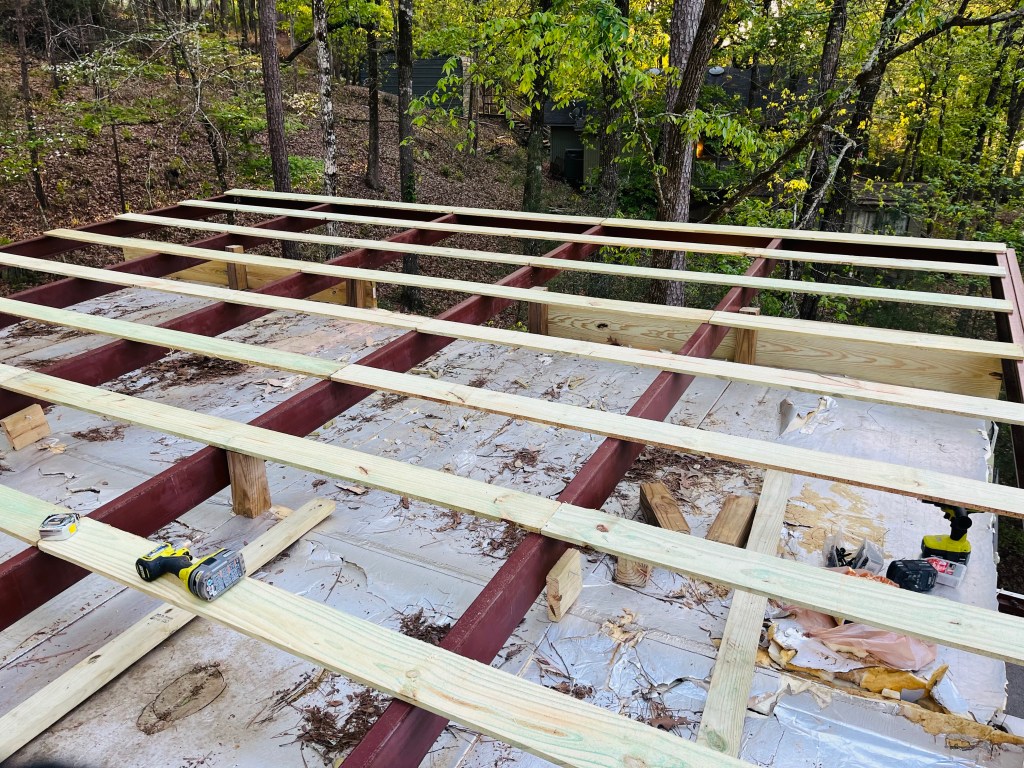
After I got the pitch started, which made it easier to get jacks and supports under it, I added purlins. I probably should have done this before the first pitching attempt because they add lots of structural support.
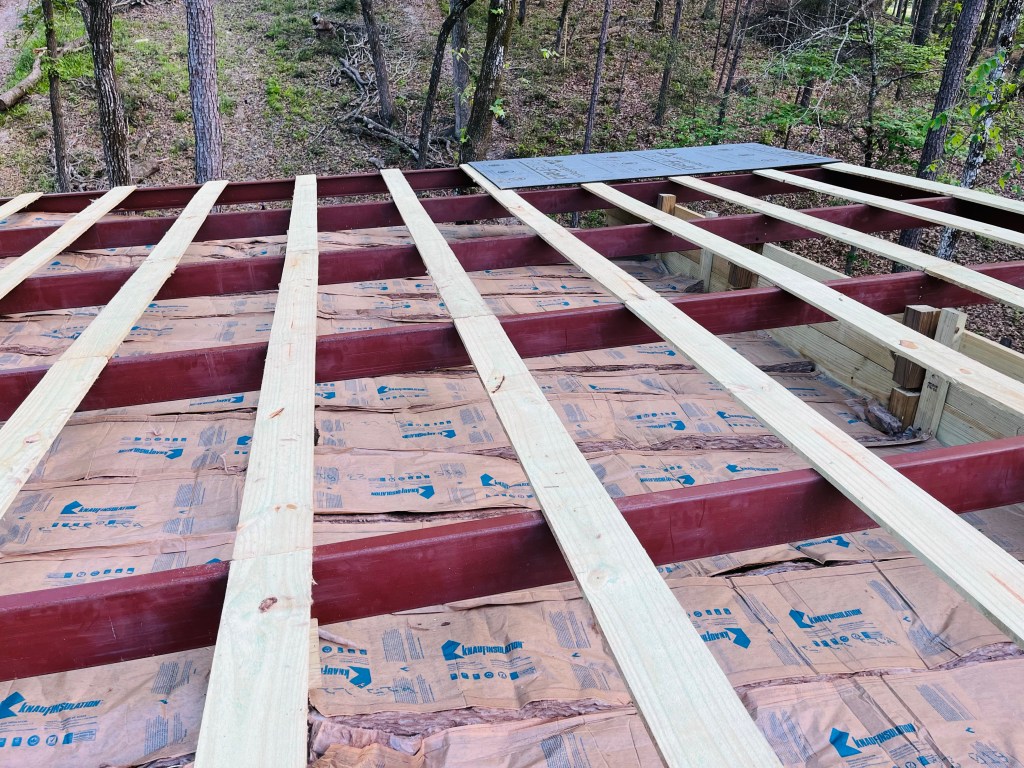
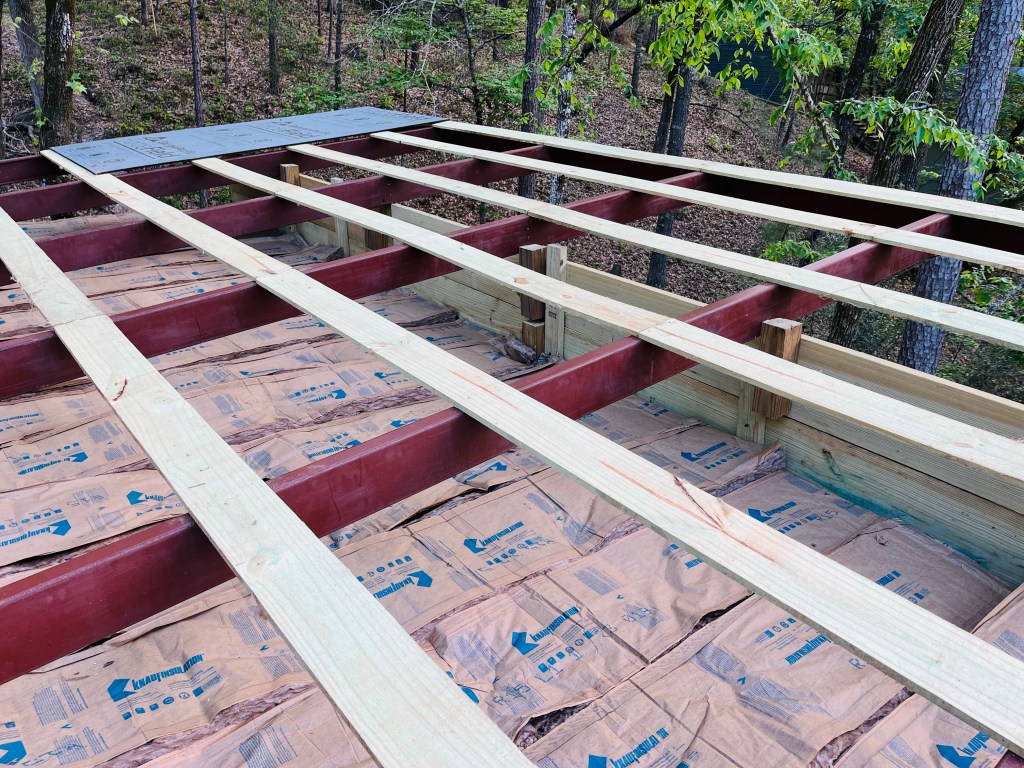
After completing the pitch, I put down insulation. It’s not as much as what you would traditionally use for an attic, but I did have “temporary” insulation up there already in the form of polyiso panels. That plus the sealed roof of the containers adds a little more R value. There’s also some air space that is ventilated. All in all, I felt like it would be enough.


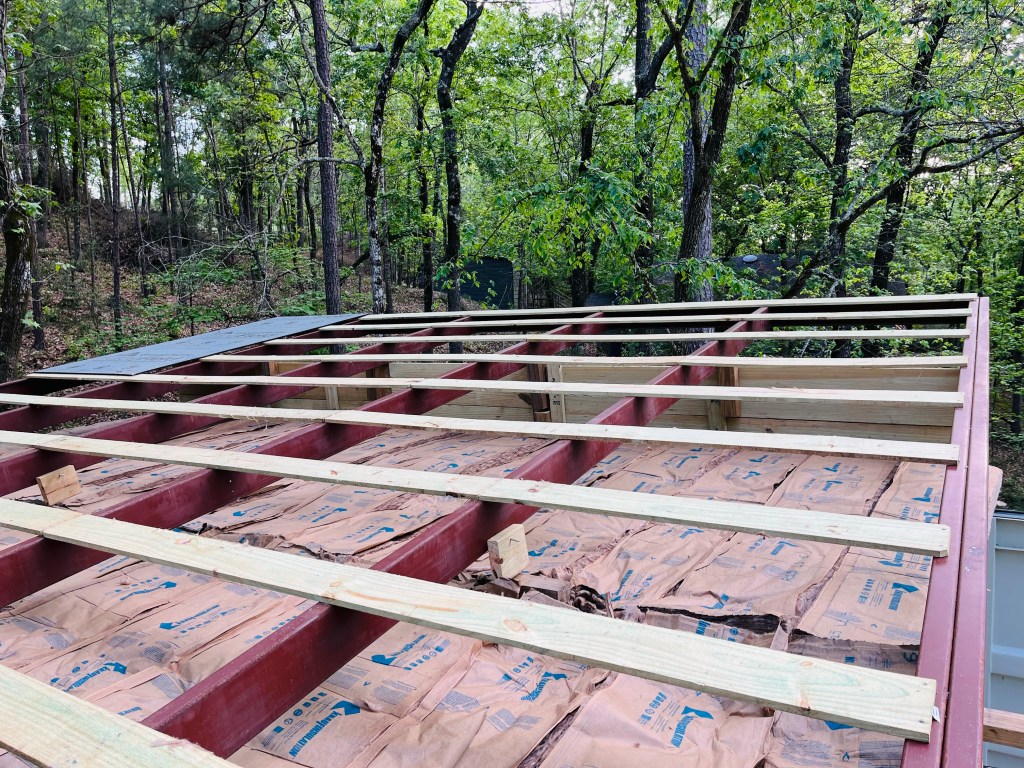
I tested one sheathing panel at that point. It worked fine, so I moved forward with the rest of the raise to finish the pitch. The second weekend I remembered to bring the other floor jack. With both jacks and the purlins in place, the rest of the pitch process was much more smooth. The final pitch is 23” on the high end, down to zero on the other. I finished up securing and closing up the structural support at the high end before moving on to the rest of the sheathing / decking.
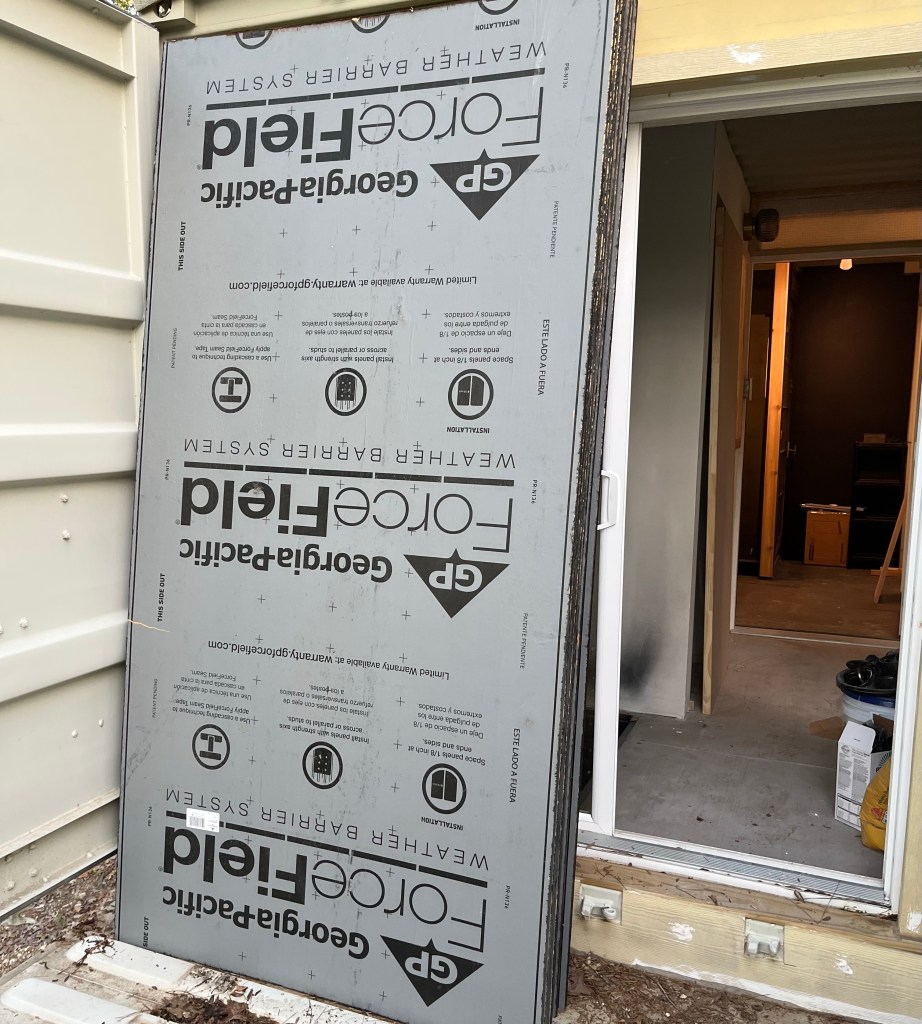
I used GP ForceField panels again for this part. They were manageable by just me in terms of getting them loaded, unloaded, up to the second floor, and up to the roof. That’s always an important consideration when choosing materials. But they also have a water barrier built in and are economical. I staged 13 panels before taking them all up to the roof for final placement.
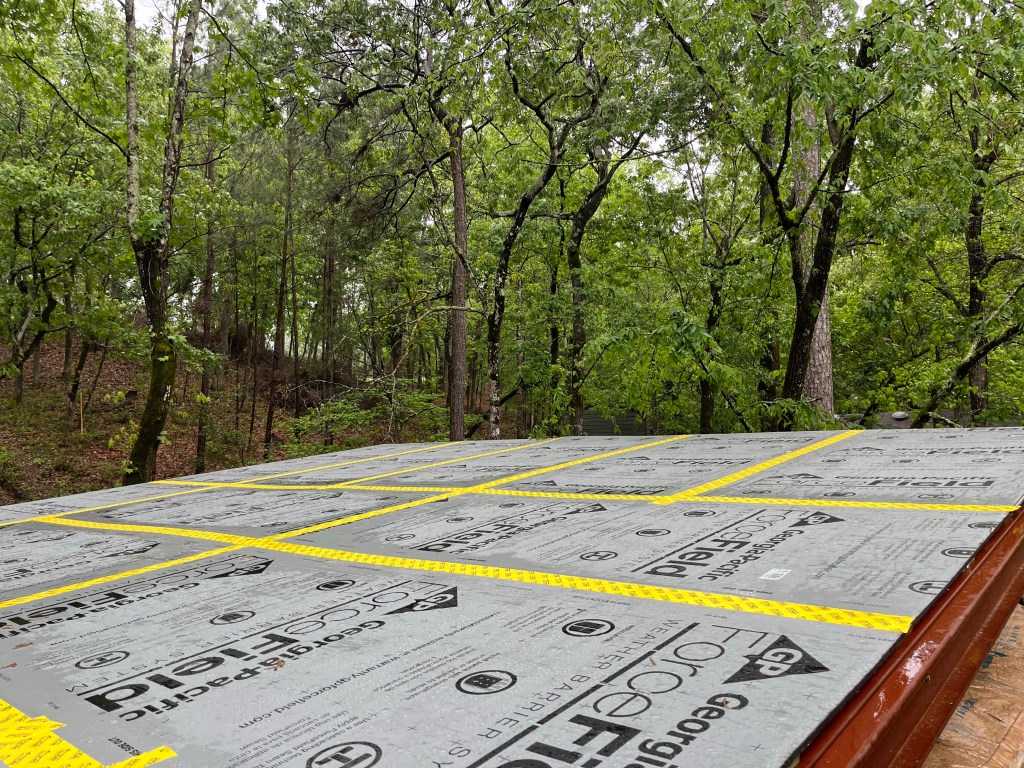

During the process of getting the sheathing up to the roof, it started raining. They weren’t attached yet, but I did get them in place. That certainly helped protect the insulation but didn’t keep it completely dry. Once the rain subsided, I got back up there, secured them all, and got the seam tape in place. I thought it might be dicey on a wet plastic coated roof, but my shoes and the barrier material combo was not that slippery. I didn’t fall off. The roof layer is now complete and watertight, so there’s two waterproof layers above the living space.
Next is to cover the decking and roof sheathing with the last layer of barrier. I’m going to use recycled billboard vinyl. But I’ve got a few months of buffer before that is a necessity. This sheathing product can last 90 days exposed after it’s taped.
