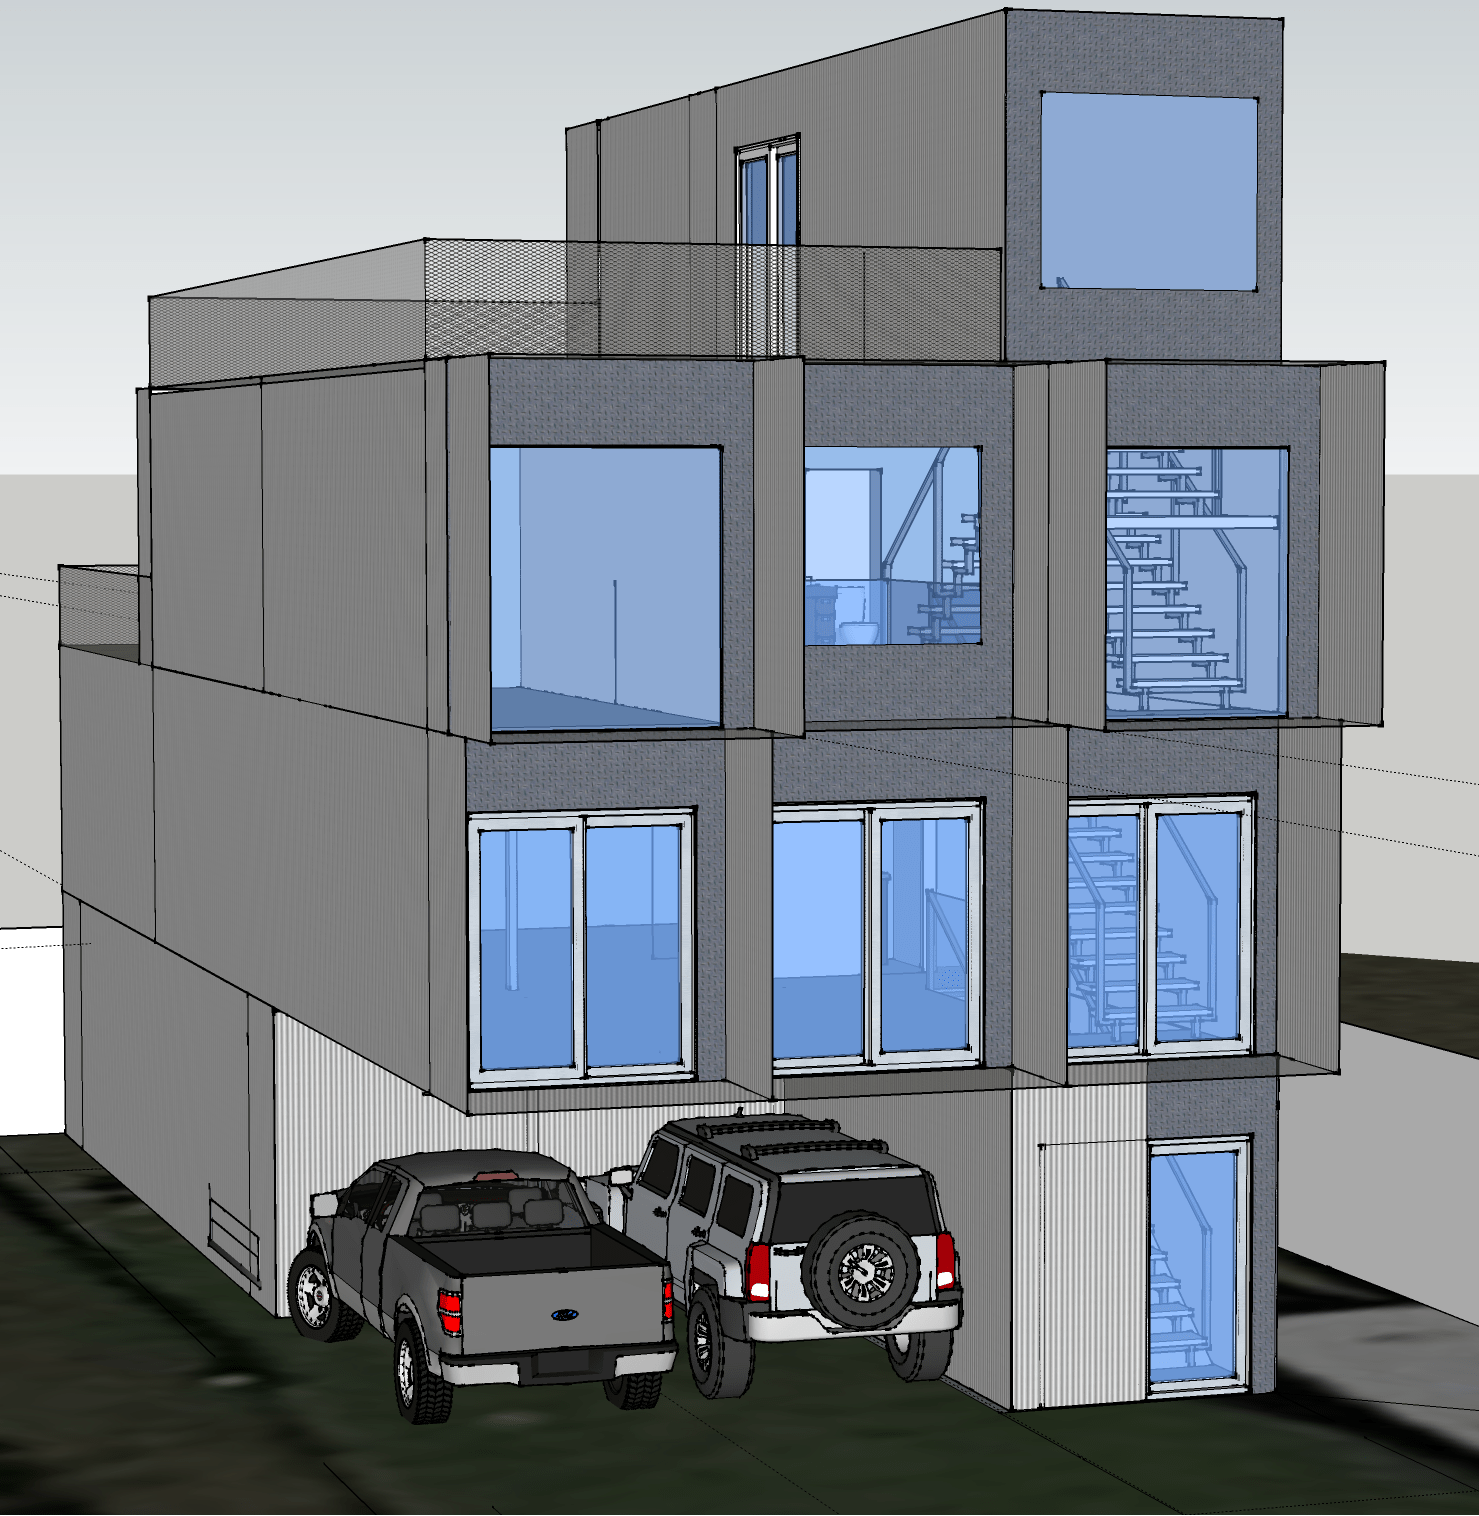
Partly because I’ve gotten towards the finish line at the lake house and partly because I have been neglecting the Houston house – I’m back working on it.
On the agenda: finish out the primary closet, redo the roof (the previous coating product was garbage), add solar, and eventually frame / insulate all exterior walls.
First up: closet. Why? I’ve been paying for a storage unit for years and along with many other things, inflation has hit. It is stupid expensive to keep a storage unit. So I’m racking my brain to figure out how to get rid of that. I had considered for a long time using my outside container as storage. But I’d have to insulate and add AC to it because the extreme heat in it ruins many things. I had a set of kitchen cabinet doors ruined with them delaminating because of heat.
Not long ago, it hit me: I have lots of closet fittings and cabinets. Why not work on what will ultimately be the primary closet. It was always meant to be a huge space. I have the window for natural light, I have an air conditioner, I have the closet accessories. I should finish out that container on the third floor and use it as conditioned storage. So began the plan to do that.
I wanted to use steel studs for the remaining walls and build out for a few reasons. Mainly because they are true and don’t have the tendency to warp like wood. Also because I do almost everything solo, it’s easier to get them to the third floor by myself. I need 100+ to finish all walls. What I didn’t realize was that there’s a massive difference in price between regions. In Houston to Austin, I’d have to pay almost $10 per stud. By accident, I was shopping Home Depot or Lowe’s and it thought I was in Dallas for some reason. All of a sudden, the prices were half. With bulk discounts buying in quantity, those $10 studs were down to under $4 each. Those are the prices I remember from years ago. Unfortunately they won’t honor price from other regions, so I drove to Dallas to get them. It was worth $70 in driving expense to get them for 40% of the Houston price.
Armed with the studs I needed, I had to mentally prepare myself to go into a metal box in 100° weather to work. I’ve never sweated so much. It took me twice as long to build the end walk and framing, and I probably had a heat stroke or two, but I finally got it done. Mind you, I’ve done this part before, but it doesn’t get any easier years later, especially doing it solo. My technique is to attach framing members to the container opening, build the entire end wall (including the window), and hoist it into place to secure to the installed members. Yes, it’s a huge PITA, but I don’t know any other way for one person to build an end wall with 6’x6’ picture window and install it on a third floor that is open to the outside below.
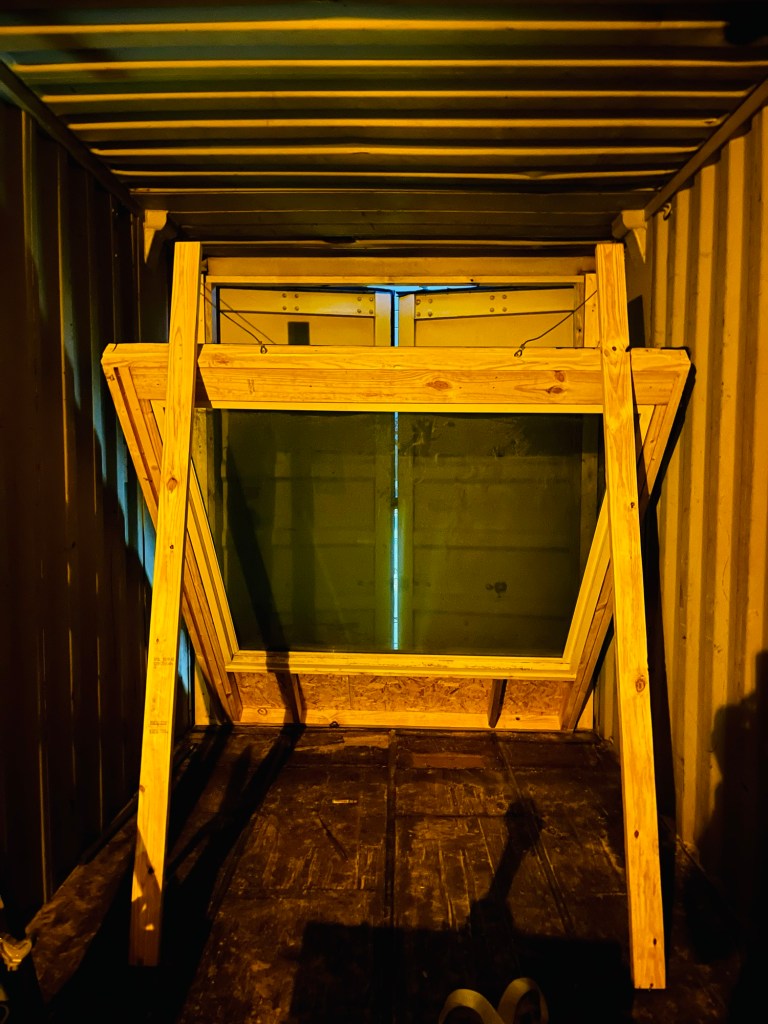
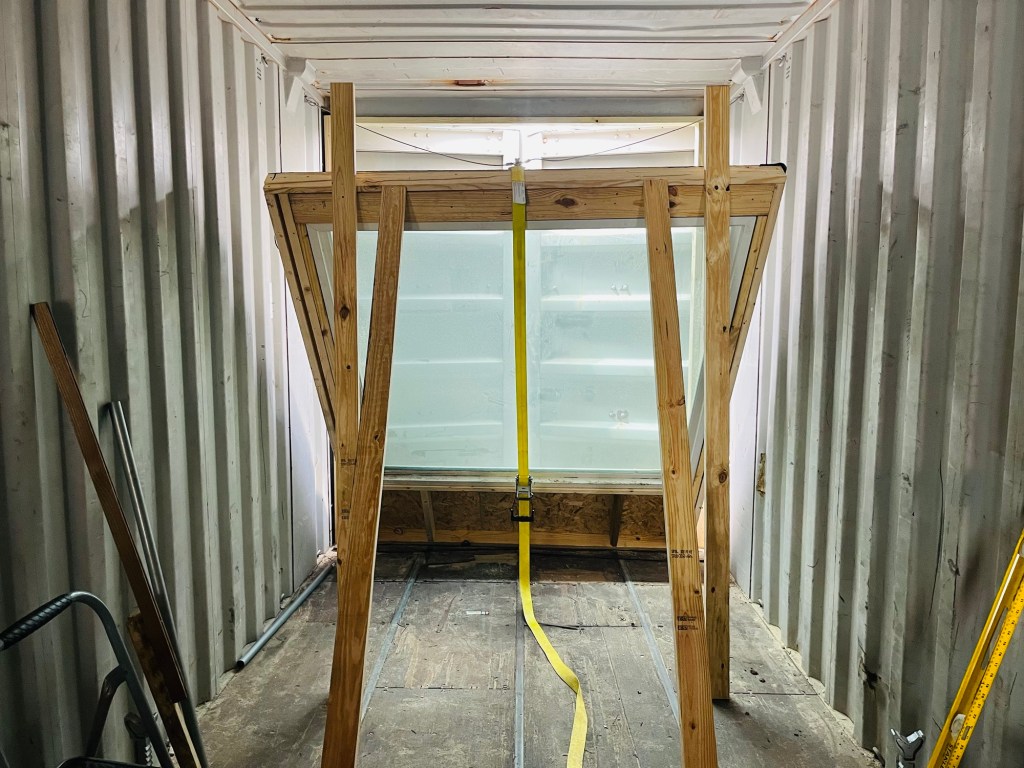
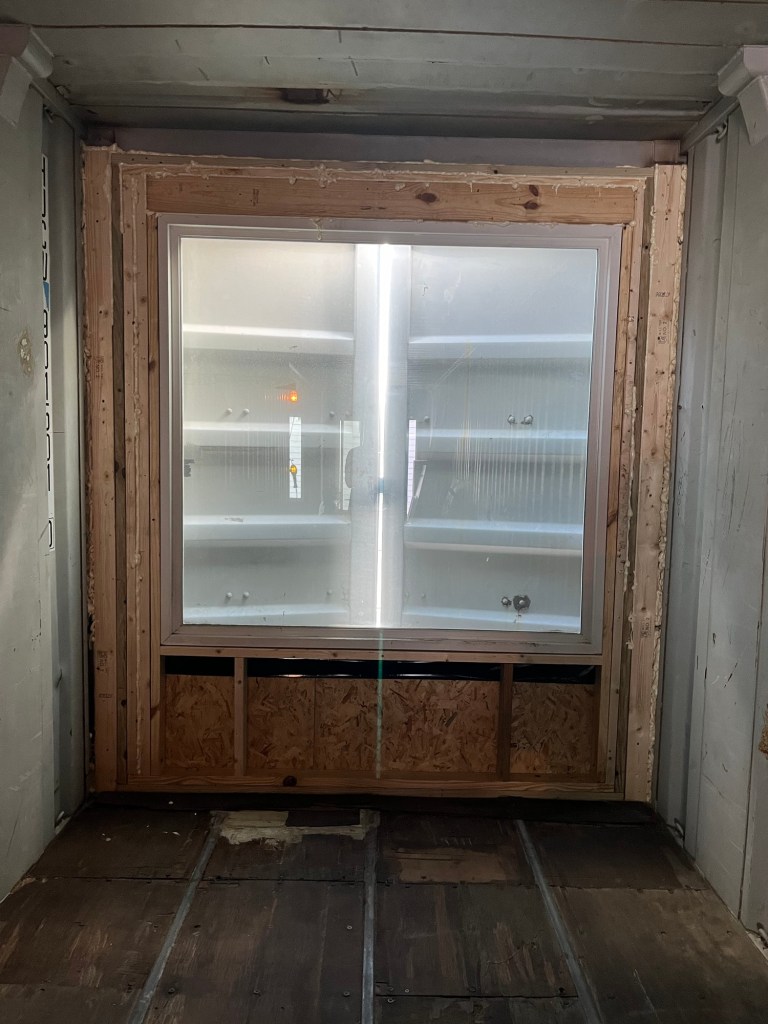
After building the whole wall, I use a ratchet strap and supports to slowly hoist the whole wall into place. It takes a while because you can only go about a foot at a time, then reset to do it again. Keep in mind that the wall is built precisely to spec so that when it’s in place, there’s no gaps. That’s the idea, at least. Invariably, something doesn’t quite fit and a chisel or sledgehammer might be needed (is always needed). But this does make for a very structurally sound wall that is securely attached to the containers and is possible to be done by one person. The end result is fine and sturdy. Once again – I am Legend. And I was then able to frame out the walls quickly with some metal studs and get it ready for spray foam. That’s next.


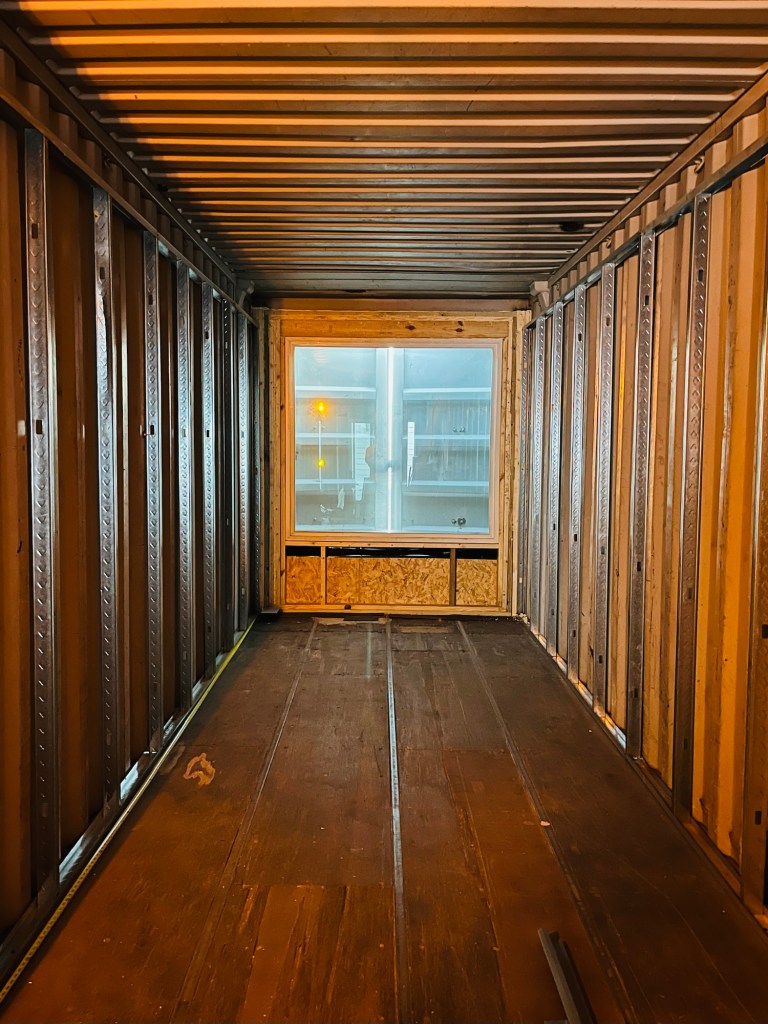
I’ll get the container doors swung open from the outside and painted, which will allow even more light in. I kept them partially closed to reduce the chance of me or the wall falling from three stories. I’m still here.
I’ll post an update on this project because even though it will be an exercise of mismatched products, I think it will end up being an awesome closet. Eclectic, industrial, cool.
