I posted a little while back about the beginnings of the next (current) project, but several things have happened since. Most importantly, the piers are installed. This was a little stressful because I was responsible for measuring them out, marking them, and making sure the top plates all lined up.
The first house I did not go into with the intention of building most of it myself. That happened sort of by accident when contractors, that I thought were lined up, started ghosting me for Hurricane Harvey rebuild projects. So I learned a lot and did many things I had never done before. This time around, I went in knowing that I would be doing a bunch of it myself. Even armed with that mentality, I still didn’t realize the extent of what I could do on my own. Building outside of a city, with little county oversight, means that I can mostly do what I want by myself. I learned this the funny way. I was working overtime to get plans ready to submit to the county. When I got no response after submission, I called and they told me they didn’t know why they were sent in the first place. They don’t review, stamp, or inspect the plans or even the work after it is done, other than septic. Obviously I intend to follow typical residential building codes, but the fact that there are no inspections or additional permitting means that I can do any of the work that I want by myself. I don’t need a plumber or electrician to pull permits and I can do that myself. I will get into that a little more after going over the substantial milestone: pilings / piers.
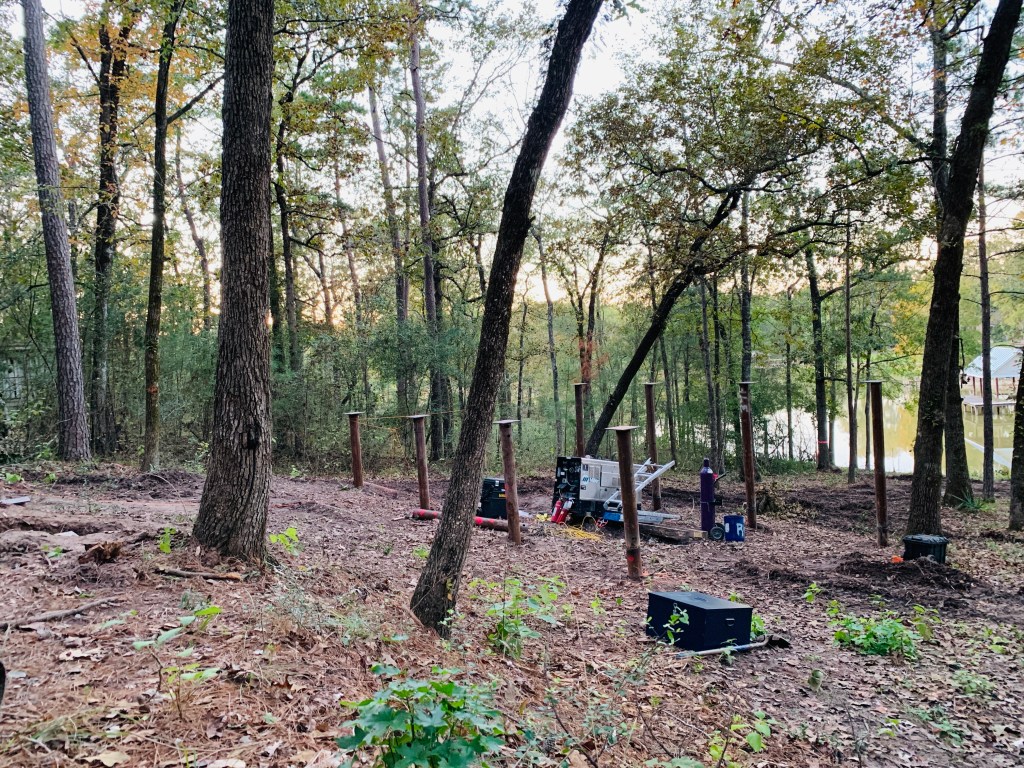
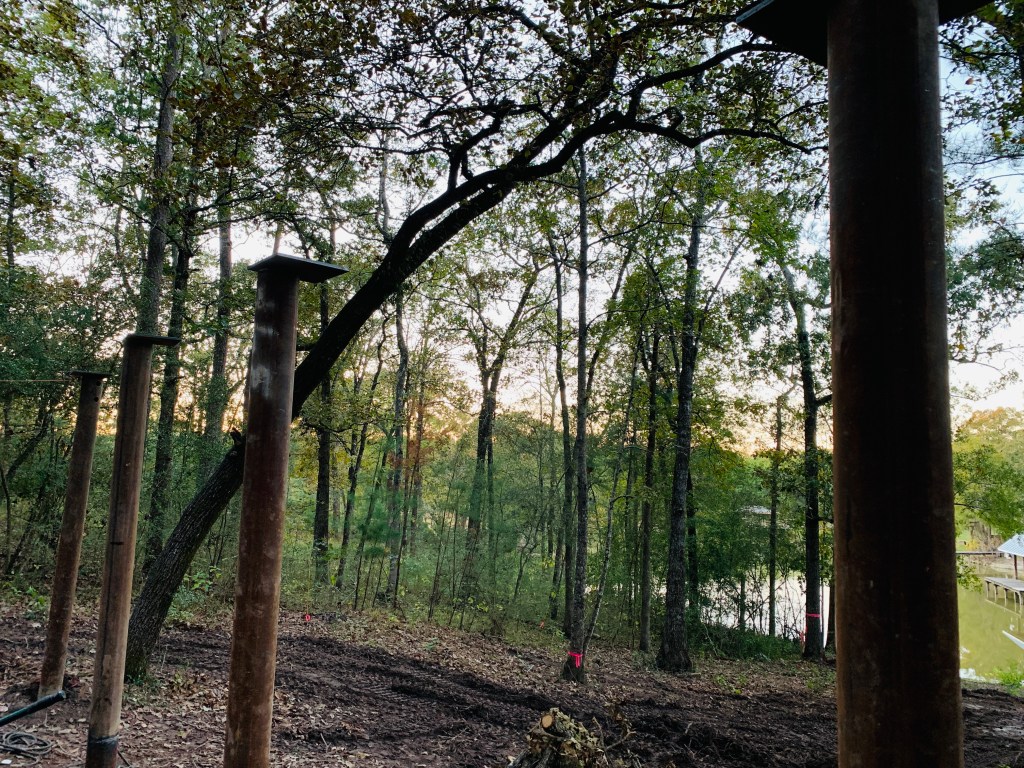
Some people call them piers, others pilings. I looked up definitions, but it seems when talking about homes and foundations, these are often used interchangeably. I didn’t think I would go the same route as before with helical piers, but I did end up doing just that. They ended up having some advantages and weren’t substantially more expensive after all. The fact that they have a helix at the bottom reduces even further the likelihood that they will move in the future. Most of the homes around the lake have driven piles, a large number of them are wood. Some of them were done very poorly and my neighbors are having to undergo considerable expense to fix theirs that was originally done in the 80’s. This build should avoid any of that now or later. I didn’t anticipate needing to have structural engineering done for this build because it has so many similarities to the larger, previous one. I planned on using that structural detail and design for this smaller project. But by keeping helical piers (piles), that made it even more similar. Where I deviated was that I did not have these encased in concrete. Being steel, larger in diameter, and not having as much weight on them meant that if I got the same torque readings as the structural engineer specified on the original one but on these, then we can kind of call it over-built. Two stories is much lighter than four stories, especially when using the same level of engineering and structure to support them. I was definitely more hands on with these. I was there for almost all of the installation, I was the one that marked their locations, and I was the one with the laser to make sure they were all cut to be level. They used some neat toys to bevel them. But it was sup to me to make sure the top plates lined up.

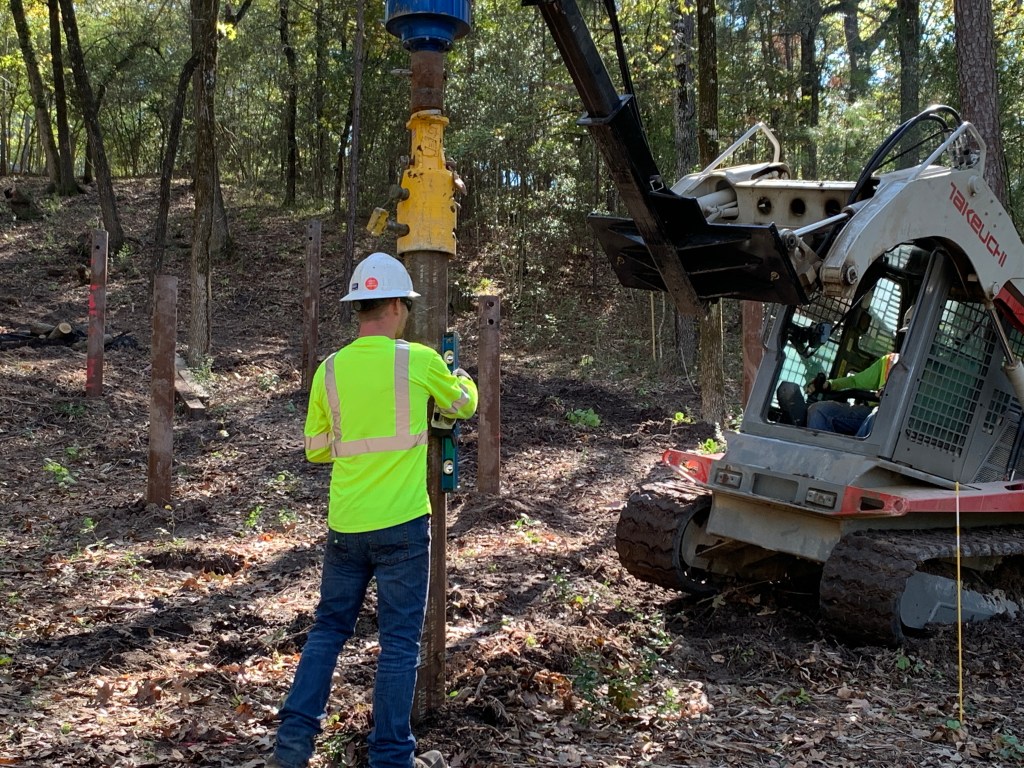
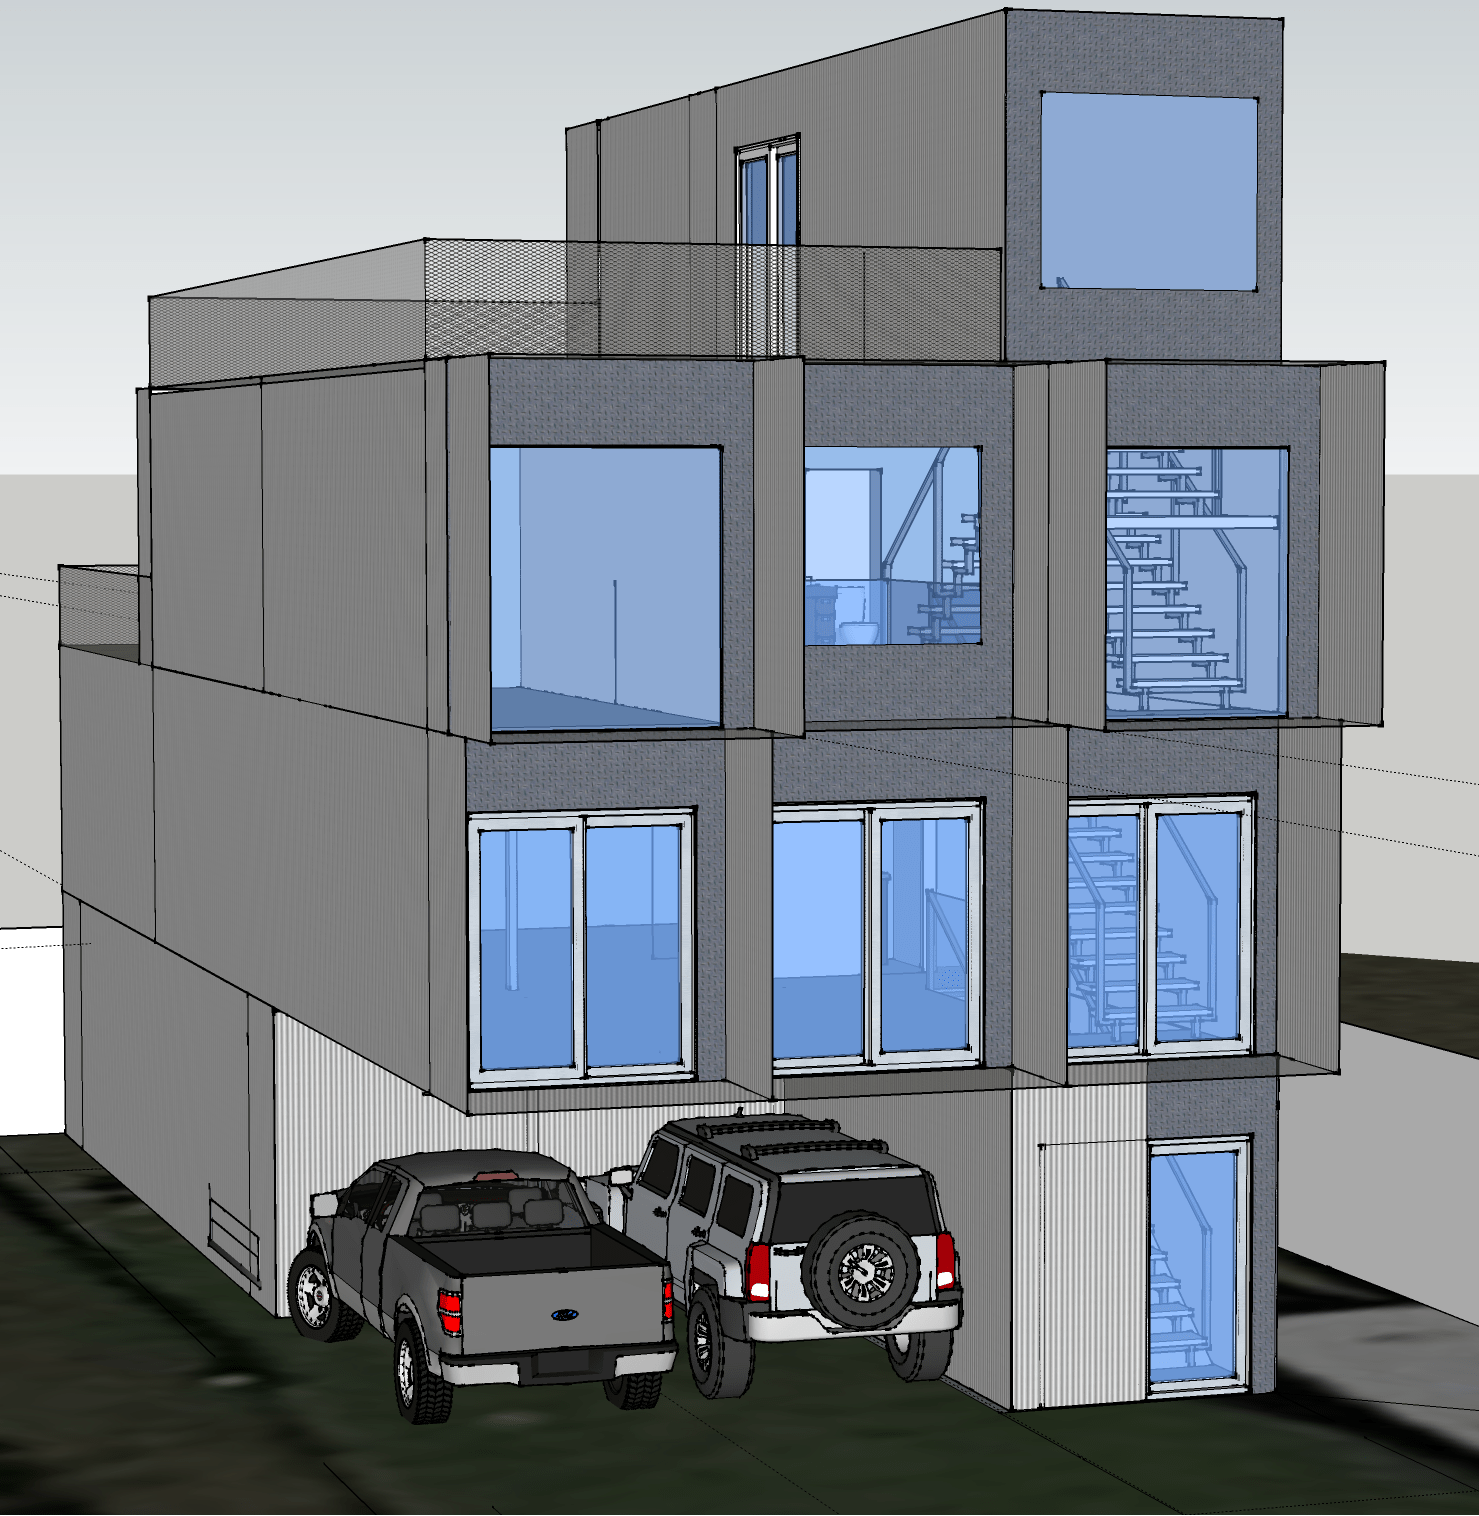
One of the reasons for sticking with helical was to have the floating look on the water side. With the elevation change of the property, the end of the house facing the water is a little over 9′ off the ground to be level with the back side. The steel piers meant that metal top plates can be directly welded to the pilings and the containers can be welded directly to that. Because it is nearly impossible to get every pier PERFECTLY located and plumb given the various ground conditions, the top plates allow some adjustment to make sure the containers have a footing where they need to be. You can’t change the location of a container corner in relation to the others, but you can move the top plates a little. On a couple of occasions, there was a rock that was big enough where the pier had to be angled a bit to get around it. One couldn’t be bypassed. The operators / installers were very good, but they don’t know when they are going to hit something that keep it from being perfect. It will be a nail biter when the containers actually arrive though, because even though some adjustments were made, a 12 x 12″ top plate doesn’t give tons of wiggle room.
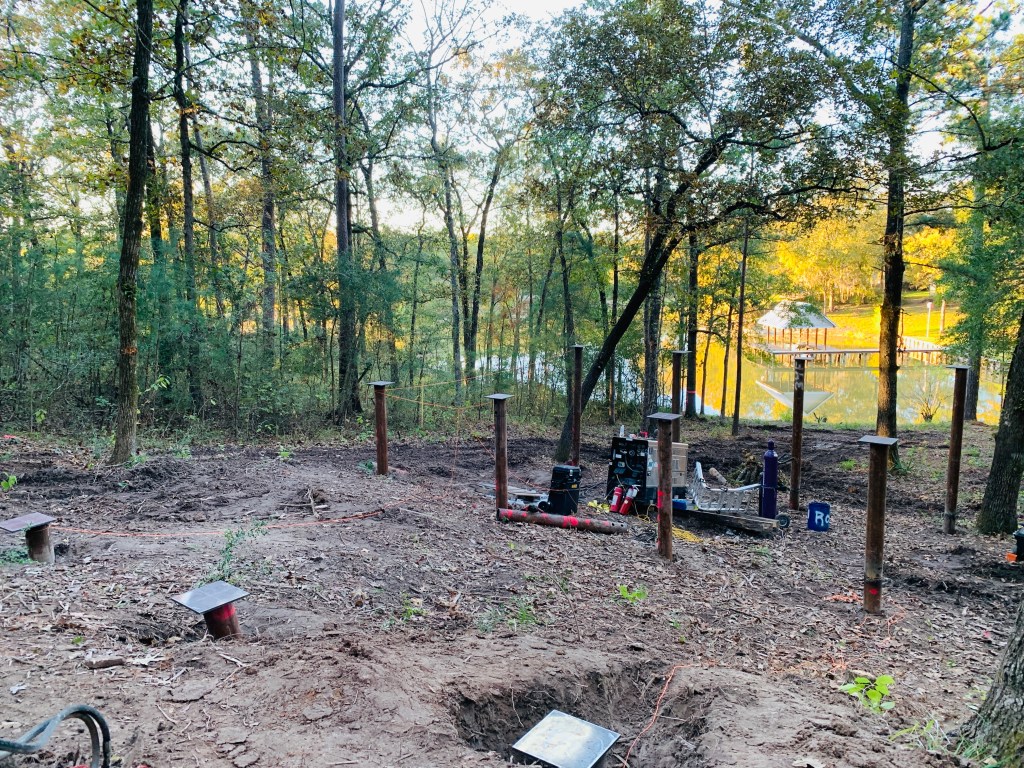
I decided after installation of the planned piers that I was going to add two more for a couple of reasons. They installed those without me and at the time when they came back to finish the top plate welding. One was added due to a corner not being able to go in deep enough due to an obstruction. Of course it was the last and tallest of the originals. It probably would have been perfectly fine as is, but we all agreed now was the time to add another for additional support and leave that one as it was. The second addition was basically a since they were already doing one more, a second wouldn’t be that much of an adder and it would be useful for the entry deck and roof support. It is now going to be used for the corner post of the roof and the corner of the deck. Originally I was going to do that in wood, but figured this would be a better choice since I had the opportunity. Because it is now already installed, that jumpstarted the entry deck construction. The skeleton for that is up and just waiting for some additional posts for support and the decking on top. Those things will be fairly easy. But having that major part installed now means that the “front door” of the container will be immediately accessible once the container lands. No need to climb ladders to get inside for work that will be needed.
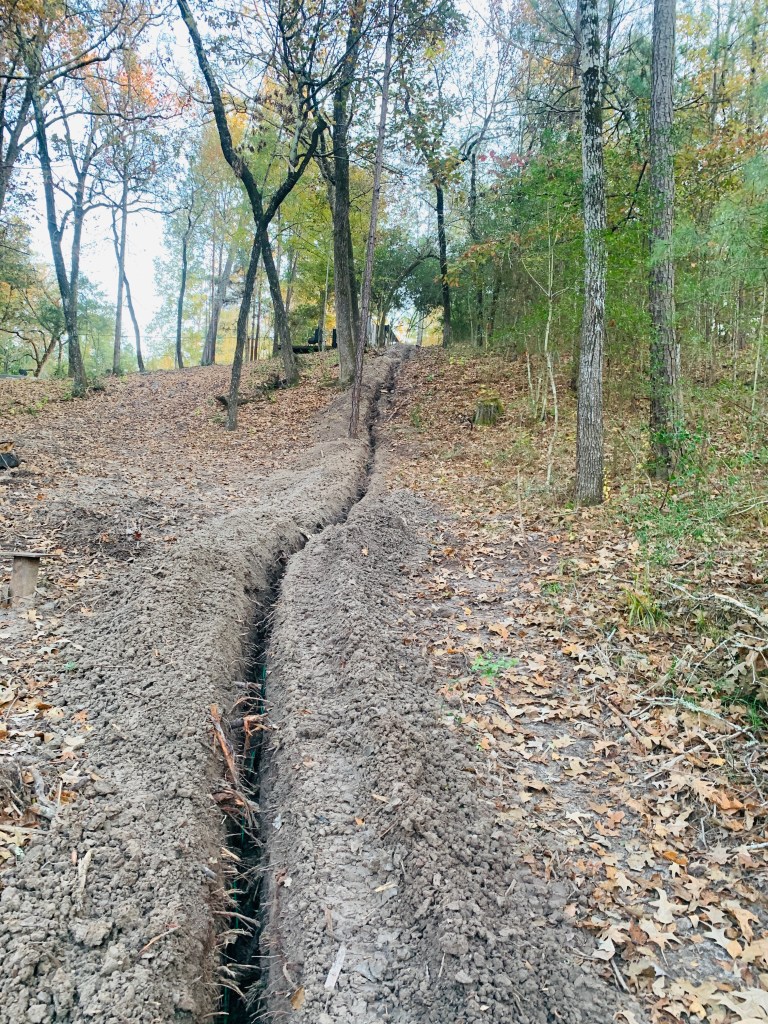
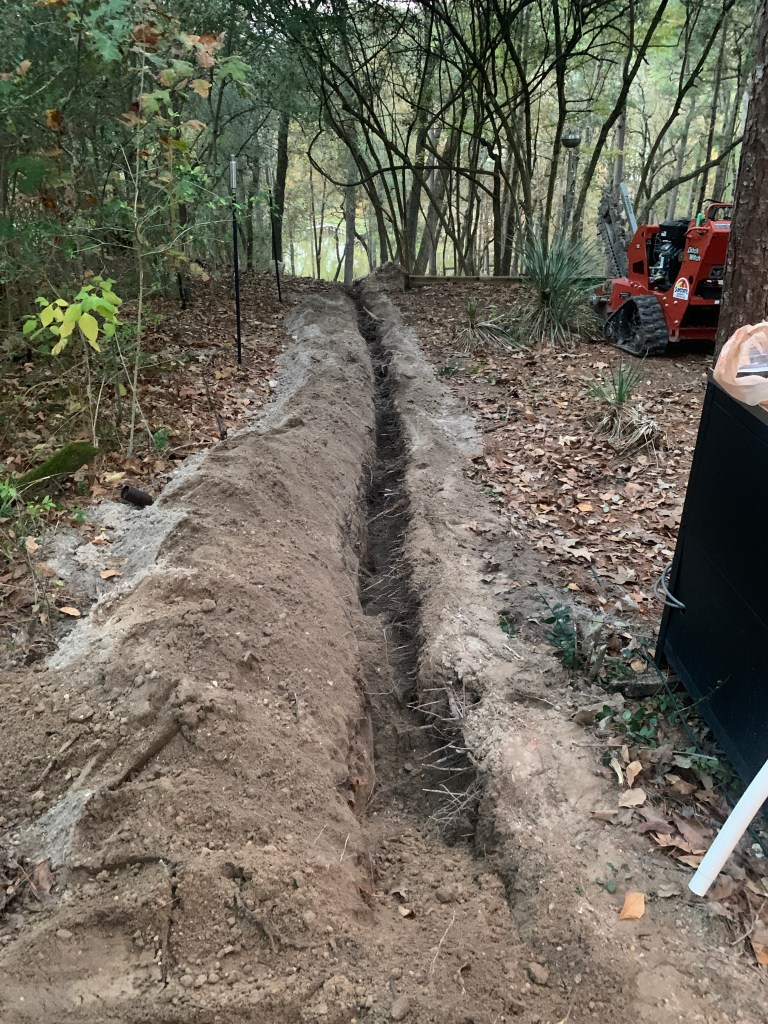
Armed with the piers being complete and the knowledge that there won’t be any inspectors throwing out any unknowns at me, I decided to do the power to the structure on my own. The main pole / meter / breaker panel was installed by the electric company. I was glad to pay them a little to do that. I added the RV outlets to that and am powering my temporary headquarters (an RV) from that directly. I decided to bury the power to the main house from the pole since it would look nicer. I tackled the trenching myself and this was all a first for me. The first attempt at trenching didn’t go so well, but that was mainly because I had the wrong equipment. The second attempt, on a following weekend, went well and I got 240′ of trench dug, wire laid, and panel connected over some sketchy terrain in one weekend. It works and would be completely up to international building code, if there ever was an inspection. (There apparently won’t be.) I was pretty proud of myself for that. It was a big project to be a first attempt, but it worked out. Like many things related to container construction, it tends to be overdone for the project.

The containers will be the next big milestone. I don’t have an exact date, but it should be within a few weeks. I already plasma cut the lip off the container I already own on-site. That will allow it to marry perfectly to the other one. I ordered a container dolly, which I think will help immensely in getting the containers down the slope. A 12,000 lbs all terrain forklift will be the other necessary component. Once I see 5 containers sitting up on those pilings, I can stop sweating that they will fit and how to get them down the slope. After that, I can go nuts with all the stuff I am actually pretty comfortable doing in home construction. I will be holding my breathe until then though.

Looking good! Good job.
LikeLike