Last week, I spent a good amount of time fixing container issues caused by the mishap during placement. It wasn’t too challenging, but did take a fair amount of time and patience. One thing that you find with containers is that once they are bent out of shape, they are impossible to get back into the original condition. Dings are mostly fixable, major dents are not. This is an important reason for using better condition containers.
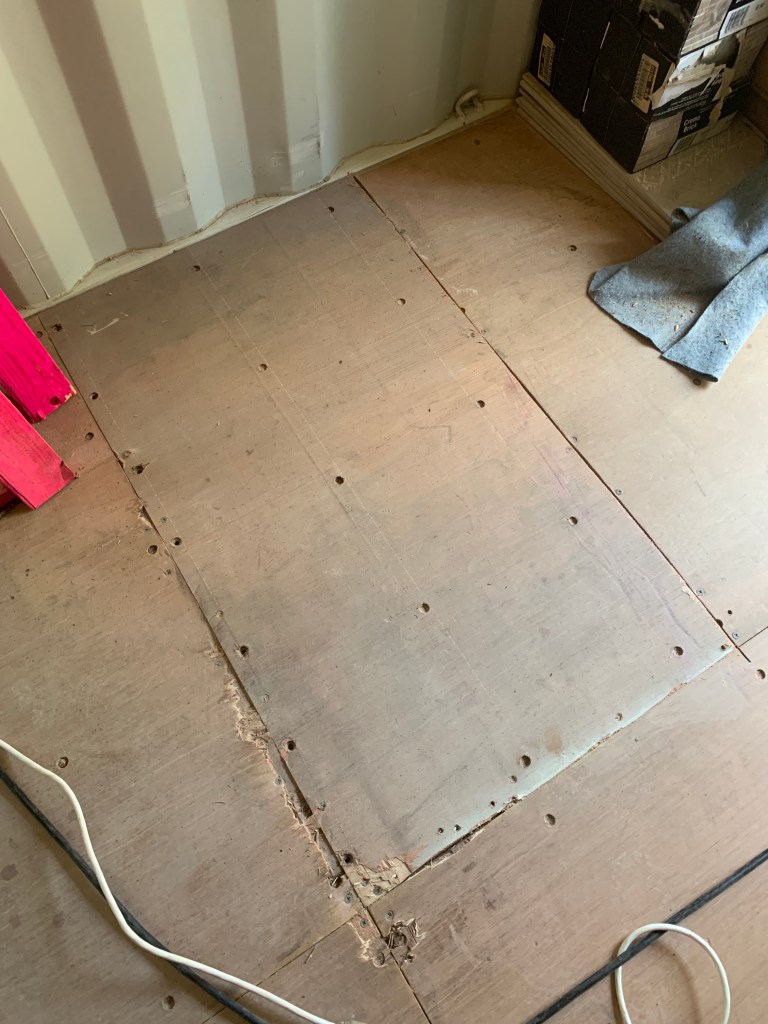
I was able to use the wood flooring that I cut out from the second floor for the stairs to repair / replace the floor at the entry container where the pier pierced it. The floor rails that hold the wood were bent, so it was never going to be perfect. But considering that the entry will be covered in tile or similar, it just needed to be structurally sound and flat. I accomplished that.
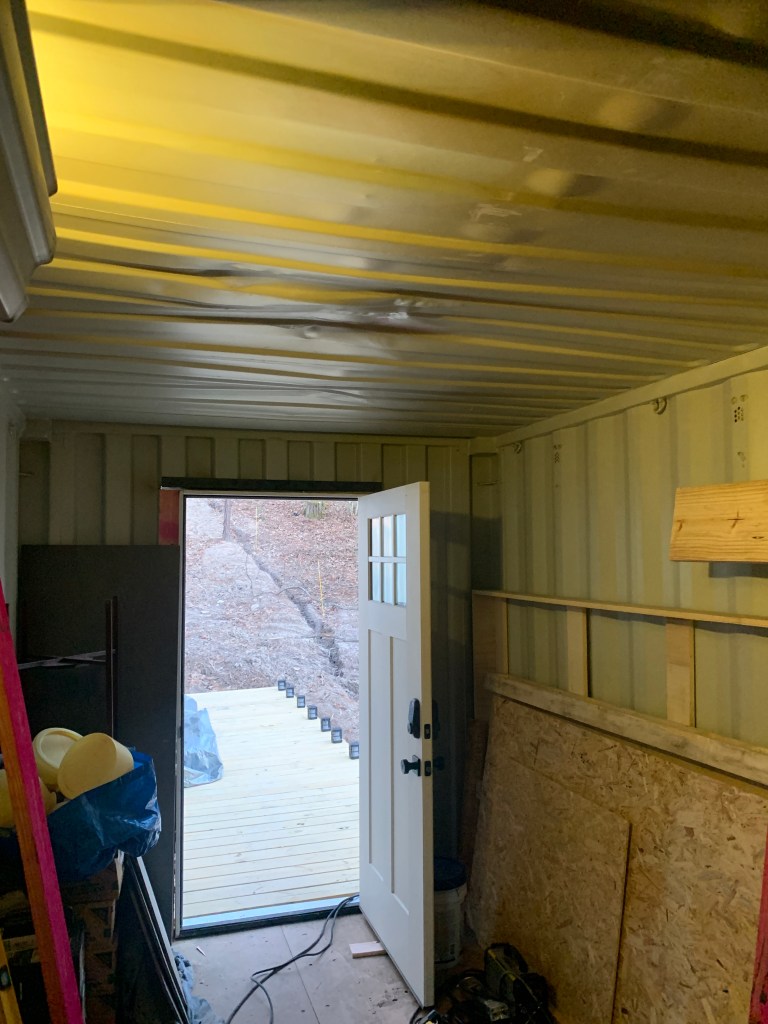
The ceiling will not end up looking as good, unfortunately. The bucket from the excavator did a number on it. I spent hours with a floor jack, a jig I made, and moving the rig around to push the ceiling back up. It was holding gallons of water when it rained, so it was important to fix this huge depression. I got it back to flat or at least not concave in most areas. So while it doesn’t look that great, it doesn’t hold water. And there will be a wall there, hiding the worst of it, so if I need to put a ceiling covering here, that won’t be the worst thing.
The rest of that weekend was spent cutting out the floor, floor rails, and ceiling for the stairs from the first floor to the second. Again, the plasma cutter is a life saver. I can’t imagine all of that cutting with a grinder.
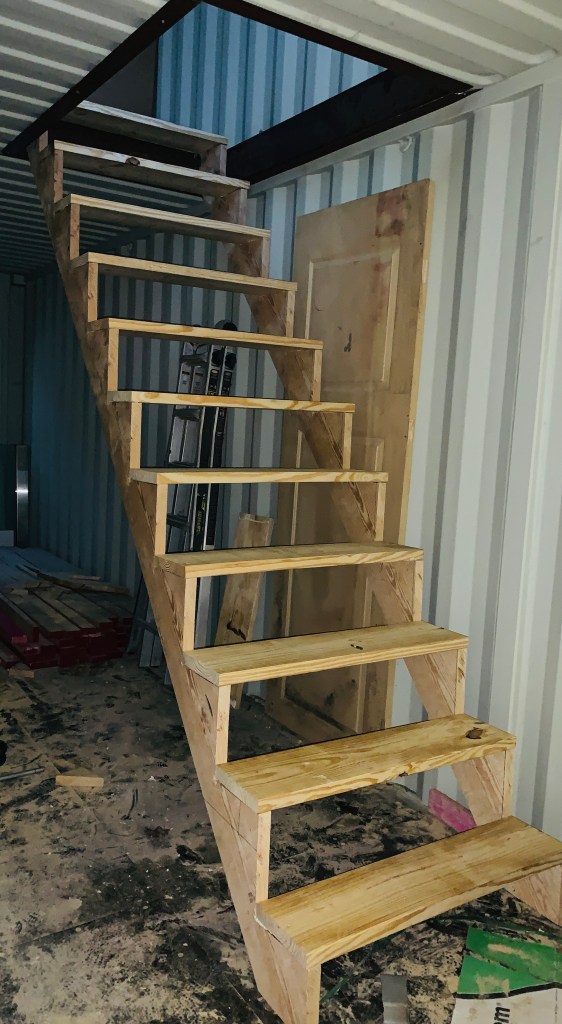
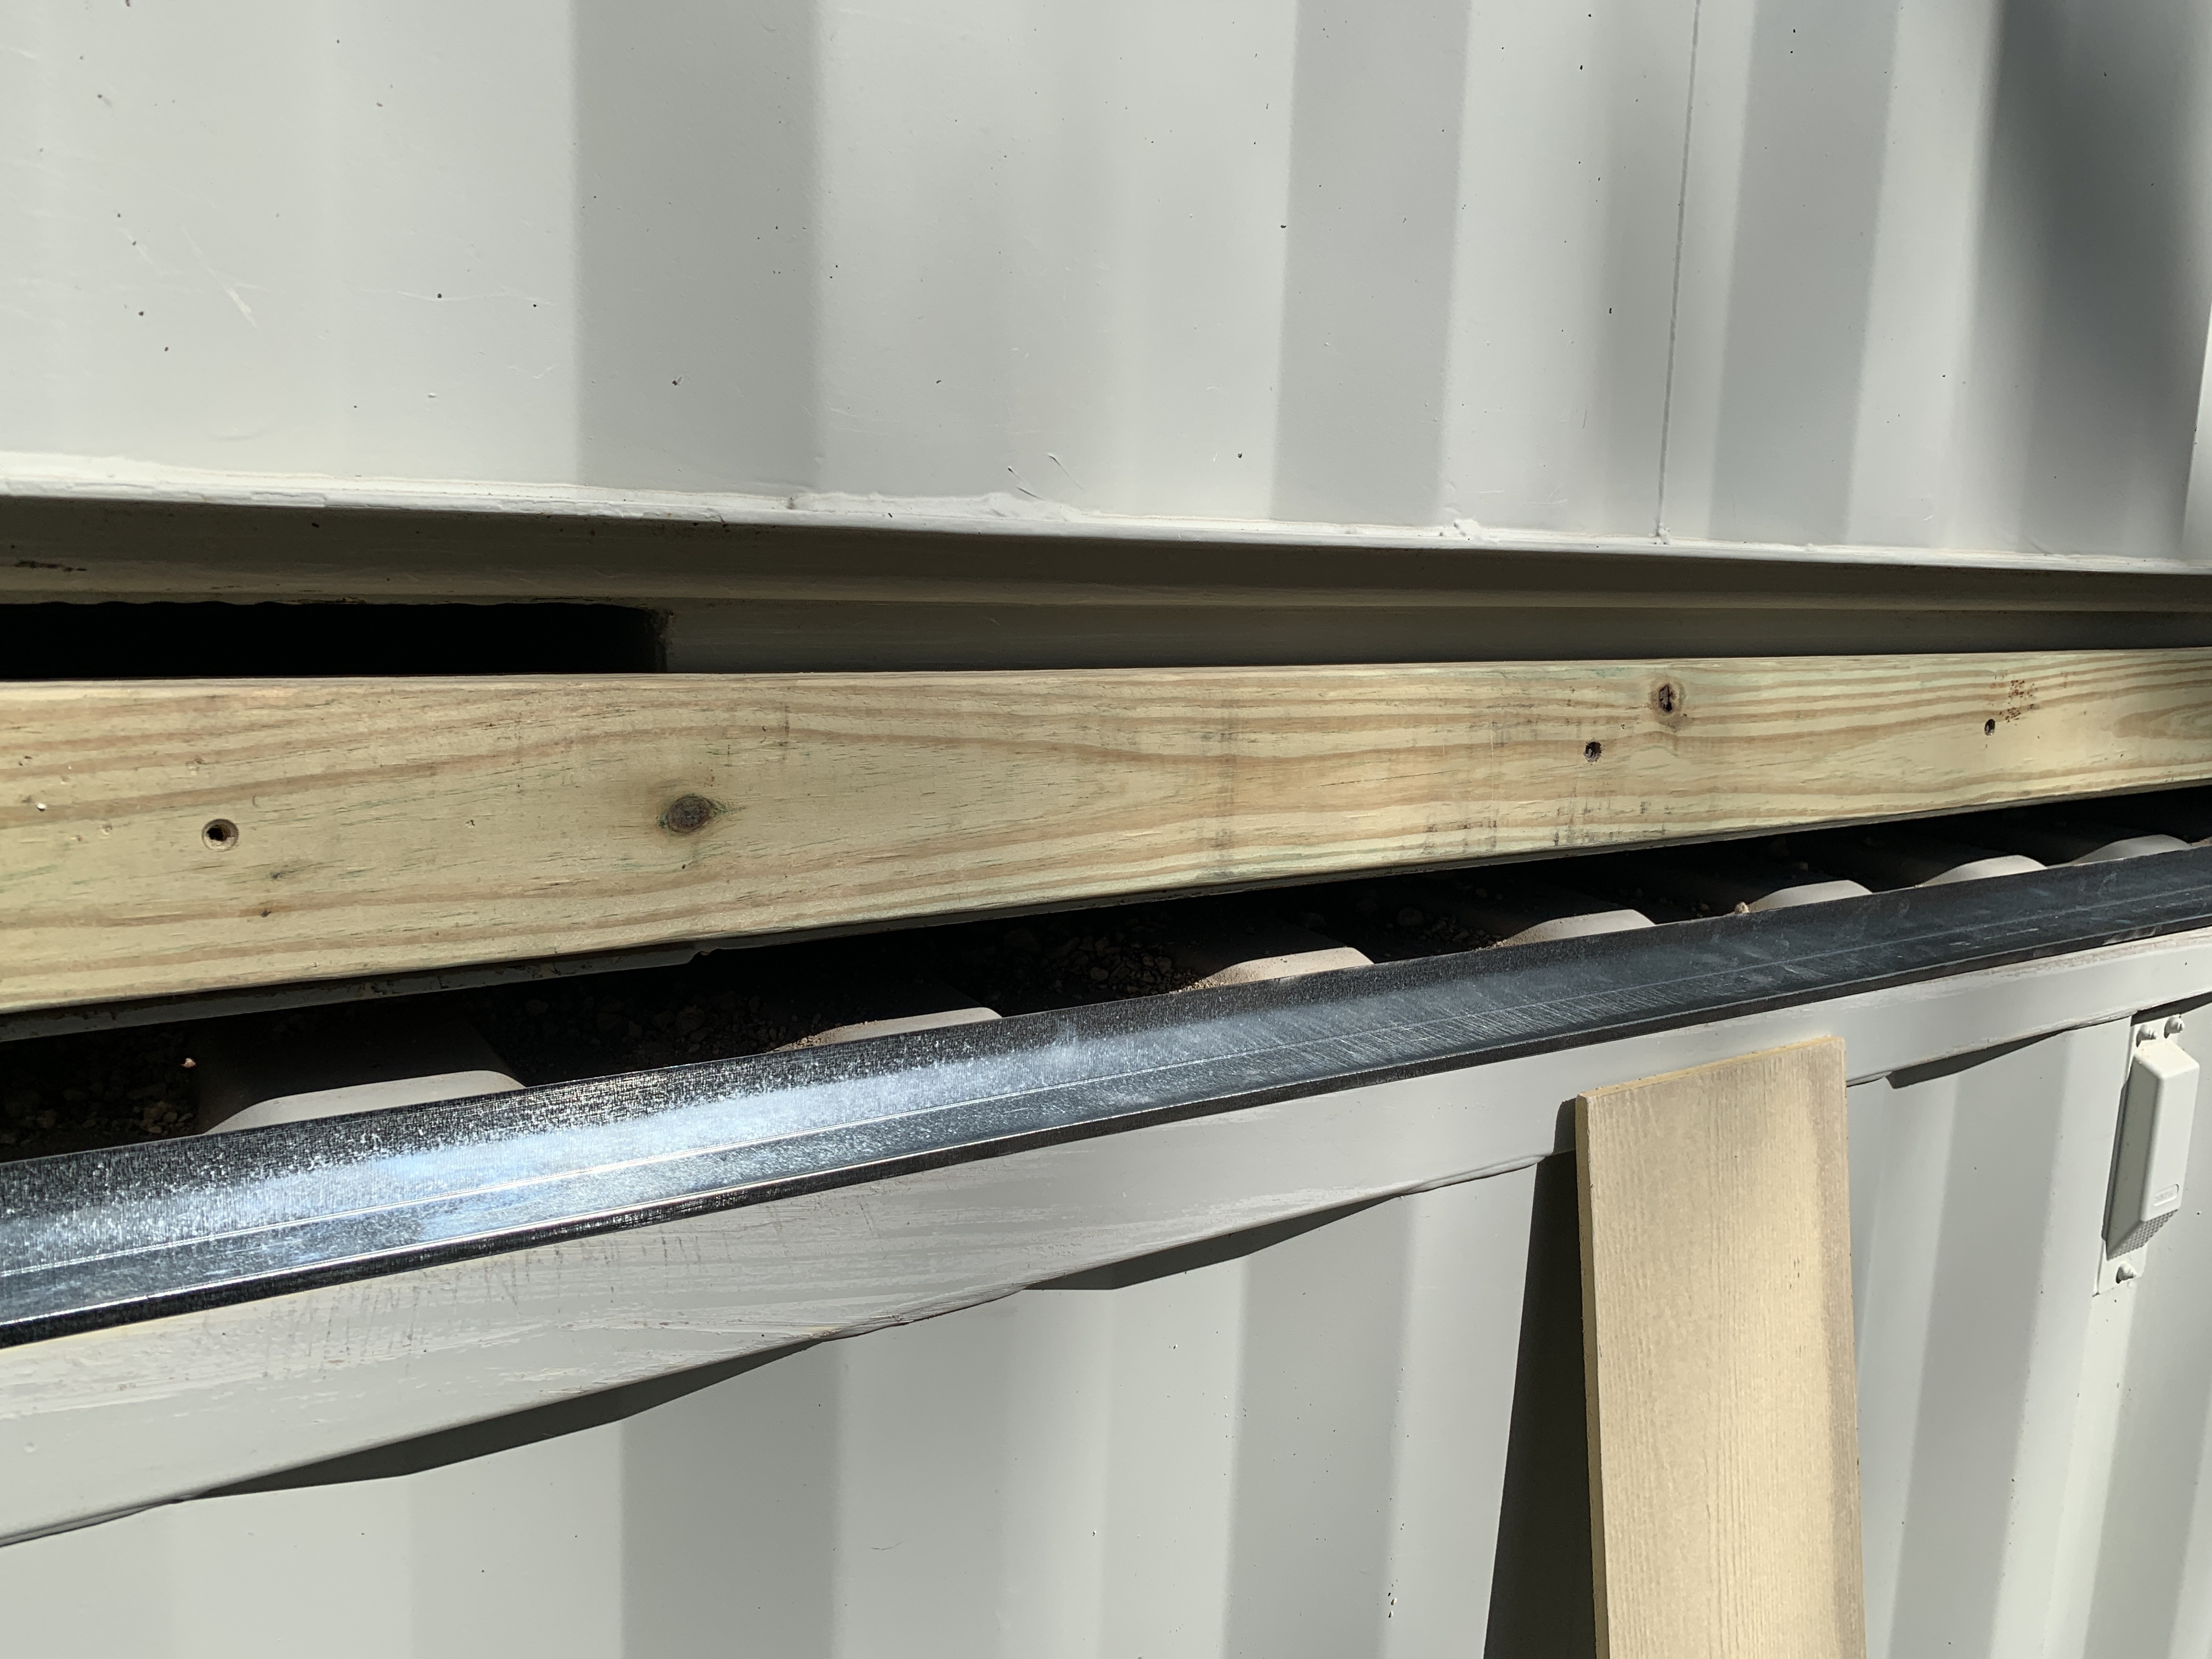
This weekend, I came back with 8″ purlins, which are the perfect size to close the gap between the two floors. I loosened up the remaining floor boards and squeezed the top edge of the purlin underneath it. It took some work, but the end result turned out well. This is the way it was done at my Houston house by the welders. I didn’t weld this though and used steel structural screws for most of it. The rest of the stairs construction was pretty typical and I did the calculations and stair stringers myself. I had to make them a little steeper than standard to fit the space and not hit your head on the ceiling. (The door in the picture is garbage I should have moved for the pic. It was just there to protect things as I worked on them.)
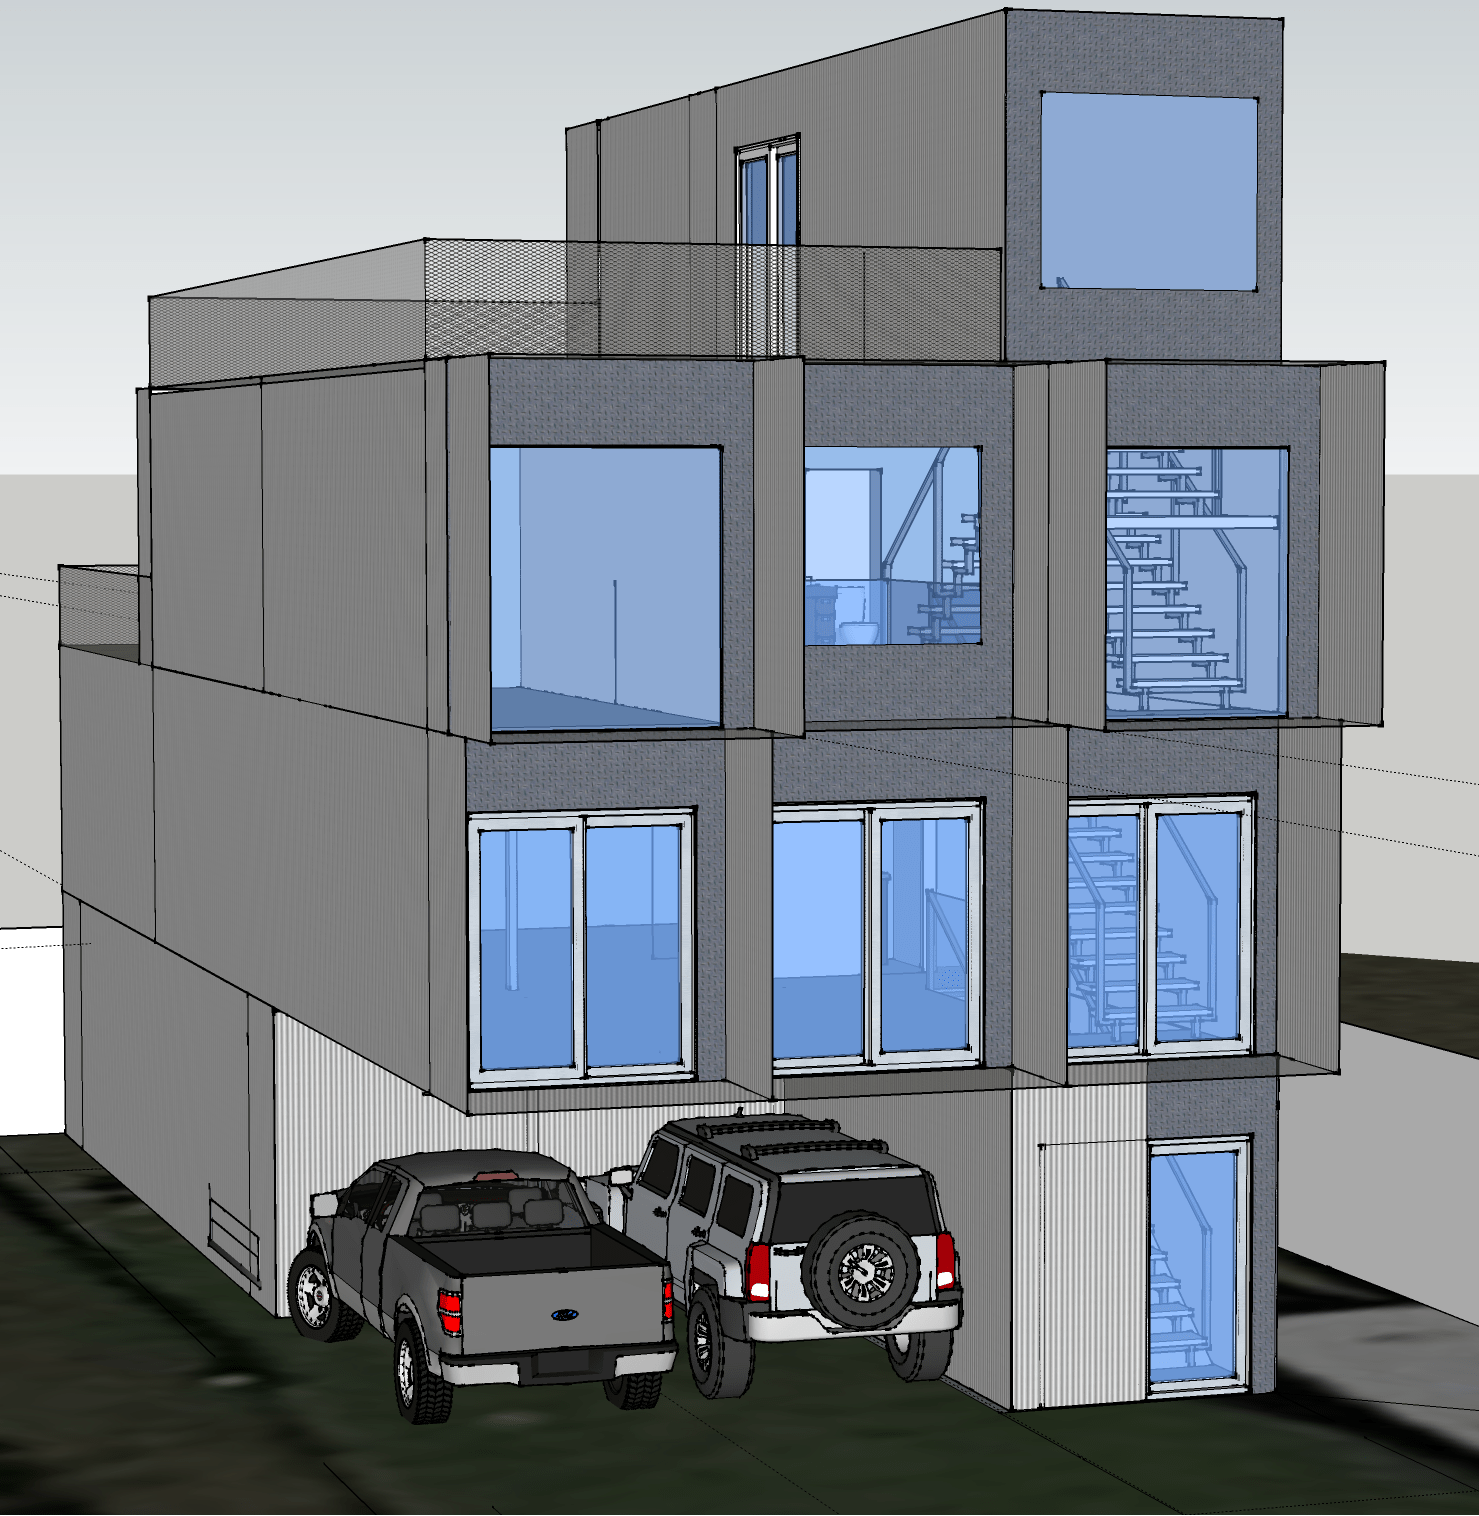
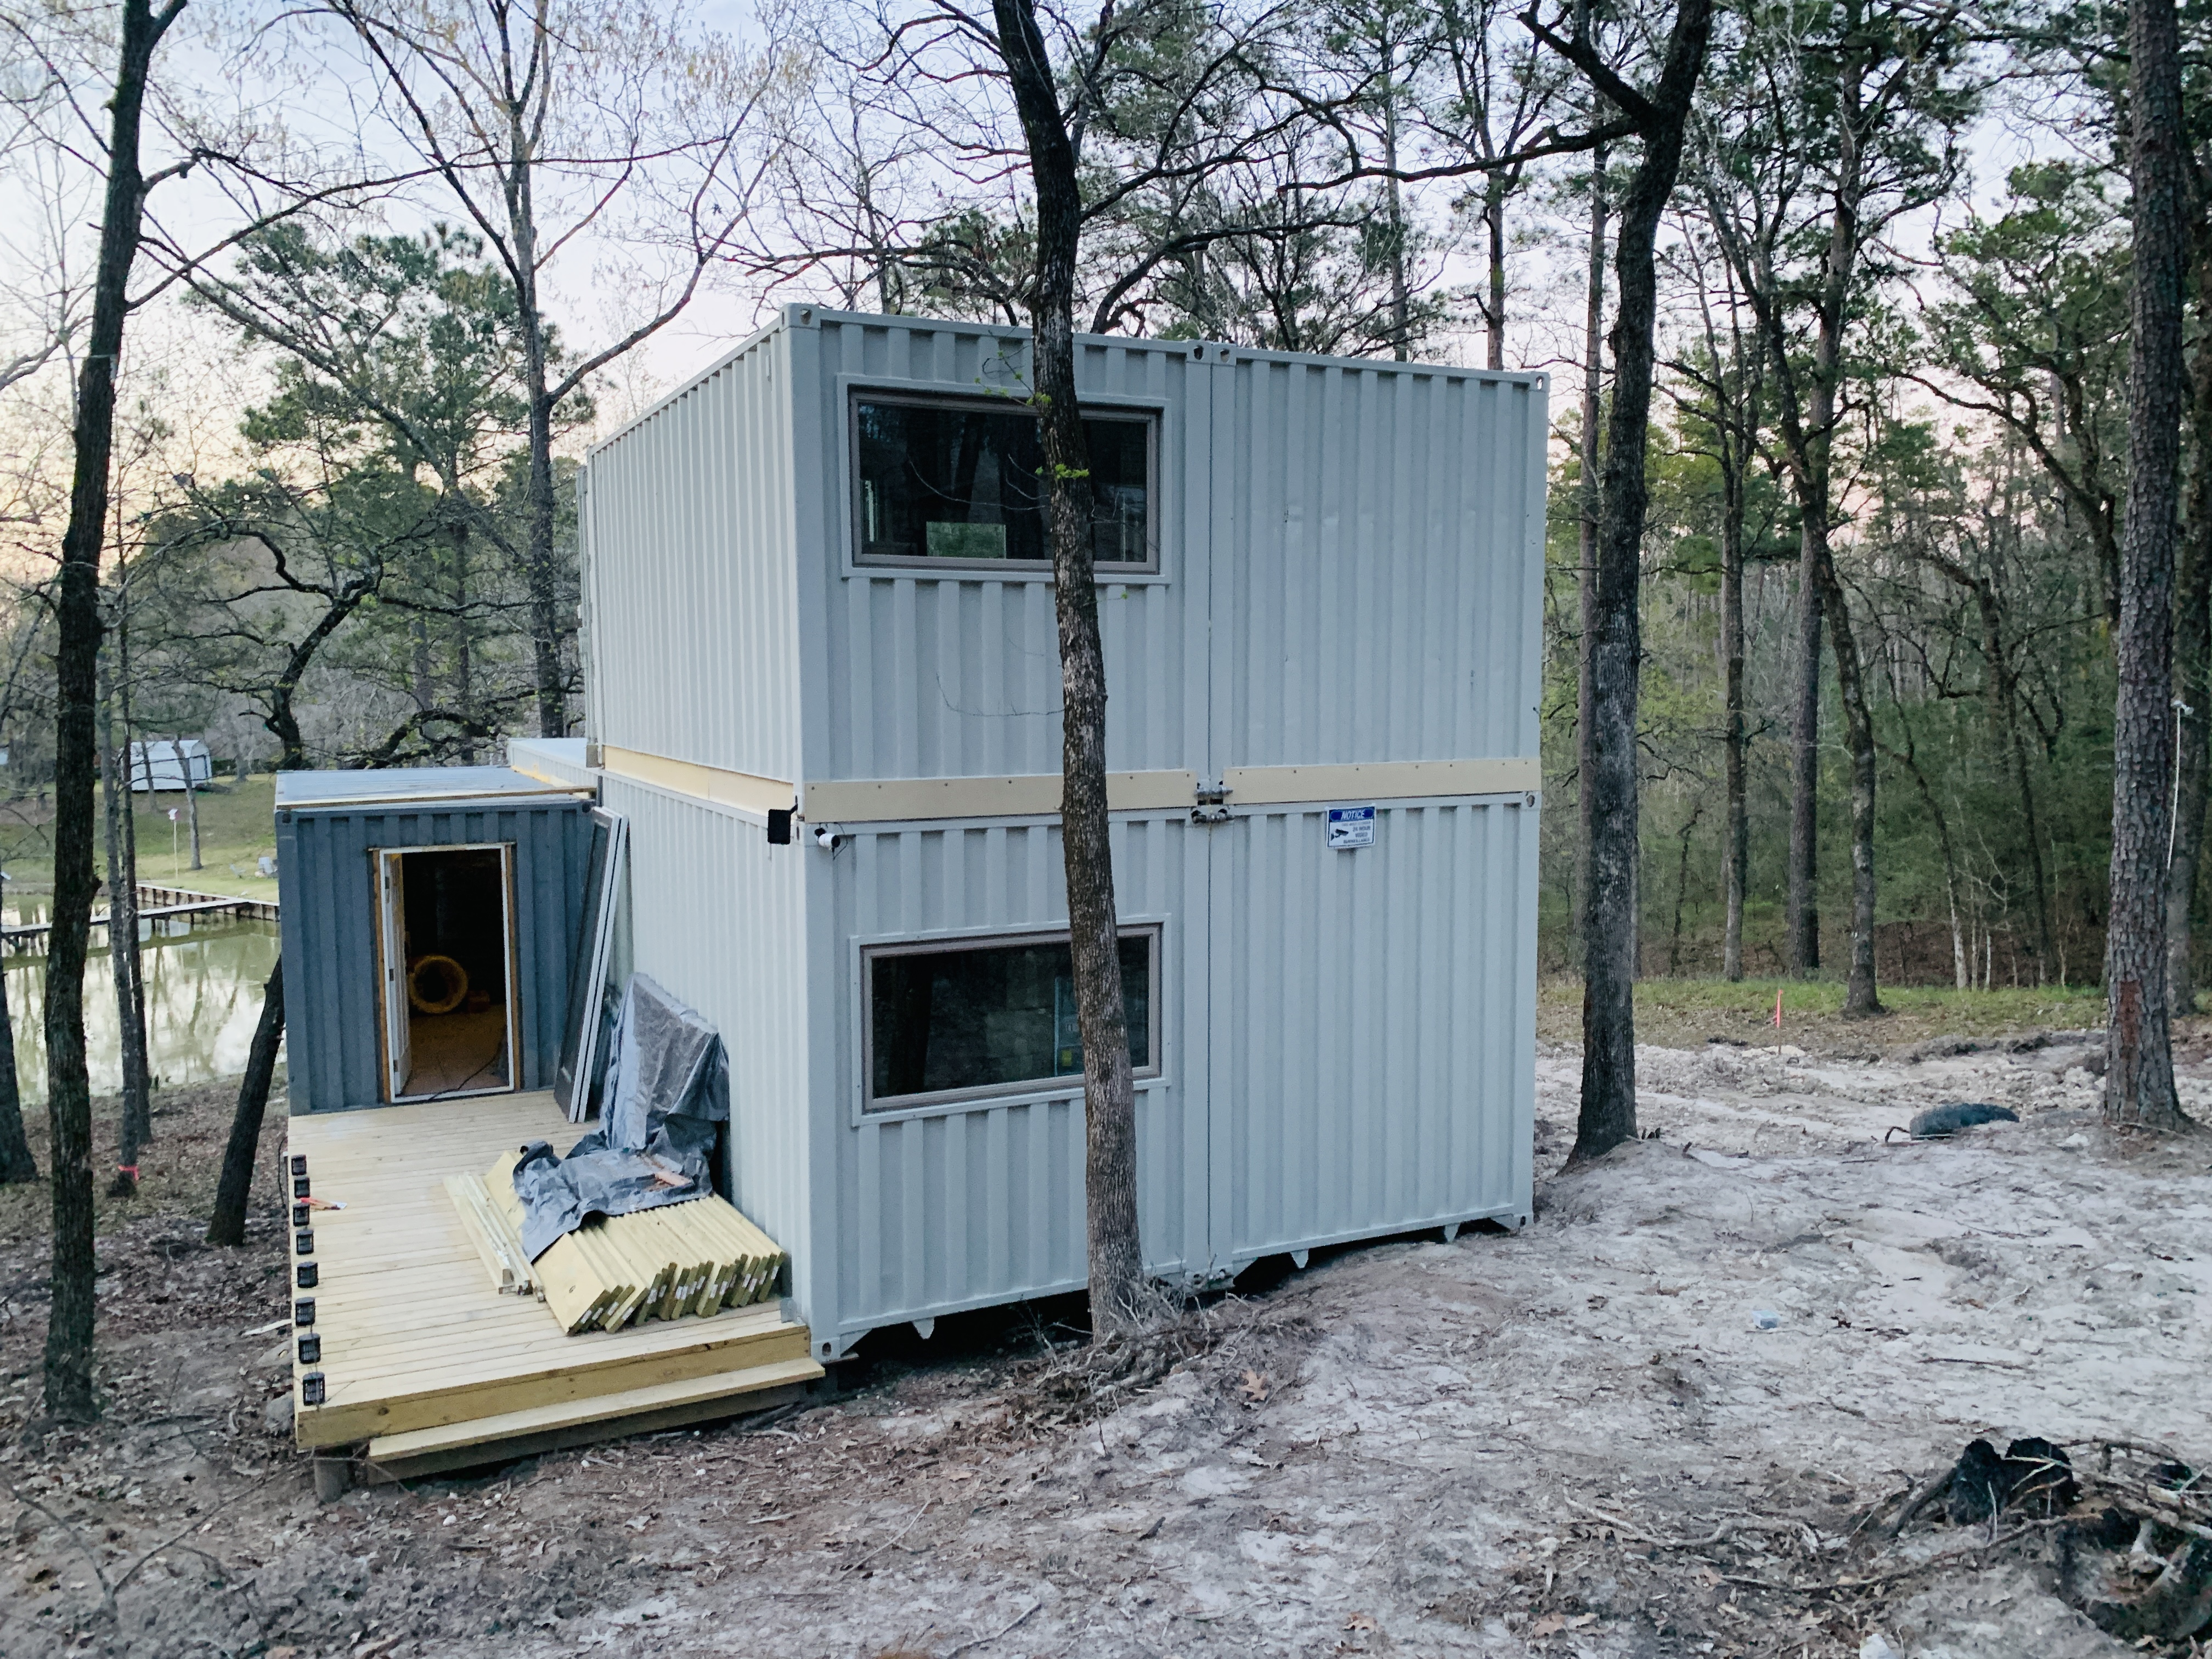
I was also able to finish the outside gaps between the floors. As a reminder, my structure uses container twist locks between the stacked containers. Many involved in container construction set them directly on top of each other, corner post to corner post. My original structural engineer recommended using the corner locks since that is how the containers are designed to stack. While it does leave a larger gap, there are advantages. The containers are immediately locked together and don’t have to be immediately welded to be safe. Not that I ever expect to need to move them, but they are also structurally correct and the locks can be reversed to separate the containers. There ended up being another benefit to this when I went to seal up the gaps on the exterior between the floors. The dimensions of the rail, the gap, and the setback of container bottom to container top worked perfectly to use standard building and siding products to make a 3 step closure. This appears to be an even better (looking and performing) solution than what the welders did at my Houston house. Plus it was less labor intensive than welding plate metal down the lengths of the containers. It took several hours, but I am happy with the results and I was able to do it by myself… with no welding.
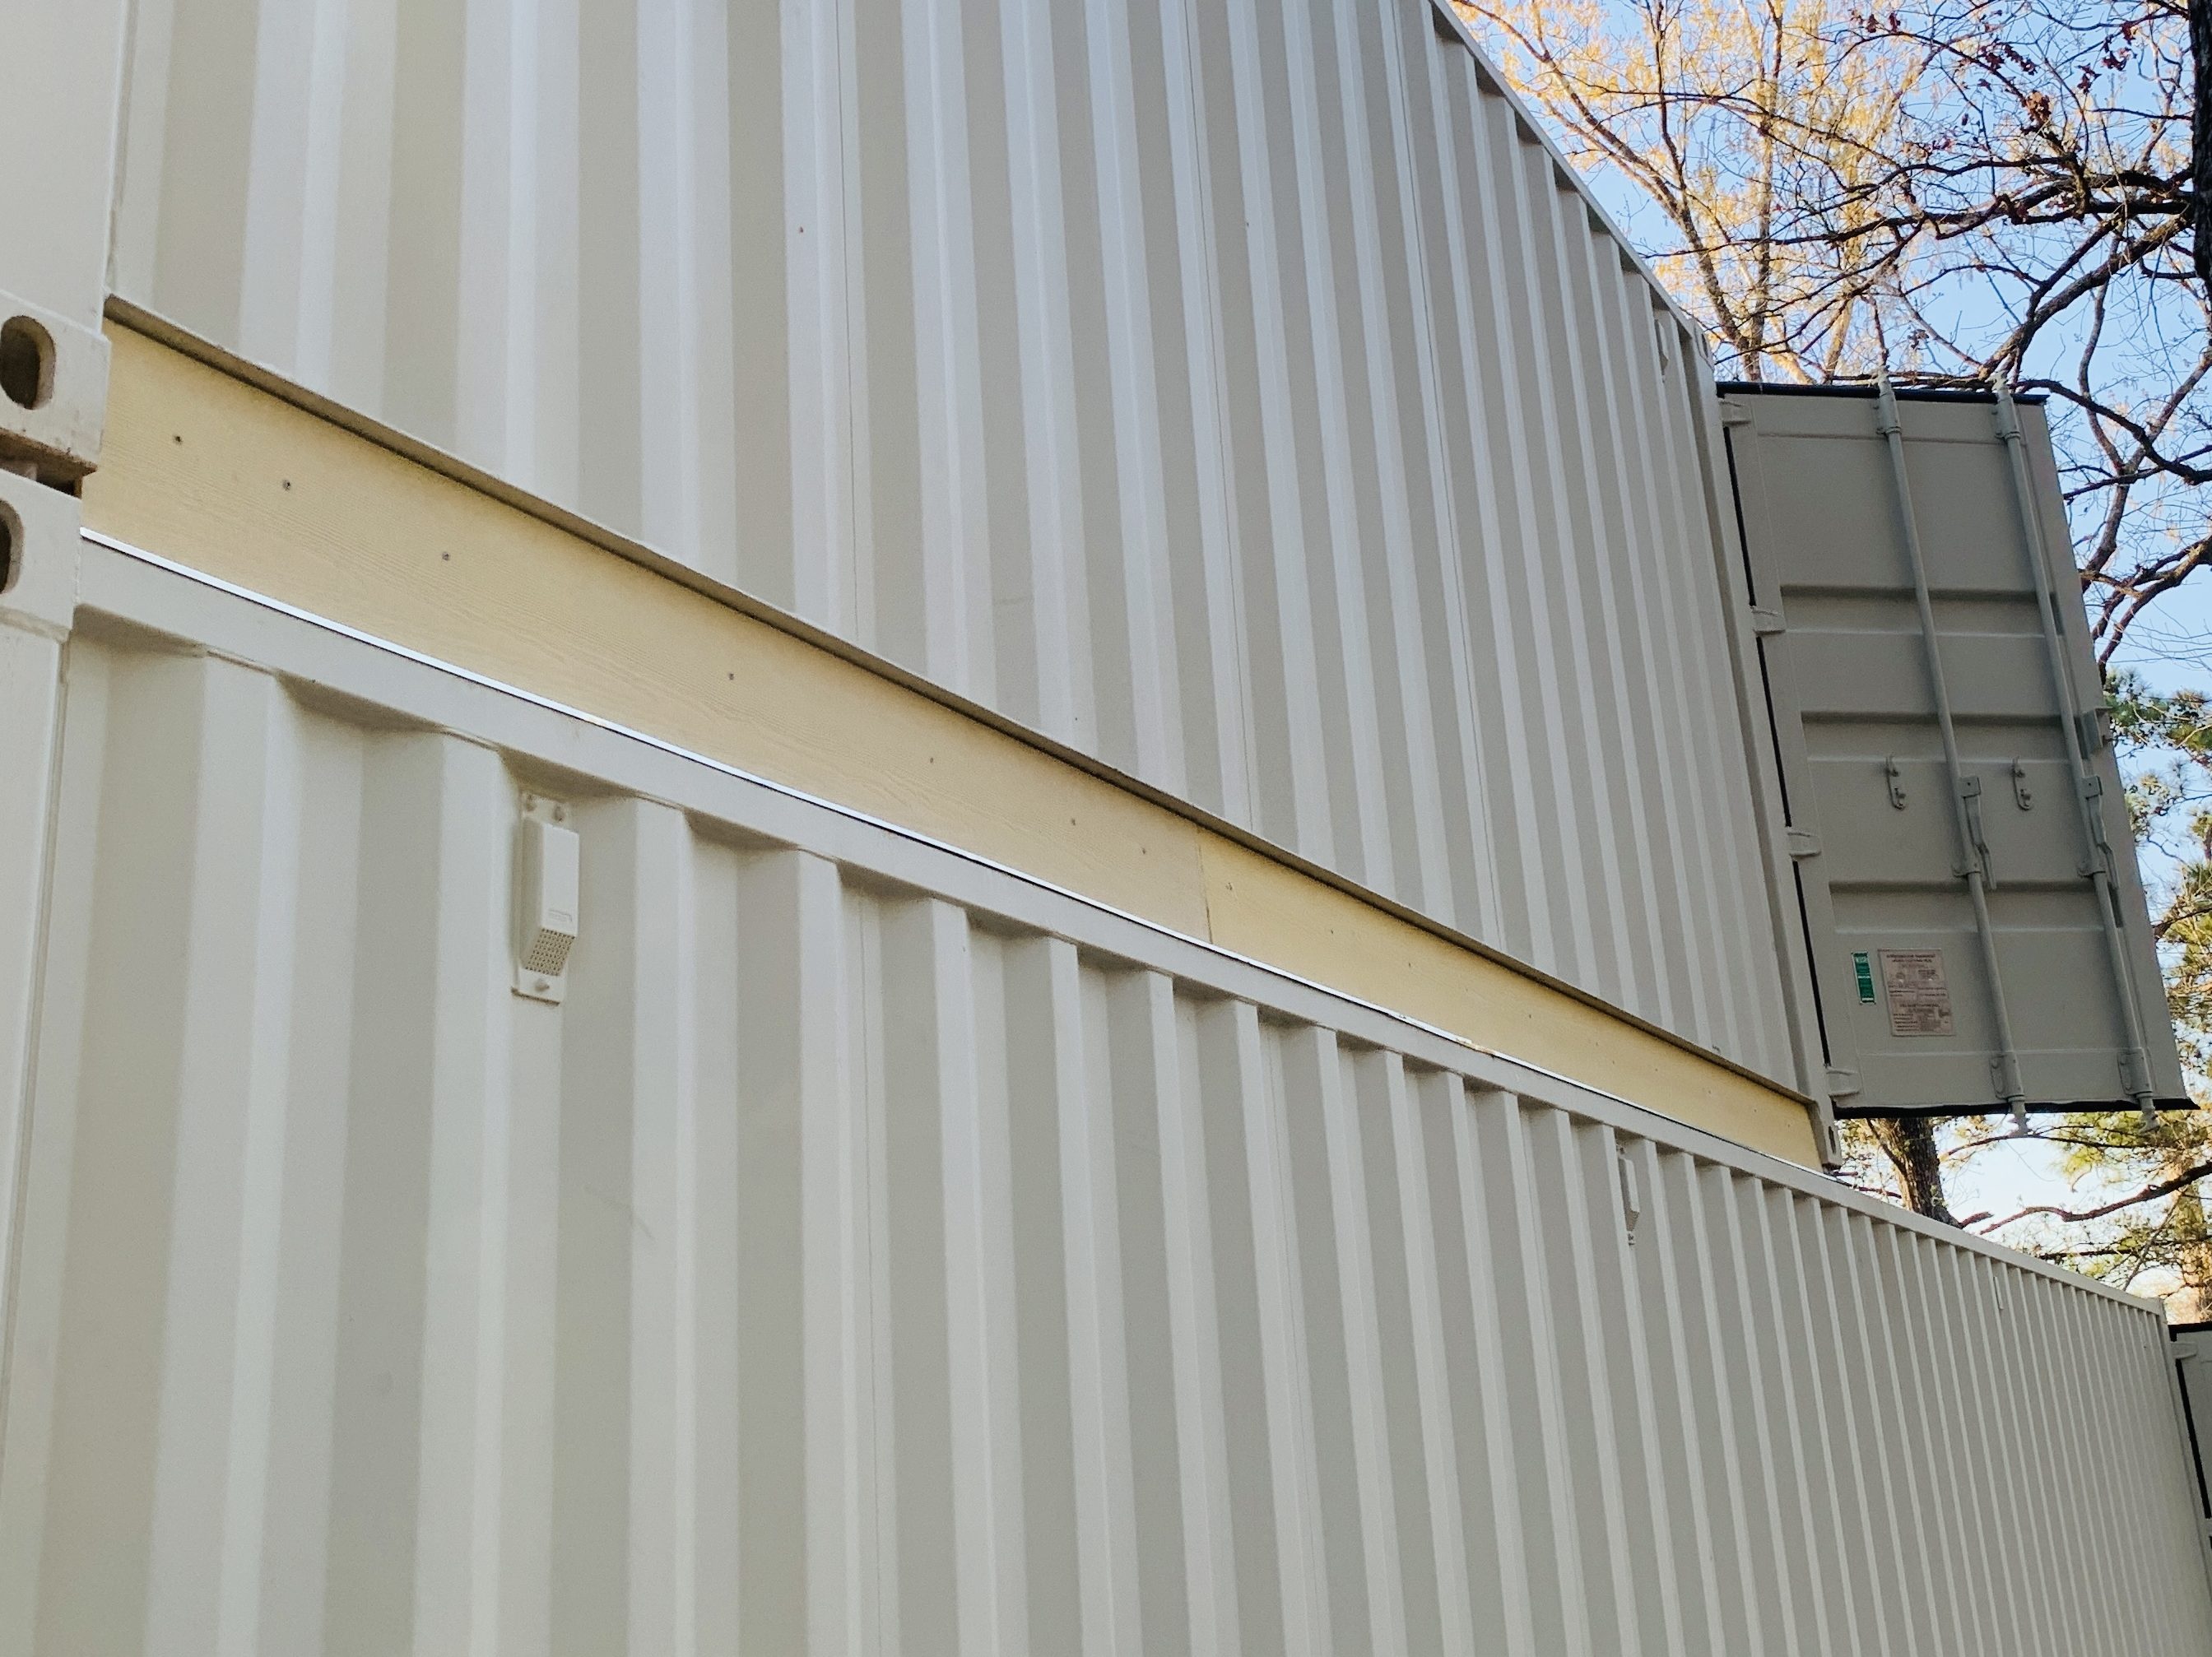
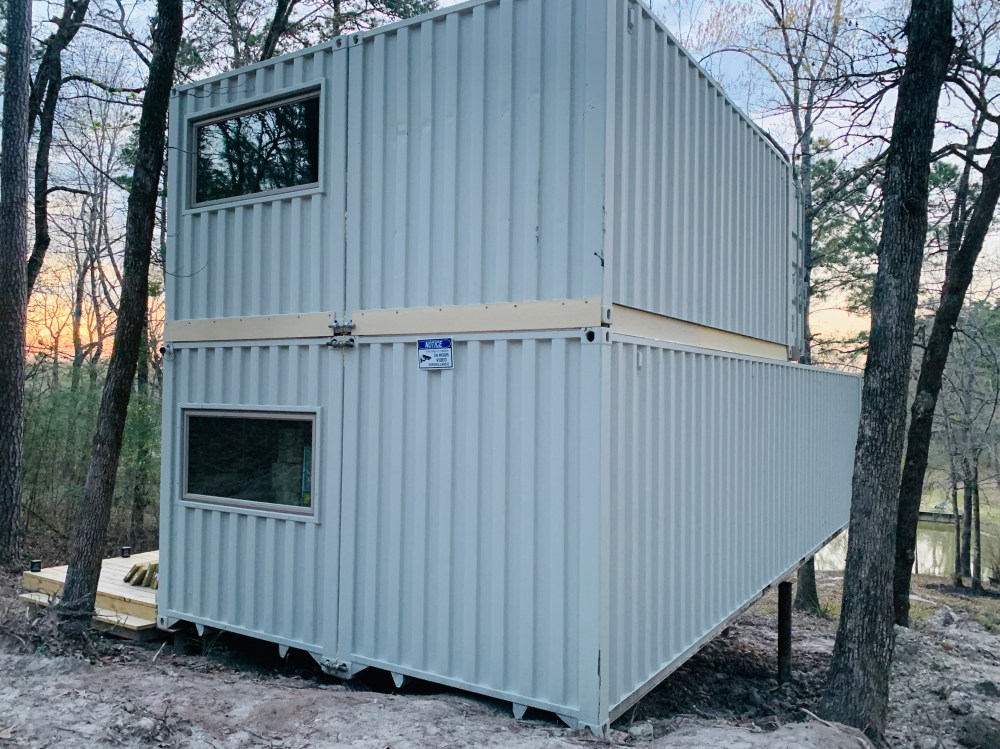
I used a standard 3″ flashing with drip edge. I adhered that to the top of the first floor container edge. I attached a treated 2×4 to the bottom rail of the second floor container. This gave me something to mount the standard 8 1/4″ Hardie Plank pieces to and lines up the siding vertically with both containers. The 3″ tall flashing prevents the water from coming back into the space. The first pic shows this. I have seen others, including at my other house, install the closure piece as metal and at an angle to prevent water infiltration. That is not necessary using this method. Once both of those were in place, the Hardie Plank was mounted to 2×4 support. This left just enough room to go back and caulk all of the seams. But even now, it is unlikely that water can get in. Once this is all sprayed with the same color paint, it will disappear and look like it was made to be this way.

I also added some additional seam tape and roof coating. Until the real roof is in place, I wanted to make sure the roof seams are completely waterproof. There was supposed to be a bunch of rain coming, so the last thing I want is water getting into the containers from the tops or sides. I forgot to take a picture of the completed roof seams, but those are pretty standard and don’t look that different from that original post.

Thanks for sharing the process.
LikeLike