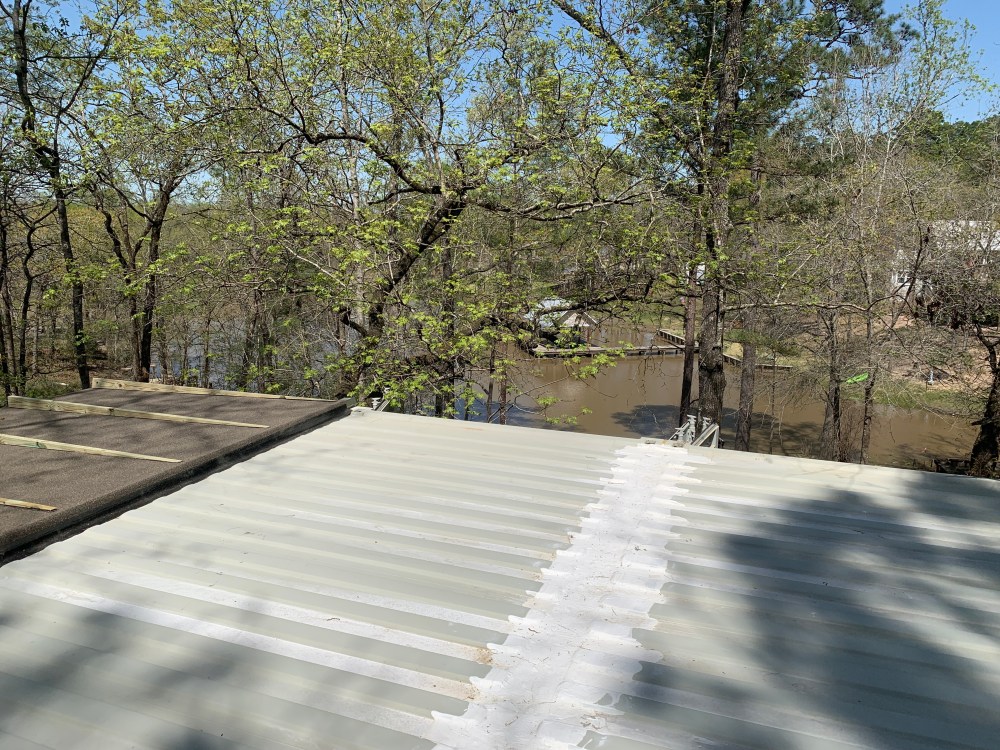
It was such a nice weekend that I hated to be inside much. But I have to do what is next on the list. I managed to get shims between some of the container bottom rails and the middle piers (since the bottom rails are a little more elevated than the corners). This helps stabilize the structure further and reduce bounce. Plus it gets it ready for welding to the piers and for that to be done as one task. I did also finish up the last of the weatherproofing on the “roofs”. It isn’t pretty, but it functions and will be covered by the decking. You can also see in the pic how the roof joists and roof material of the shorter container meet up with and seal up the seam between the two containers.
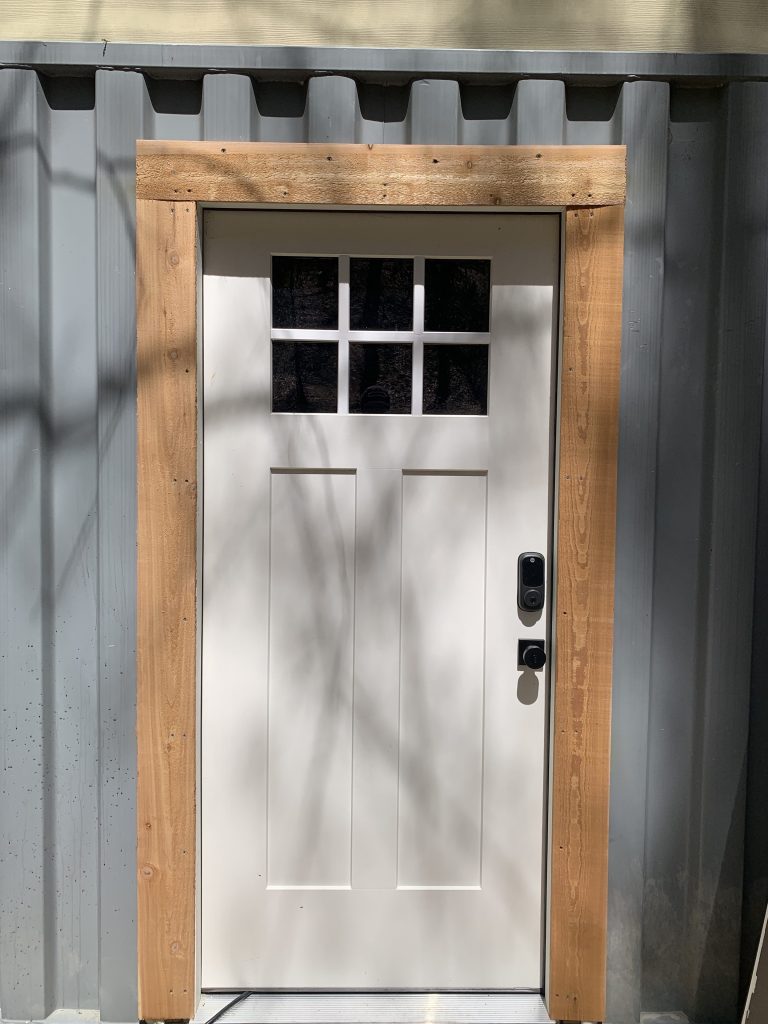
I also finished up the trim around the front door. Nothing special, but it finishes the sealing and makes it look correct. I just used cedar, but will probably paint it at the same time and color as I do the other trim and containers.
Before I could start framing, I needed to get the insulation installed. I wasn’t able to get nearly all of it done, but I did get a rather large section completed. I learned most of the in’s and out’s of Insofast container insulation panels. I wouldn’t say it is misleading, but when you watch the videos of this being installed, be aware that they have precut all of the panels for the container hooks, top / bottom sections, and end pieces. What seems like a really quick installation only happens for the main, middle sections. Bottom, top, and end runs all need modifications. It is pretty fast work with a hot knife, but they leave most of this part out of the videos and instructions. I honestly had no idea I would have to cut down every, single top row piece to fit an HC container. I hope that is not the case for a standard height because I have 3 of those to contend with. I will find out soon enough.
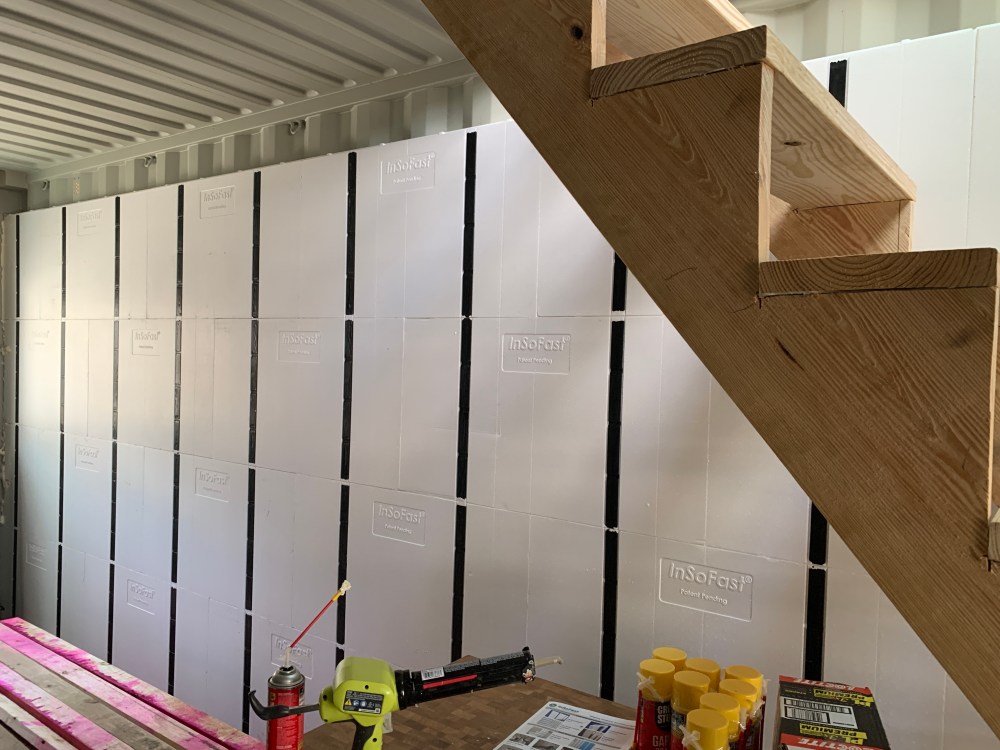
I forgot to take a picture after the top row was installed, but you get the idea. Because these are one trip containers and I did address the few minor dings as best as I could, the installation for most of the middle sections is easy and fast. The panels fit well and stick immediately to create a seal on the wall. I would venture to guess that 75% of the time is taken by cutting or modifying pieces to fit around hooks and ends. This may make for a case to remove the wall hooks from the tops and bottoms if you can cut them off quickly. The trade off in speed of installing the insulation panels may make that worth the effort. I didn’t take a picture of what you have to do for fitment, but it does involve cutting every end piece or notching the Styrofoam where the hooks are, then adding gap filler foam so that it seals around the hooks.
I tested the strength of the built in studs, mostly unintentionally, but even during cutting of the panels, they seem to be very solid. They will definitely hold up drywall without an issue. Although it is time consuming, this whole method of insulation can be a one person job and come out cleaner than spray foaming all walls. And when compared to finishing out all of the exterior walls with framing and spray foam combined, this method is comparable in price and time needed, but without needing a professional for any of it. We will see how it fares with electrical and I am thinking exposed conduit might be the way to go for industrial aesthetics and speed. But ultimately I think it will be better insulated and cleaner to do it all using this method of insulation. I would likely give it a recommendation (I am cautiously optimistic about the finished product) and put it at a relatively easy installation rating.
