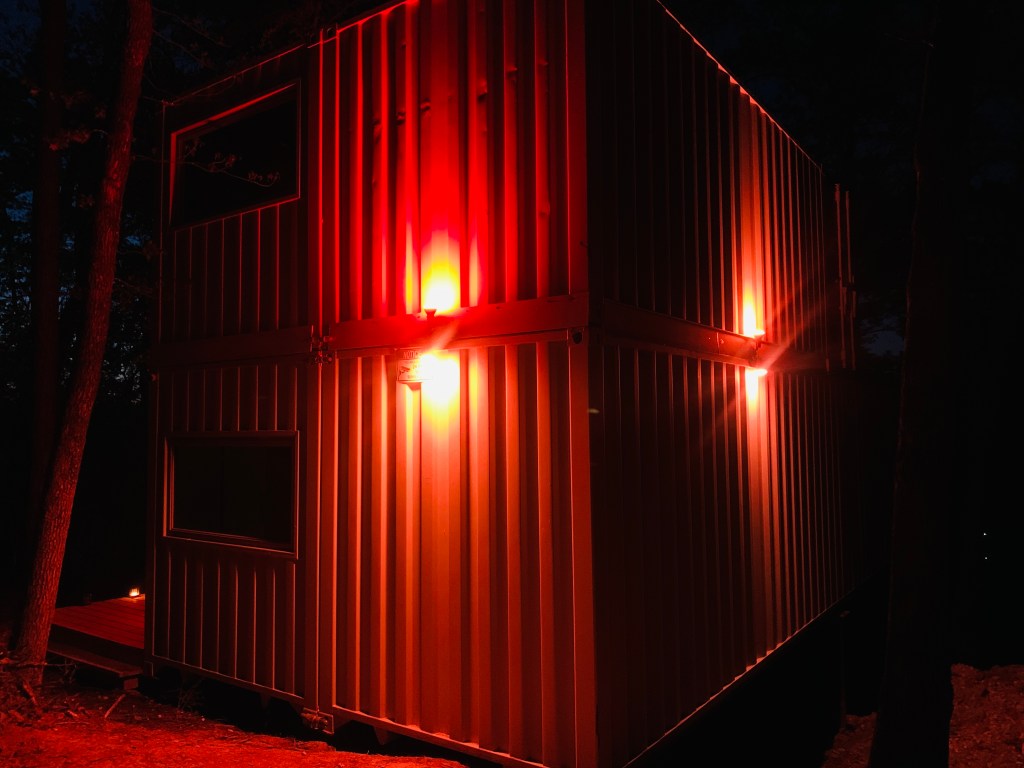
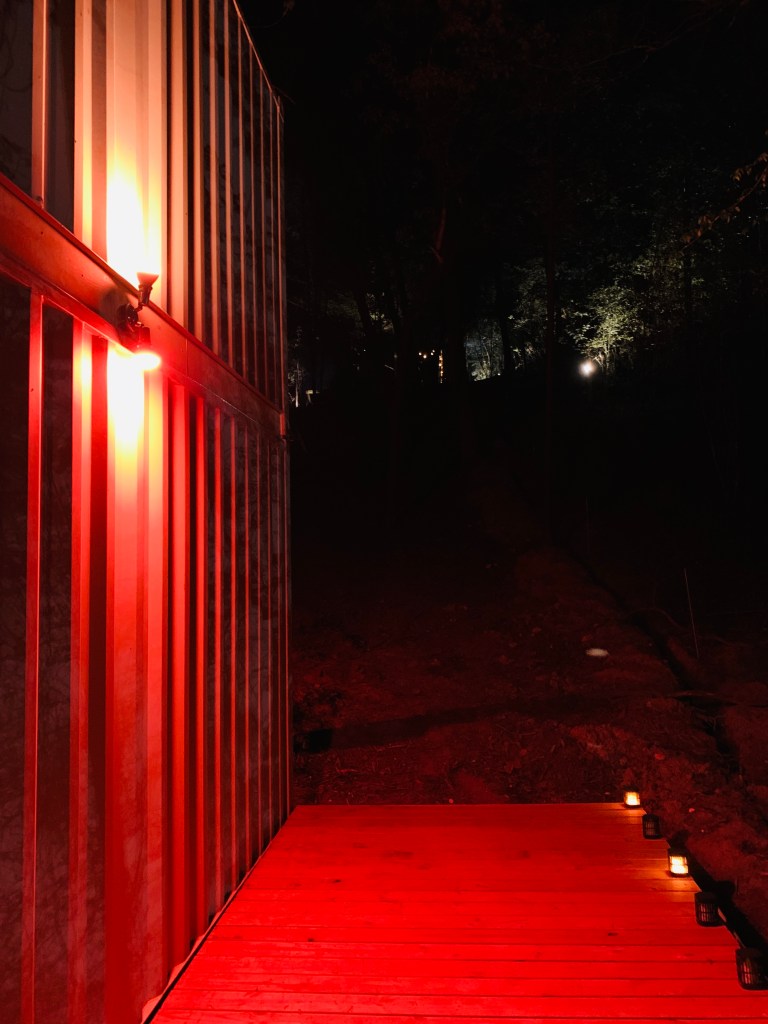
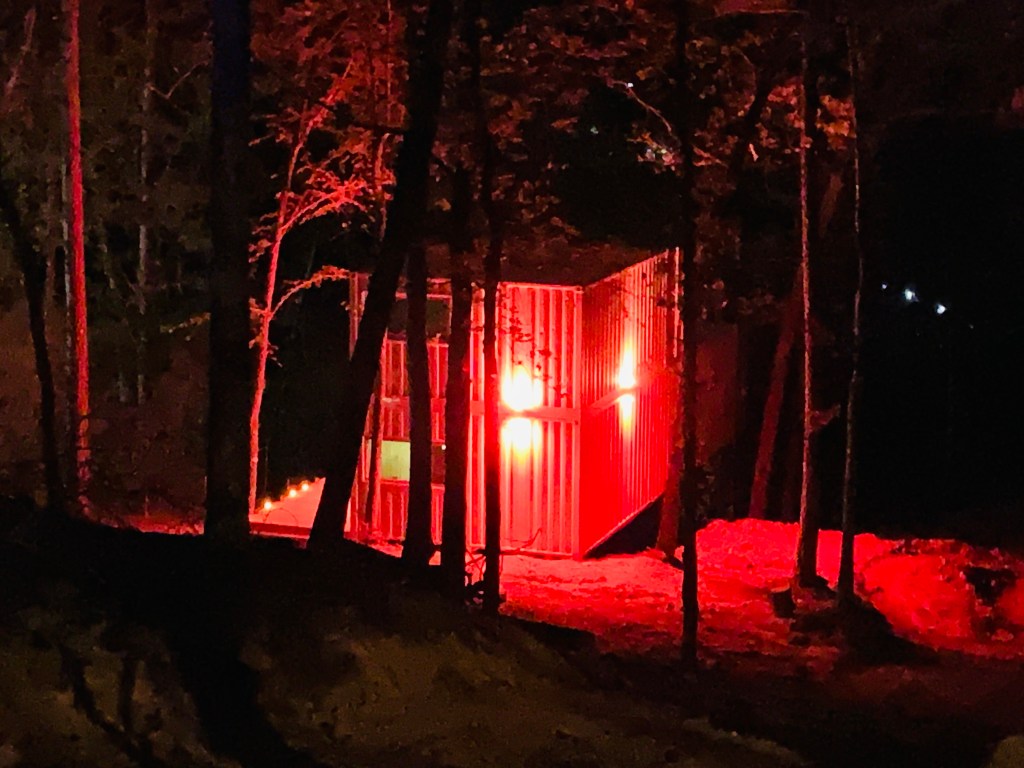

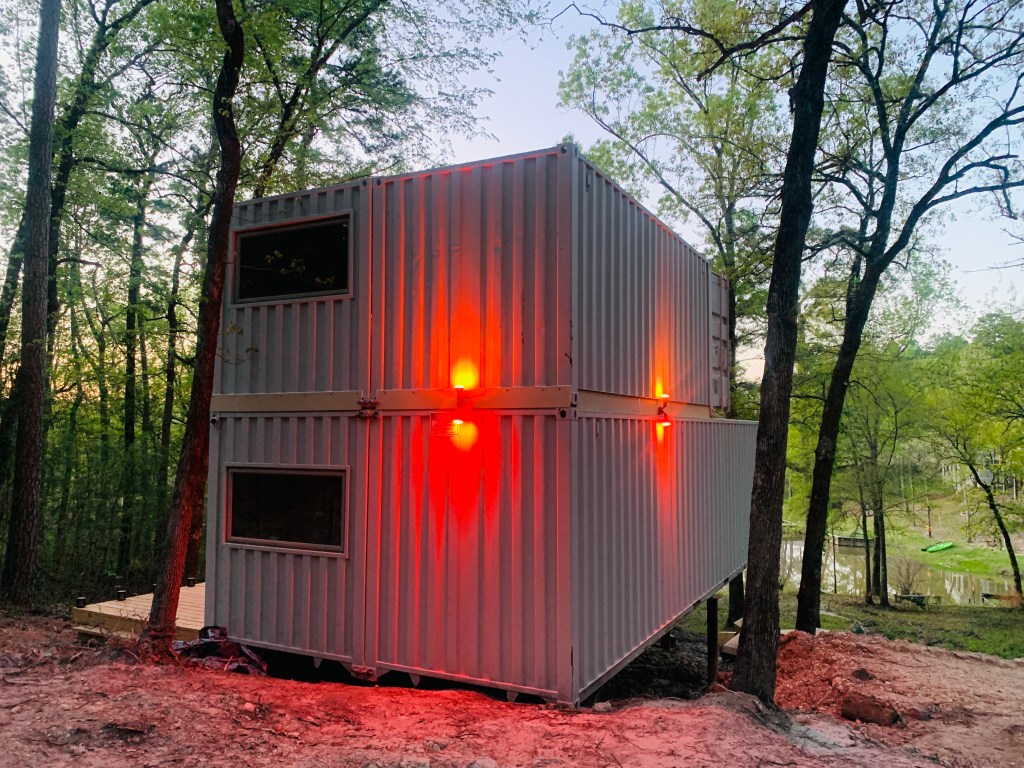
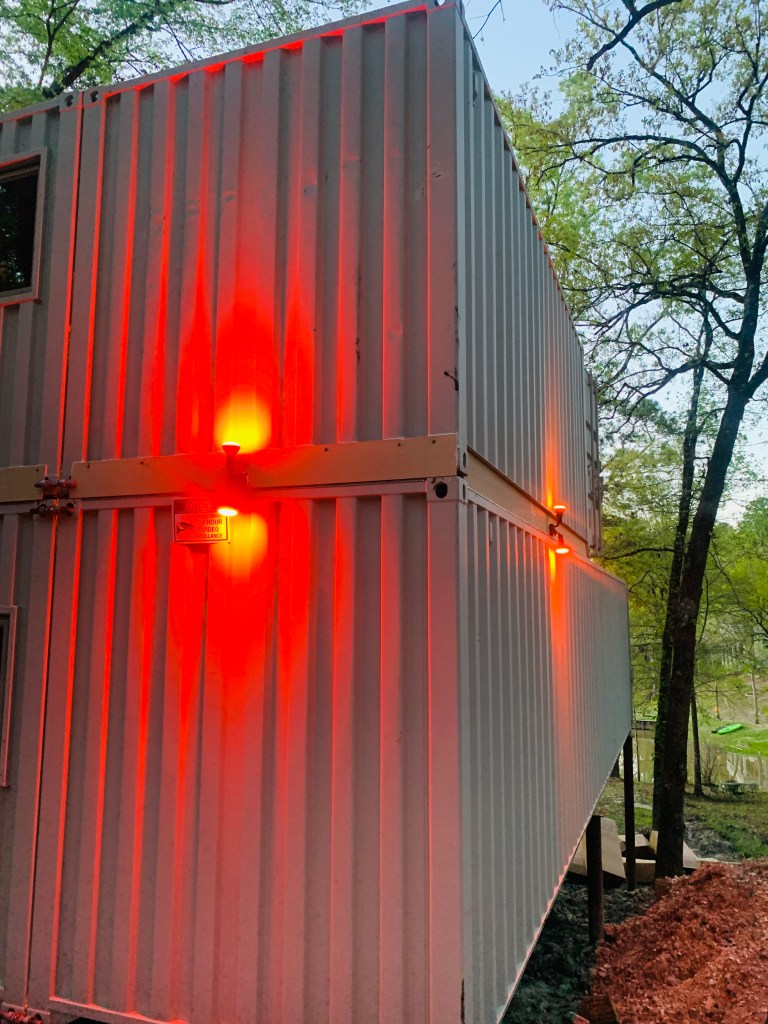
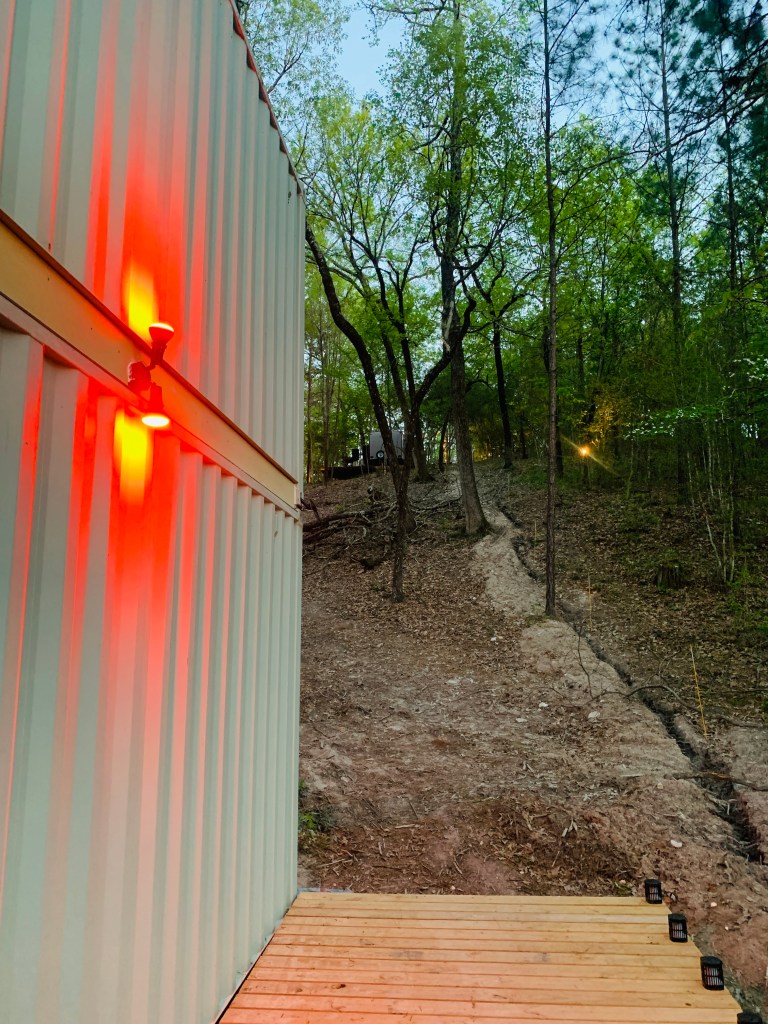
I took the time this weekend to run some electrical. It gets pretty dark in the woods, near the water, at nighttime. I was going to do this anyway at some point, so I took it on. It is a good thing that I did it now, because I did end up needing to take up one floor panel on the second floor to get access for the wire. After getting the wall panel insulation up, I realized that this would have been a problem to do later. Anyway, the color controllable, exterior flood lights were planned from the start. I used armored wire (MC) to run between the floors, between the fixtures. I was able to use the trim supports that were screwed into the container rails as the support for the outdoor fixtures. Turned out well and helps tremendously at night.
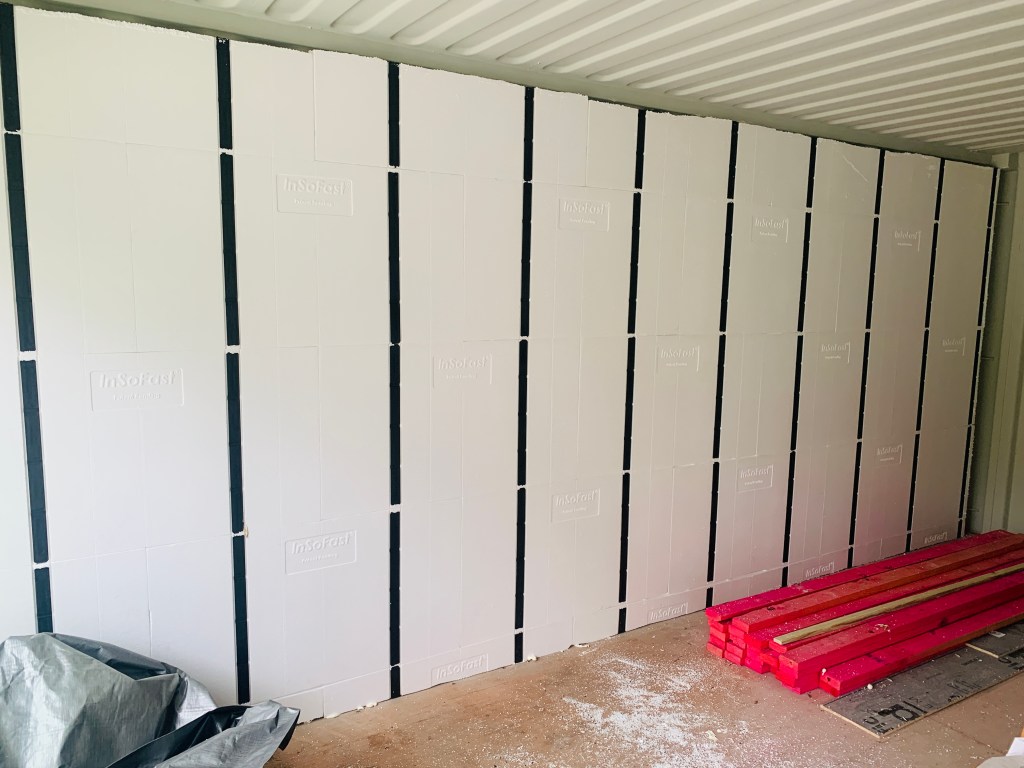
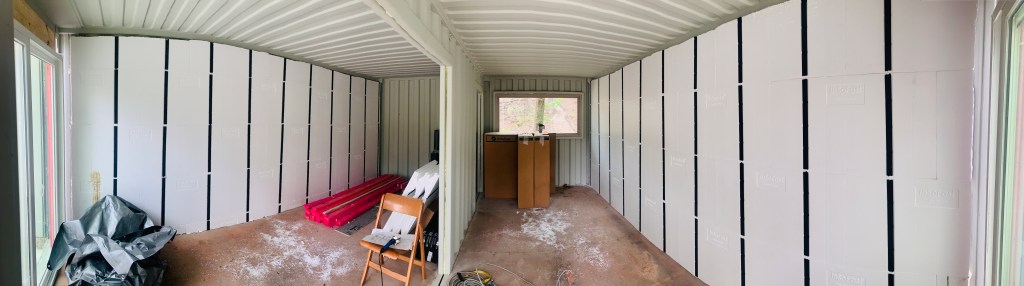
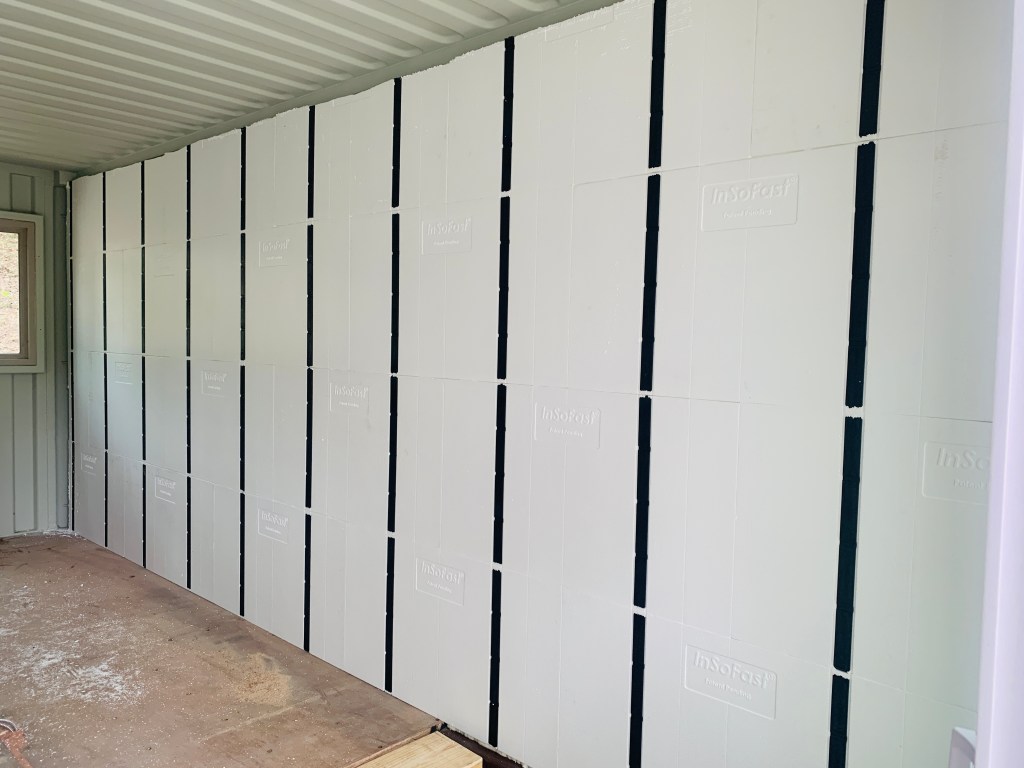
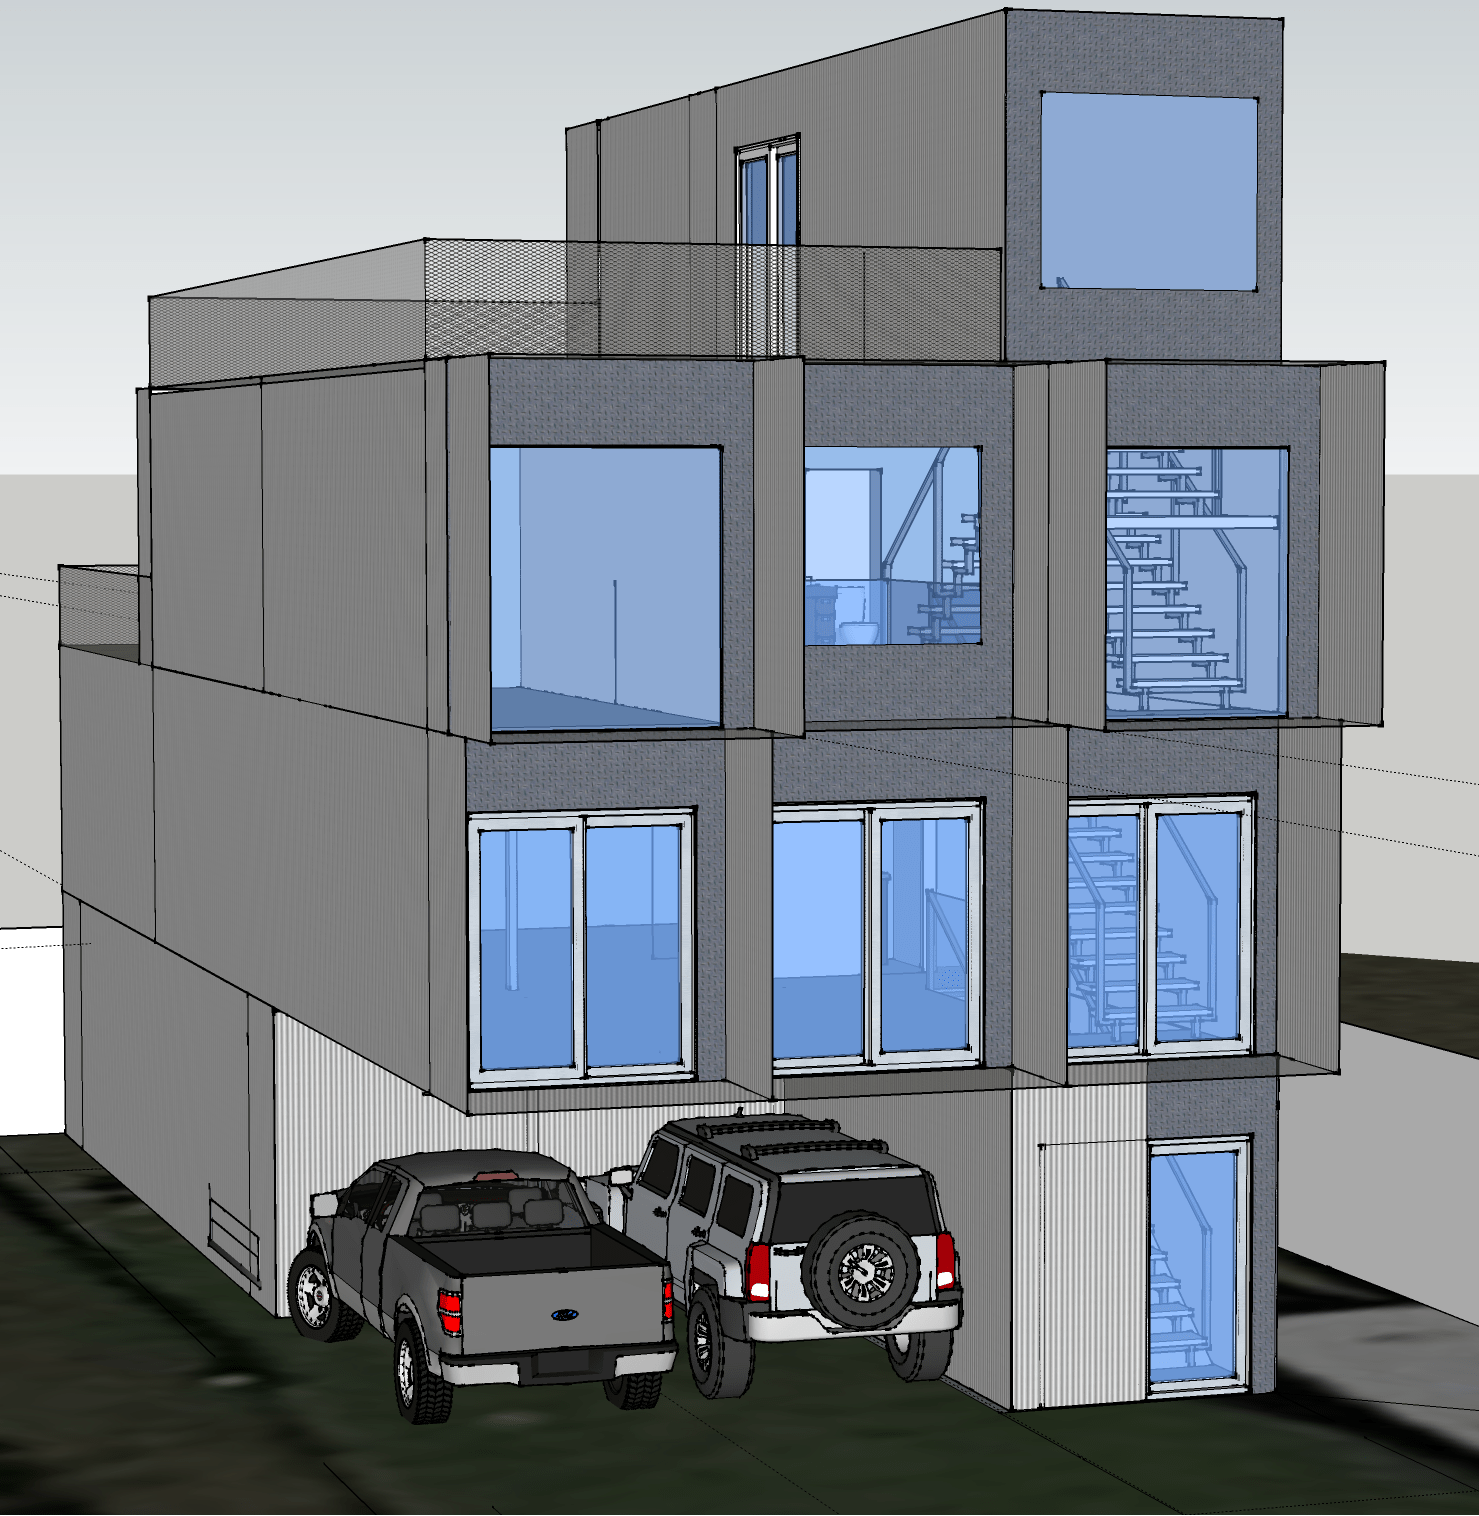
Once I figured out the most efficient method for installing insulation panels, I was able to knock out the second floor main walls in a matter of hours. I learned two things: the hot knife is slow compared to a reciprocating saw and you can start and end a 20′ container with the same Insofast panel. Both of those things sped up the install greatly. I am still disappointed that the panels have to be cut for the whole top row on both a standard and HC container. Seems like adding a few inches to the height of each panel could make the rows line up with at least one of the container heights. But it was not as bad cutting panels for the top row with the reciprocating saw. That is my speed demon tool for these panels from now on. I have not done an end wall yet, but next weekend I plan to cut in and frame the PTAC HVAC openings. Then the end walls should be a breeze. Framing will follow.
