It has been a little while since I posted. Even though I have been consistently working on the place every spare weekend, I didn’t think there was enough visible progress to show. But when I looked back at pictures, there were lots of small things that added up to some major progress. I didn’t take as many pictures as I probably should have, because many of the items are semi-standard construction items and not exclusive to container construction. But there is enough over several categories to post progress updates.
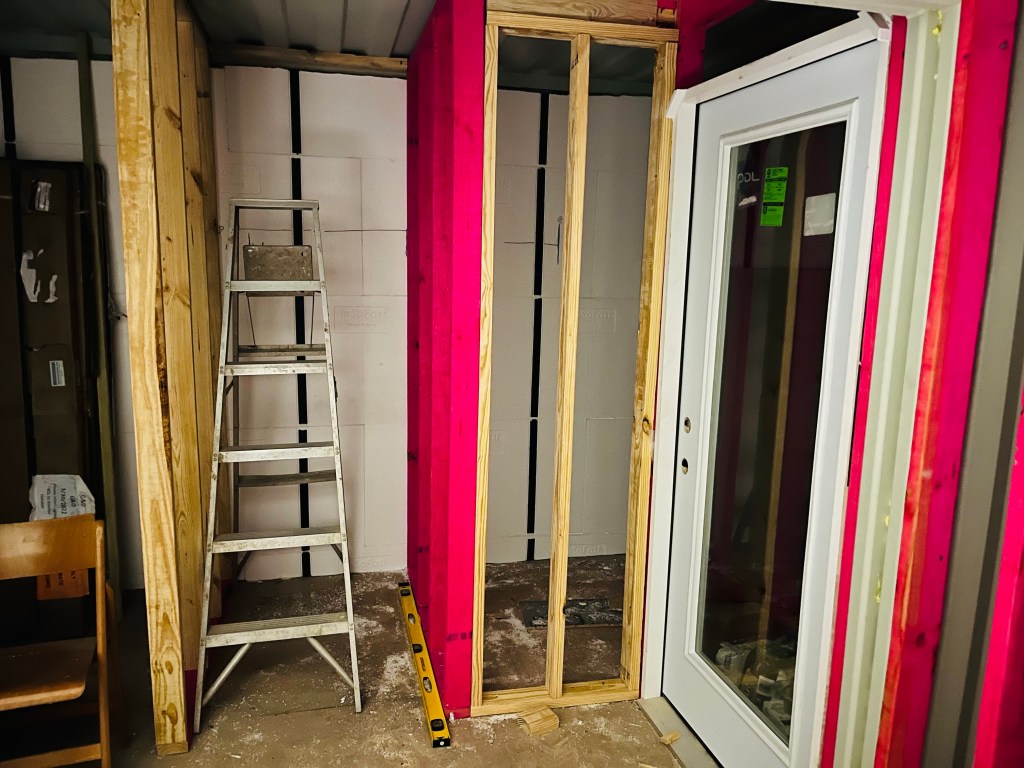
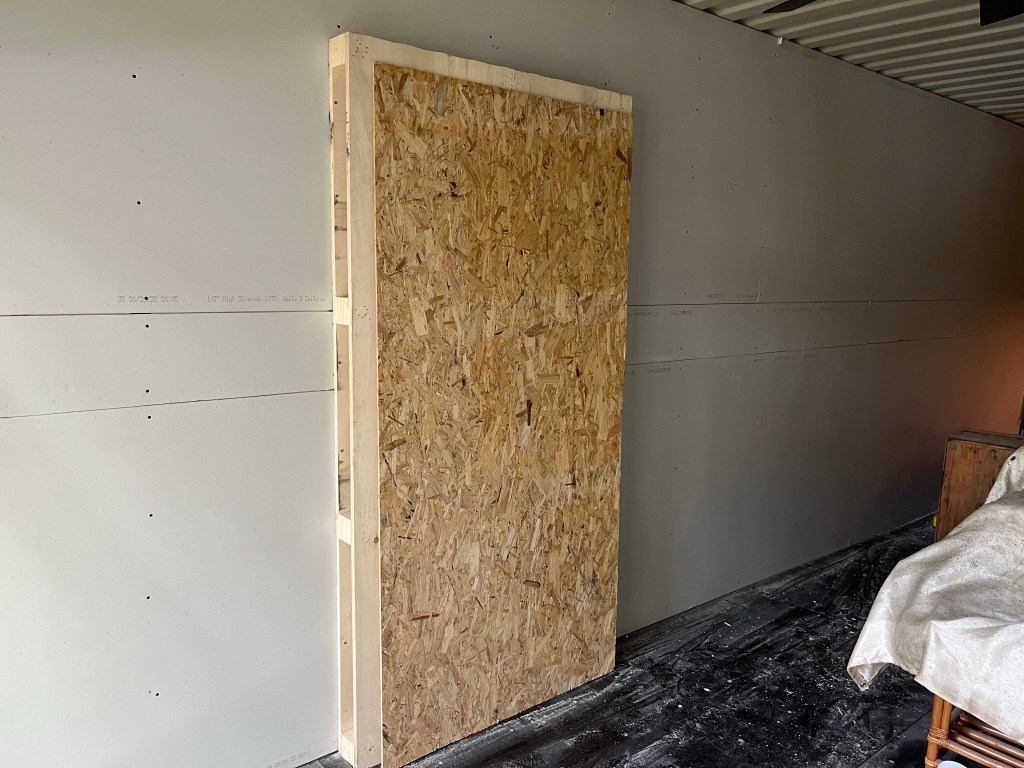
Framing was one of the biggest tasks that took a couple of months to complete. It is finally totally complete. I will be using the antique door as a shower accent wall. I actually already got it framed and mounted, but I forgot to take a pic. The last two weekends have been fairly hectic and involved some late nights because I had a deadline to meet. One of the only categories I am hiring out is the drywall. I had to have all framing, plumbing, and electrical finished before the crew could hang drywall. So it was lots of work and not much stopping to take pictures.
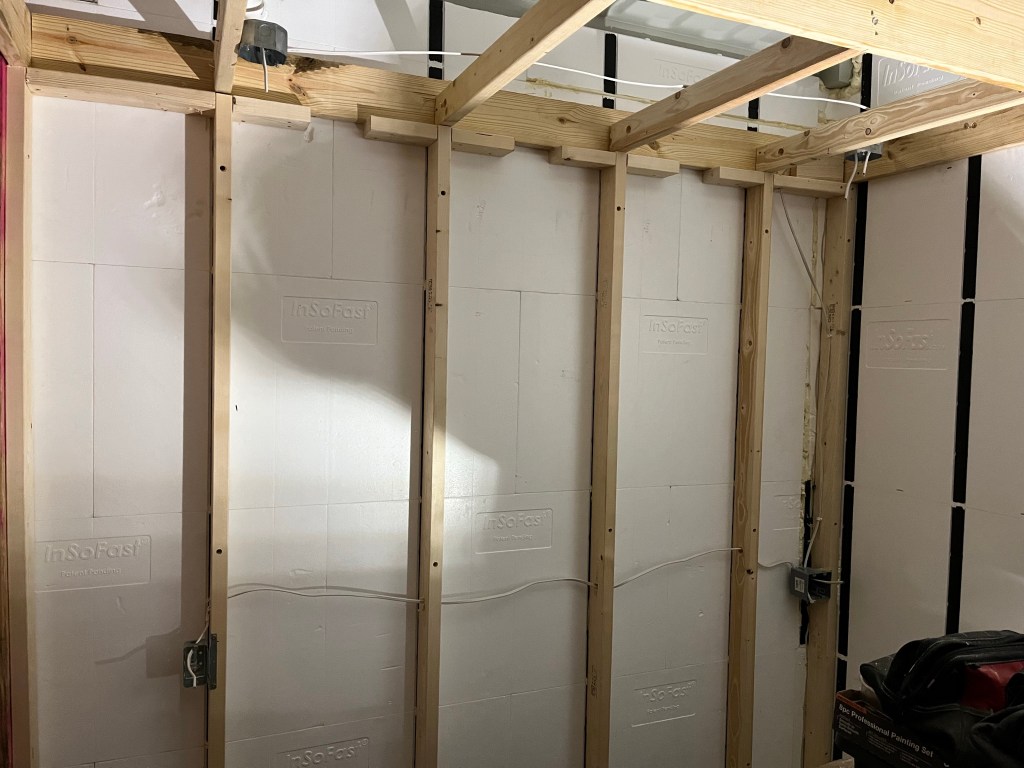
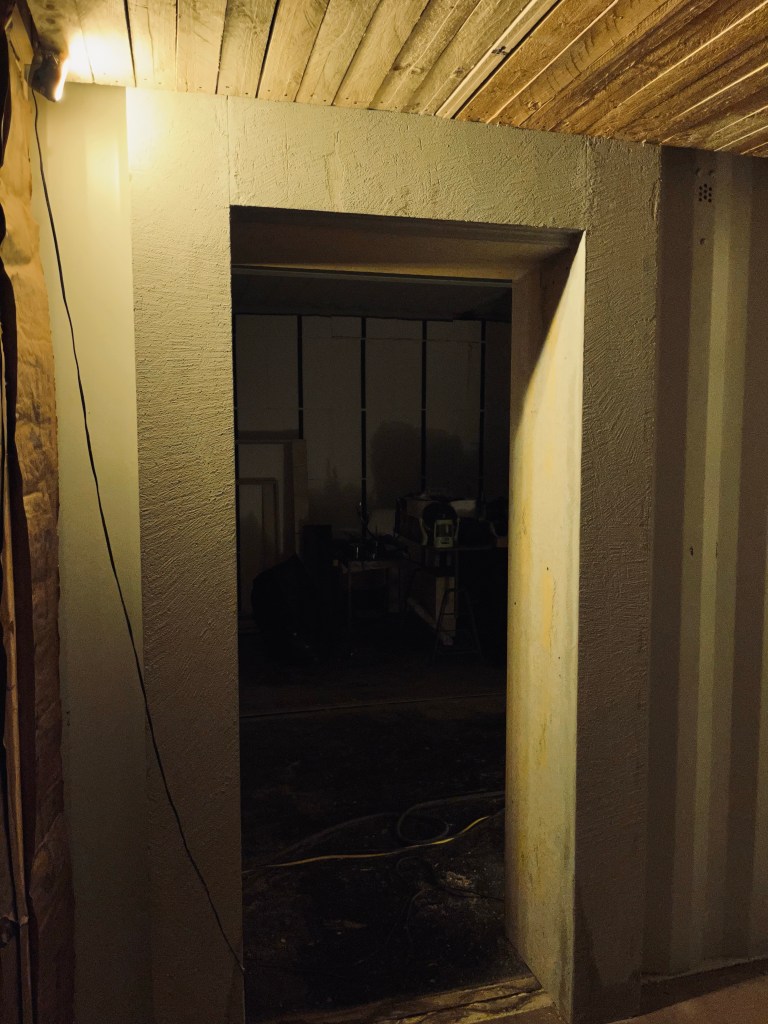
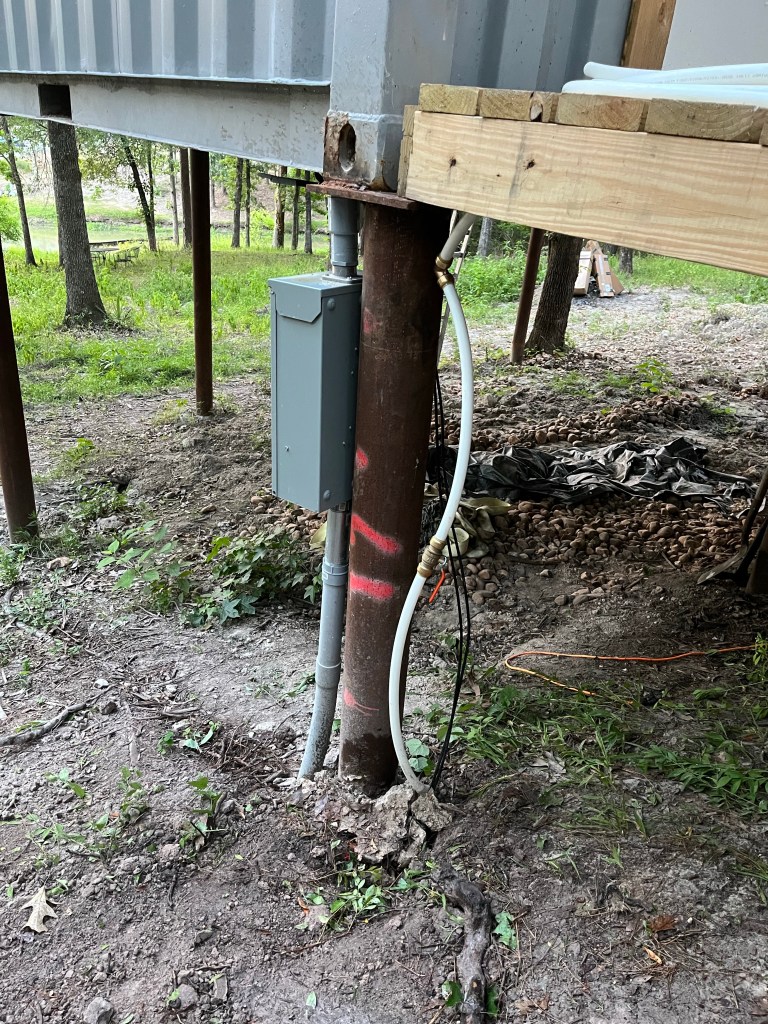
Both showers are in and functional. I used an exterior door for the upstairs “master suite” because Home Depot had some on clearance that were cheaper and better than a similarly priced interior door. I decided to frame out a drop down in the first floor bedroom which will conceal the plumbing from the upper floor and provide a nice accent for reading pendants to hang from. I did very little electrical behind the styrofoam insulation. There are channels built into it, but after looking it over, I decided I liked the somewhat industrial aesthetic of having exposed wiring / conduit and surface mounted J boxes in some areas.
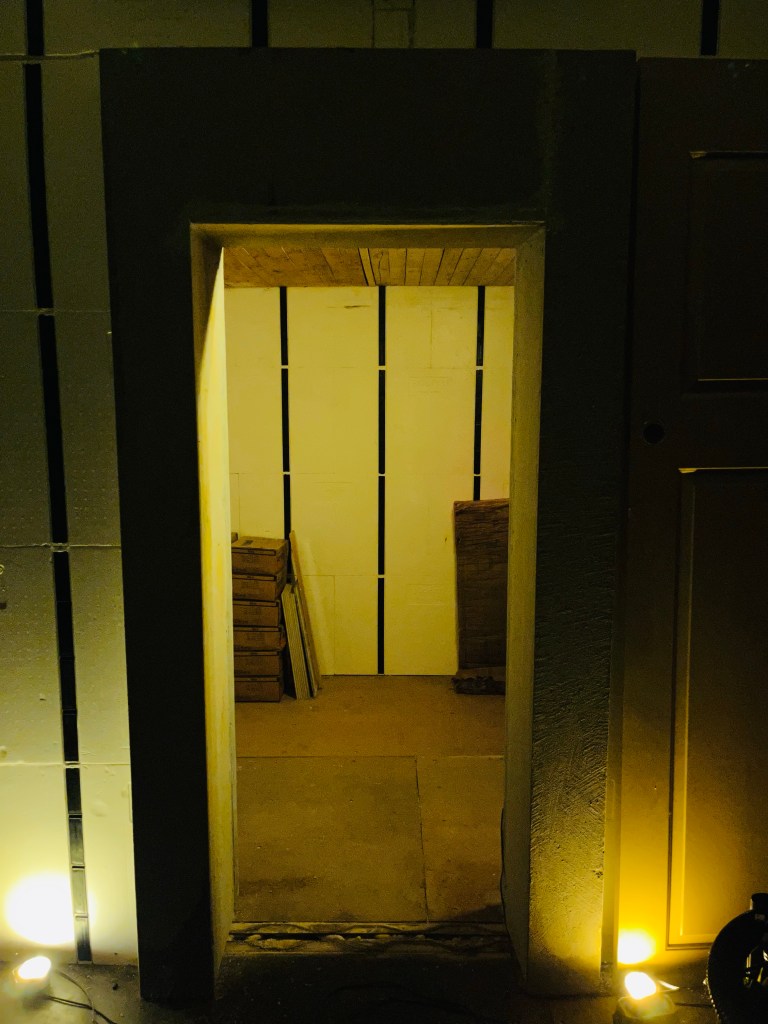
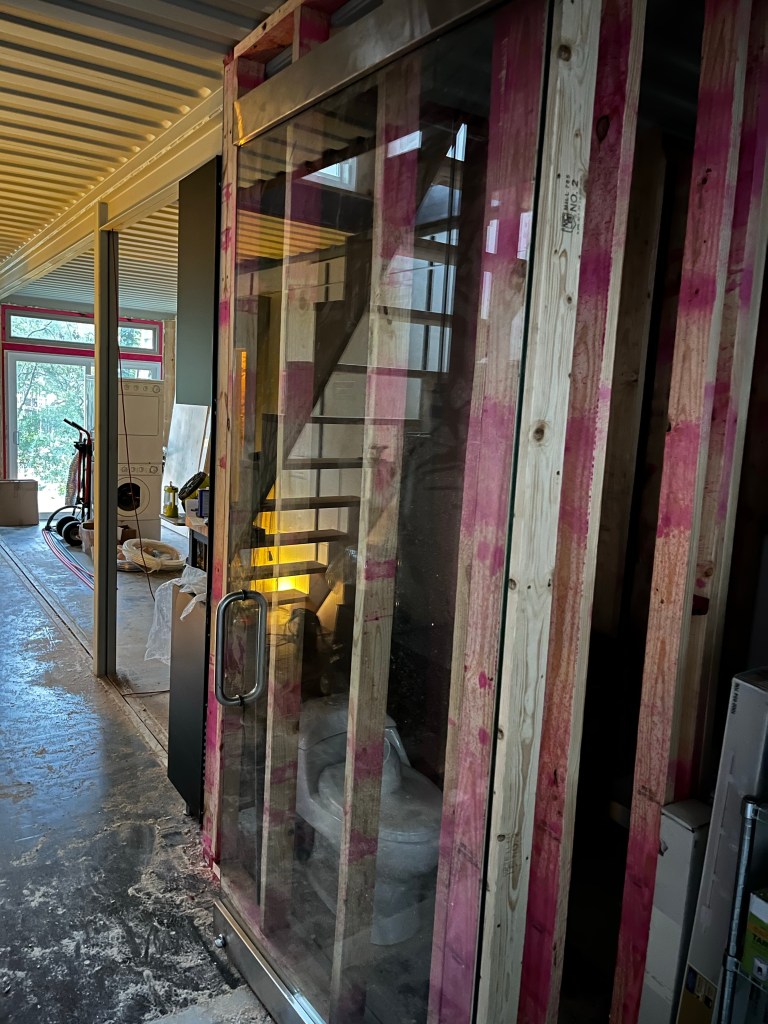
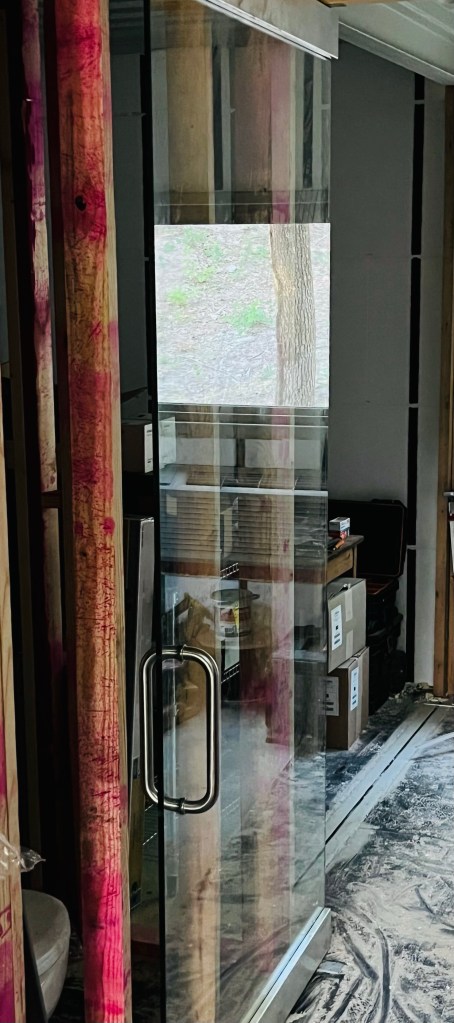
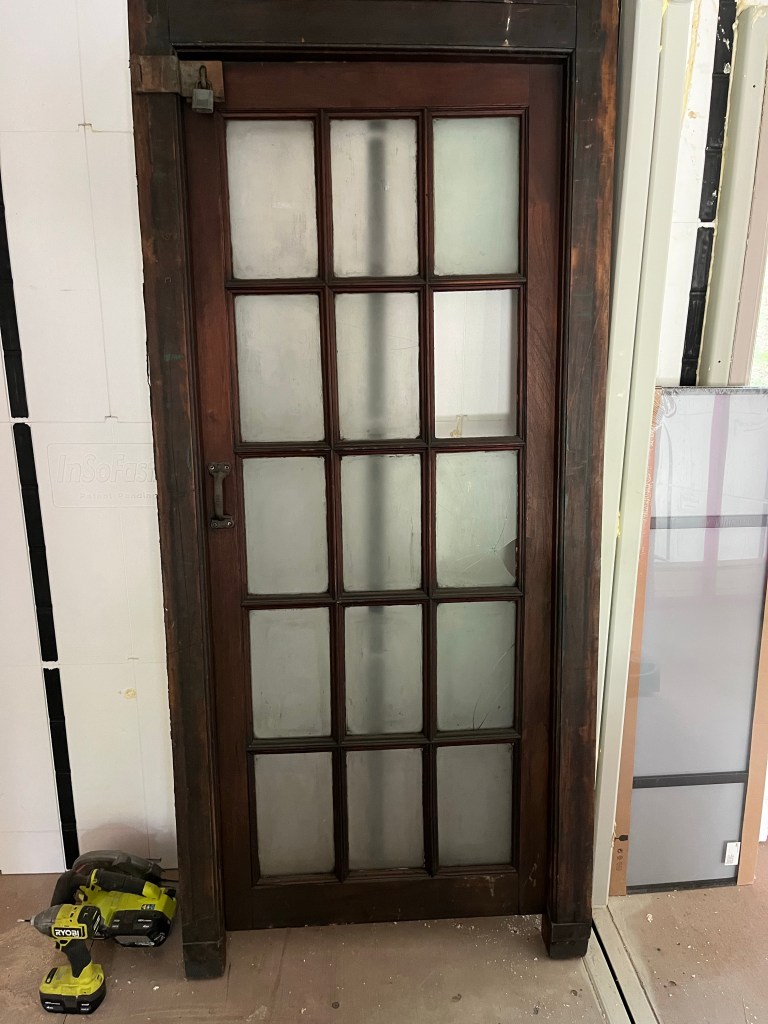
I have been upcycling many items to use in this project. Two demo door frames taken out of a showroom frame the entrance into the living room from the entry. I used pallets to make the ceiling to cover the dents from the damage. I also recycled a commercial glass storefront door that was replaced in a showroom. It had too much of a gap at the bottom to be a great exterior door, but it works well as an interior door to cut down on some noise, add security (it has a lock on it), and still have natural light. I have plenty of other repurposed items in use. I may make a separate post just to showcase some of the reuse cases.
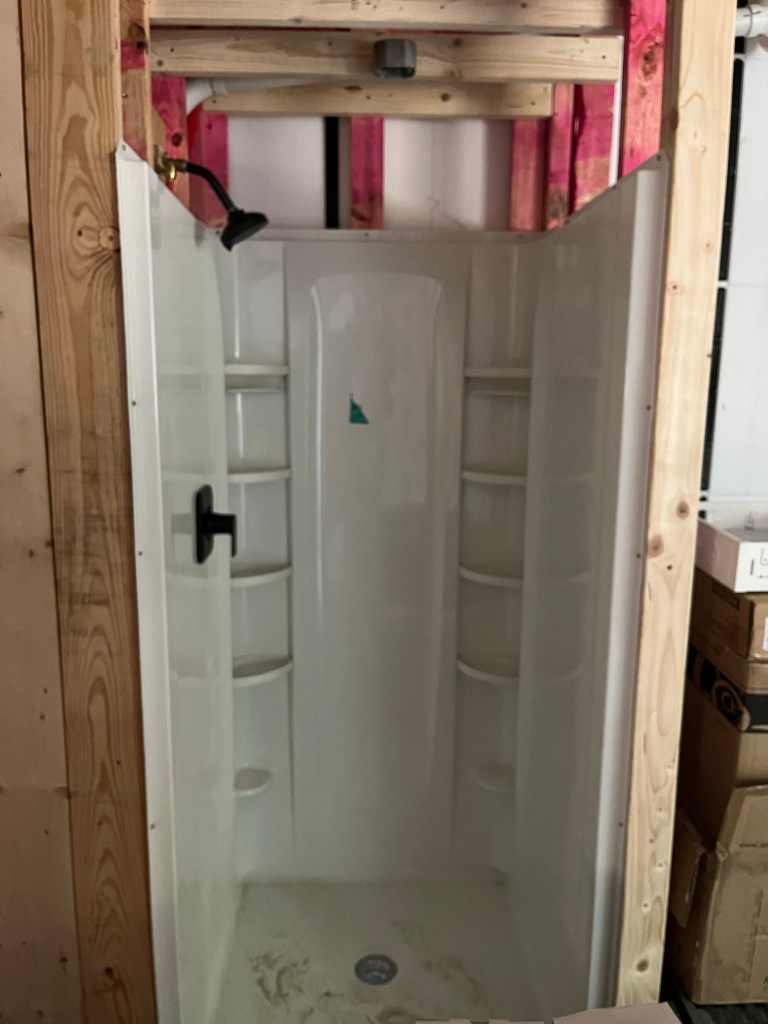
As I mentioned, the plumbing is finished inside. Both showers work and all of the plumbing checked out. Out of all of the connections, there was only one leak and it was a pretty simple fix to the output of the tankless hot water heater. I will still clean up the PEX, but everything holds. I have to give credit to Sharkbite products. I was not looking forward to making lots of connections and I am not very patient with things like that. So using PEX and Sharkbite connectors allowed me to DIY all of it, make good connections, feel confident about it all being correct. They are more expensive than the more tedious ways of making connections, but still less expensive than hiring a plumber and it does have professional results.
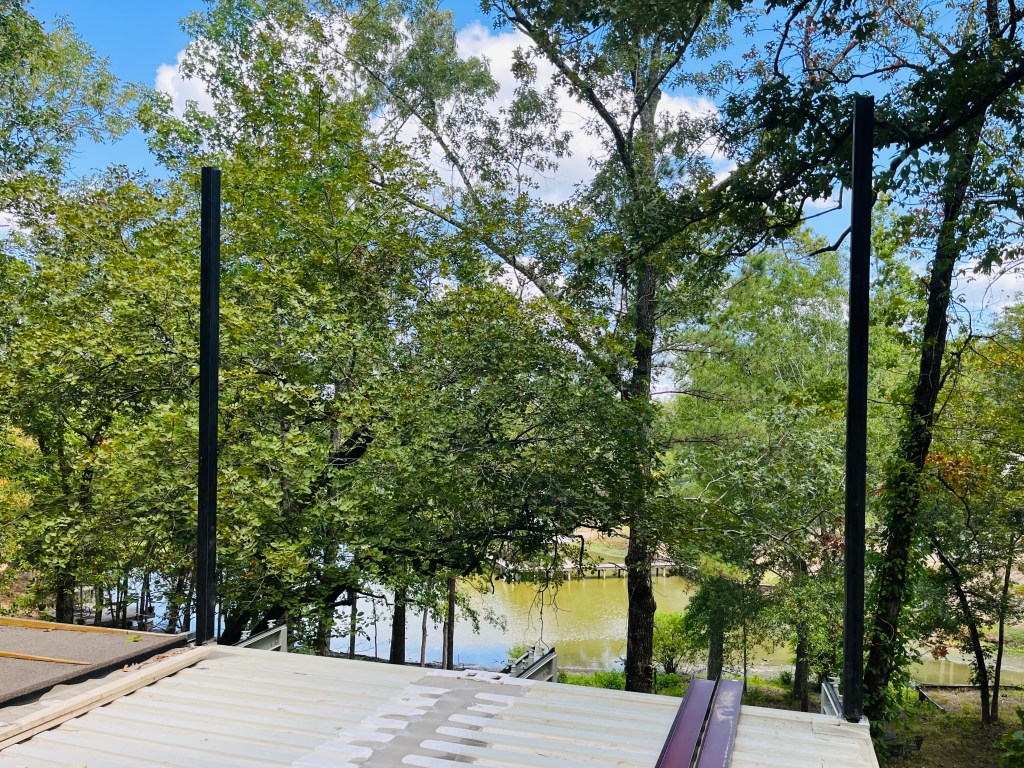
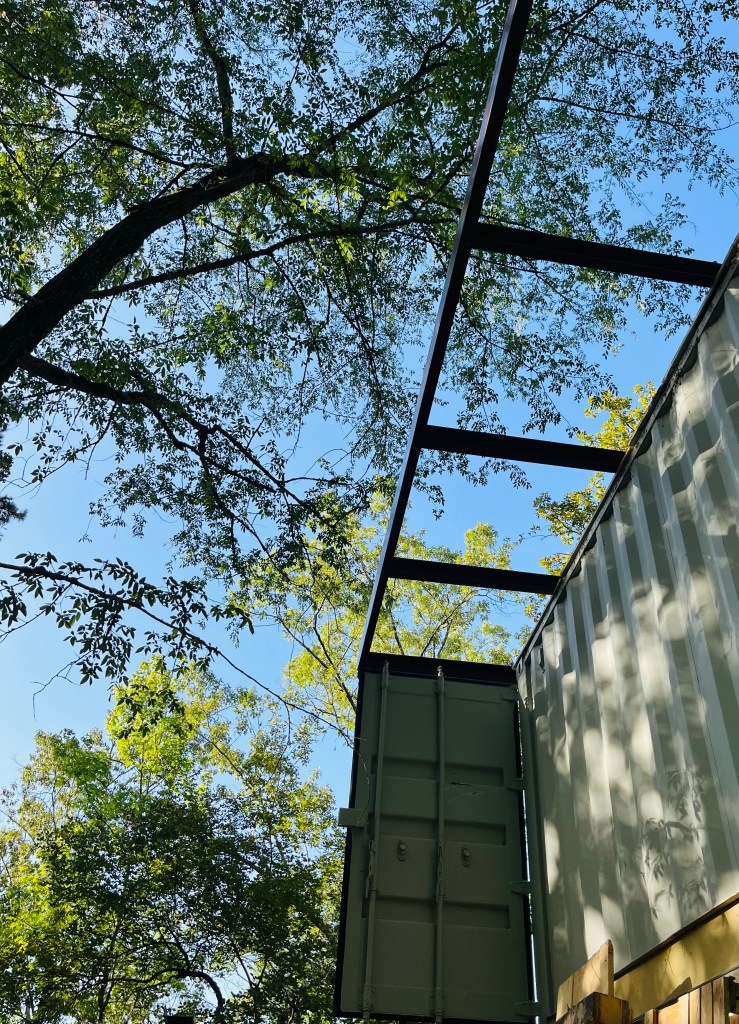
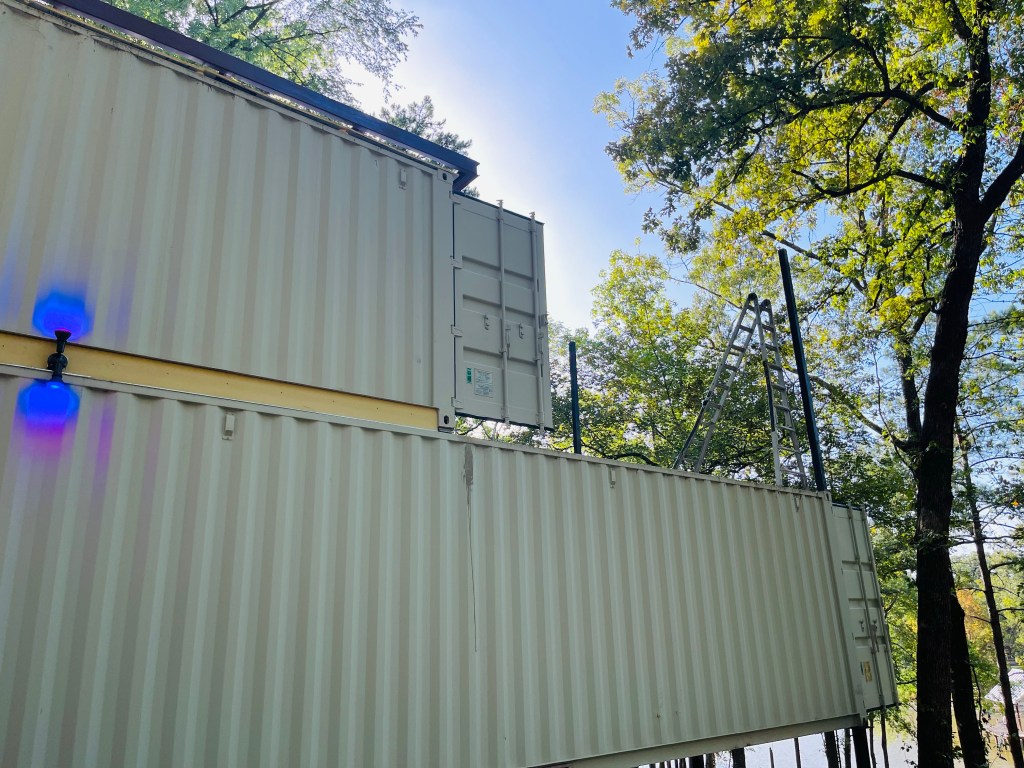
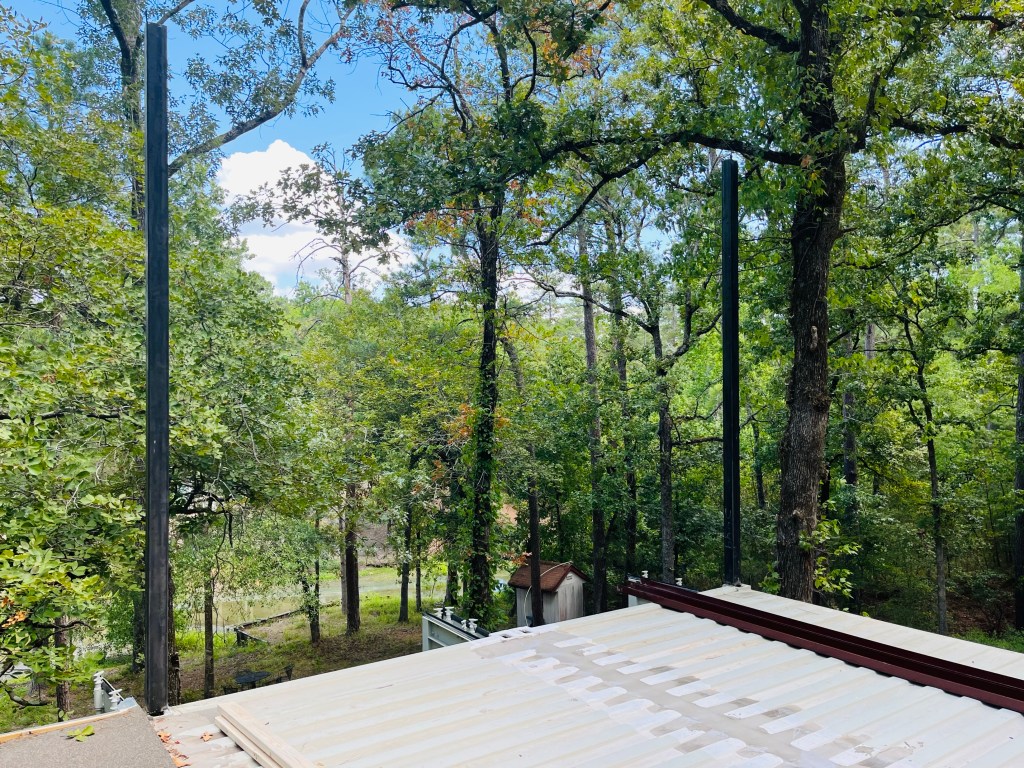
Before the rush to complete interior work because of drywall occurred, I naively thought I could get the supplies for the roof structure and get them in place quickly. I did get the main uprights in place. It was one of the more challenging items, since these were 12′ tall steel 4×4″ posts that I had to set and weld down at the same time. I somehow managed to get them level and secured by myself. I also got the roof structure over the second floor assembled. I can’t finish securing it down until the other part is complete because they have to marry in the middle. It was too hot and I was too tired to finish that project in one weekend. I didn’t want to fall from 30′ up while I was trying to secure 20′ purlins, so I stopped at this point.
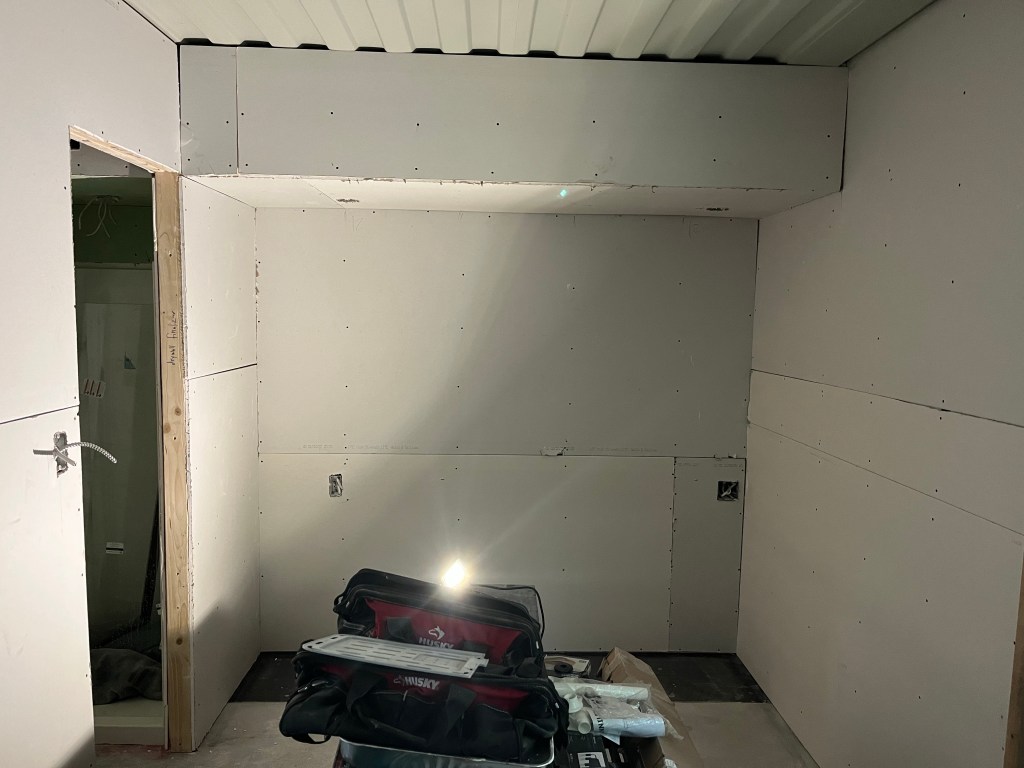
As I mentioned, I did not take many pics of electrical and plumbing, as they were fairly standard. The bedroom walls were two of the only areas where I used standard Romex. I did use predominantly MC armored cable for the electrical. That way if I am running it out of the house, in a tight spot, or in a weird way where I can’t put a nail plate; I won’t have to worry about it. I am looking forward to getting the lighting installed but I have to wait until drywall is complete. I was not impressed with the crew that was hired to hang the drywall. I had to fix many things, add more screws to secure panels, and mark lots of mistakes. I really hope they fix everything during float / tape because otherwise, it will look like crap. I understand that this was probably the first time they had worked with styrofoam panels that had integrated plastic studs. These studs are also 20″ on center but the walls are much flatter as a result and don’t need to be spaced as close, versus using standard wooden studs. We will see what the end result is like after this week.

Absolutely love your skeleton display!!
LikeLike