Since the septic was completed and permitted, the priority was getting all of the plumbing connected. Water had been connected a while back to everything and I had drain lines all run, but those were not all connected. I was pretty happy that I got it all done without issue, but ultimately made an amateur mistake. I forgot one shower drain.
I connected the P trap for the shower to the wrong drain under the house and thought I was done. When I went back and reconciled / double checked it all, I realized I had put it on the wrong drain and left the shower open. While not the end of the world, I did have to redo some of the drain connections under the house to accommodate it. In addition to a couple more trips to Home Depot, which is an hour away round trip, it gave me the chance to tweak a couple of other things to improve them. After all of that was done, I thoroughly tested everything. I didn’t take any additional pictures because it doesn’t look significantly different than before, but all systems are a go with the plumbing and septic.
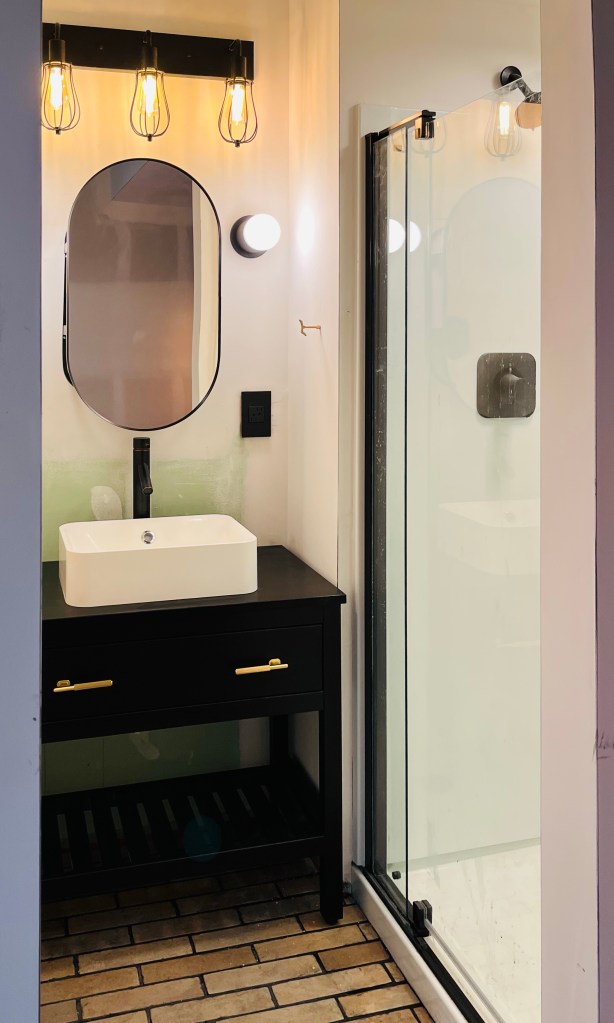
The electrical has been fully running for weeks, but since plumbing was not complete, I never really had a chance to run the tankless water heater through its paces. That has now been tested as well. I have used this brand of toilet before, (in fact, my Houston house has a wall mounted version from the same brand) and while it typically gets good reviews, the most consistent negative comments were about the wax ring leaking. If you have ever replaced a toilet or wax ring, you know it isn’t fun, especially if it has been used. I didn’t want to take any chances, so I bought upgraded wax rings for both. Installation went off without a hitch and I didn’t have any leaking problems. I fought with one of the water connections quite a bit though. The combination of the space saving toilet, taller tank, small space, and using Sharkbite premade toilet filler connections made for some extra work. As much as I liked using Sharkbite for everything else, the premade toilet fillers hoses are on my “do not use again” list. The problem was that the hose was fine for the more standard toilet but not for the taller tank version. The 12″ hose would not reach the tank connection. There are no extensions readily available, so I had to turn off the water, remove the old (new) one that was installed, and put on another type with a longer hose. Again, this is not anything that dramatic, EXCEPT that this all had to be done after the toilet was already mounted and there is almost no space to reach around the back. I was barely, and I use that word intentionally, able to get my hand on it enough to tighten it just enough to be secure. I crossed my fingers when I turned the water back on and it didn’t leak, so I must have tightened it well enough. Both vanities, toilets, and showers have been fully tested and are totally functional.
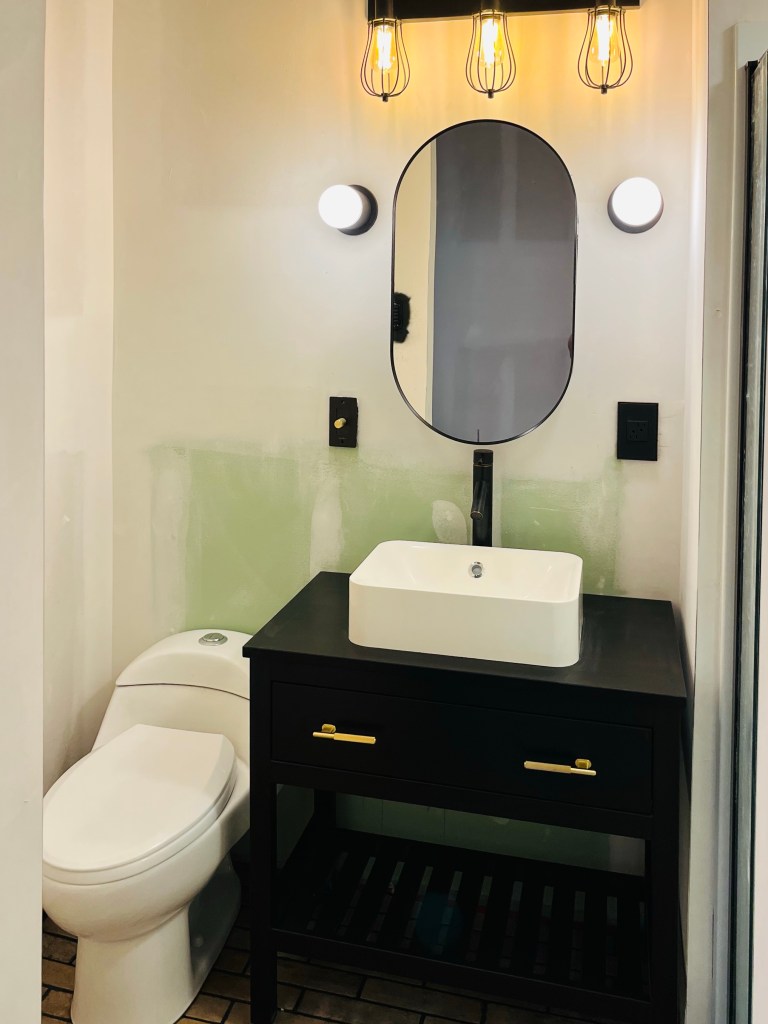
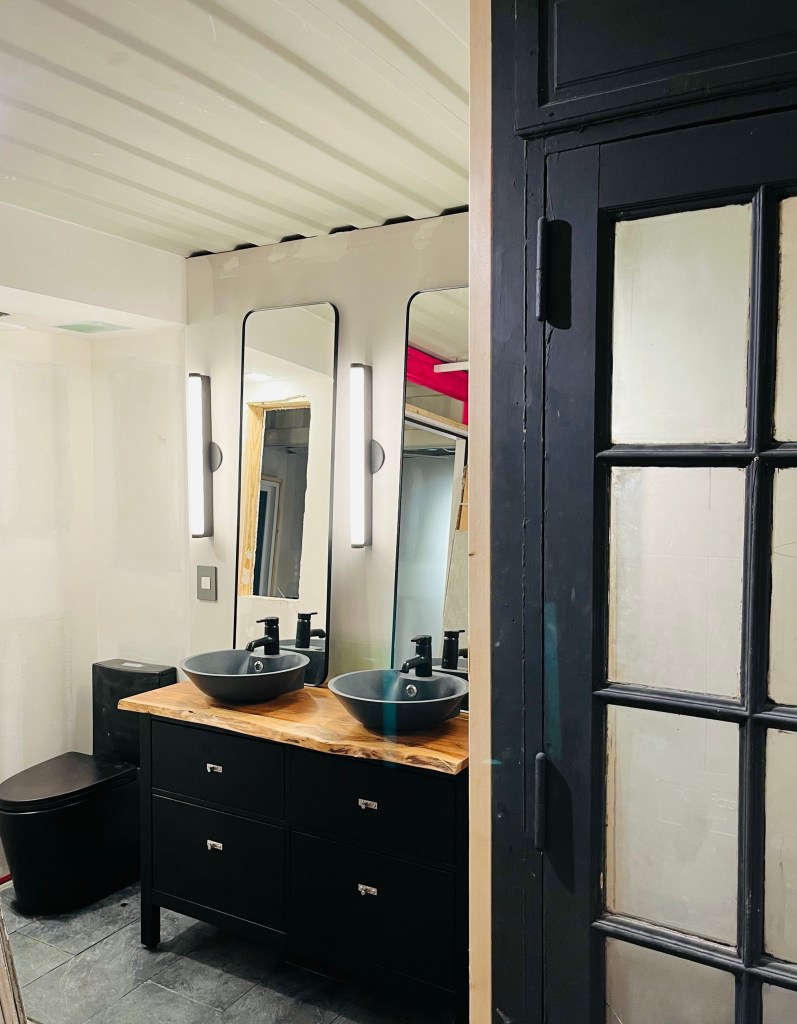
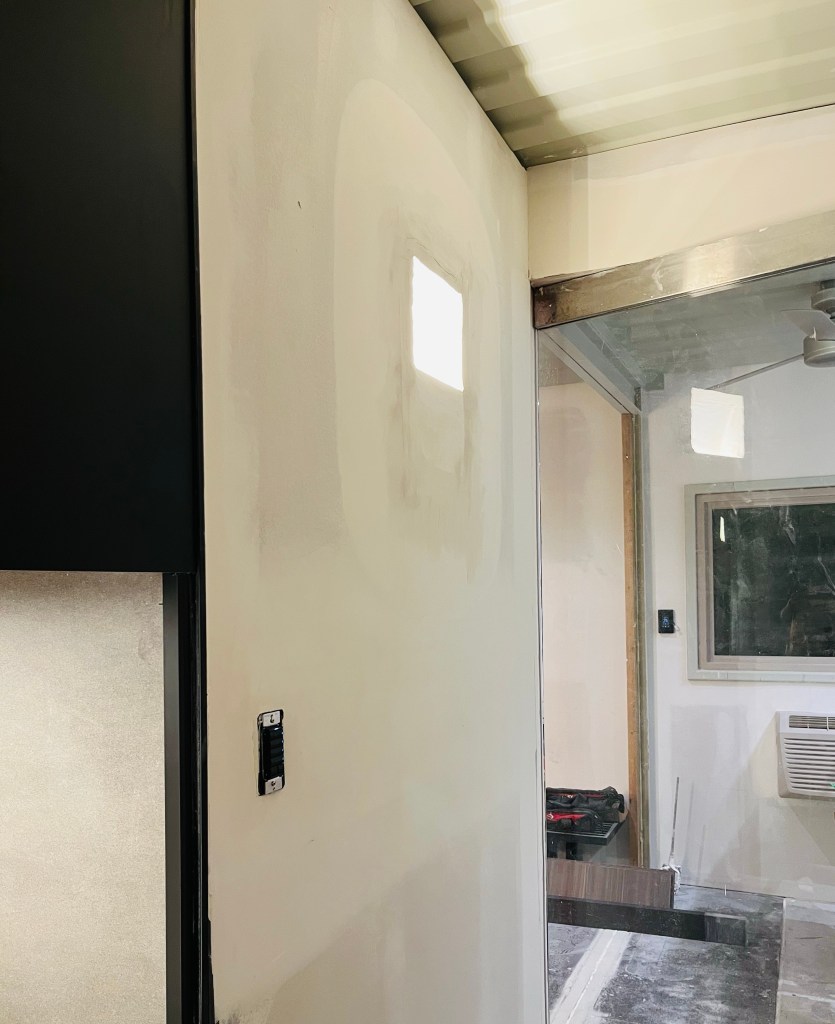
Obviously if I got vanities and toilets installed, that means I got the tile in the bathrooms finished – well almost. The smaller one is complete with grout and all. The upstairs bath has a majority of the floor tile down, but still needs the shower tile done, so no grout has been done yet. So far, very happy with the way it turned out. I know I should have painted prior to setting the fixtures, but I felt like I needed to test those ASAP to make sure no major issues existed with plumbing and once I connected them, I didn’t feel like removing them to reinstall after paint. I figure I can get to everything visible as long as I am careful. The upstairs shower gets a full tile install, so I spent a good amount of time this past weekend getting all of the tile backer board and the shower alcove installed correctly. Next weekend, the plan will be to finish tile and install that glass shower enclosure.


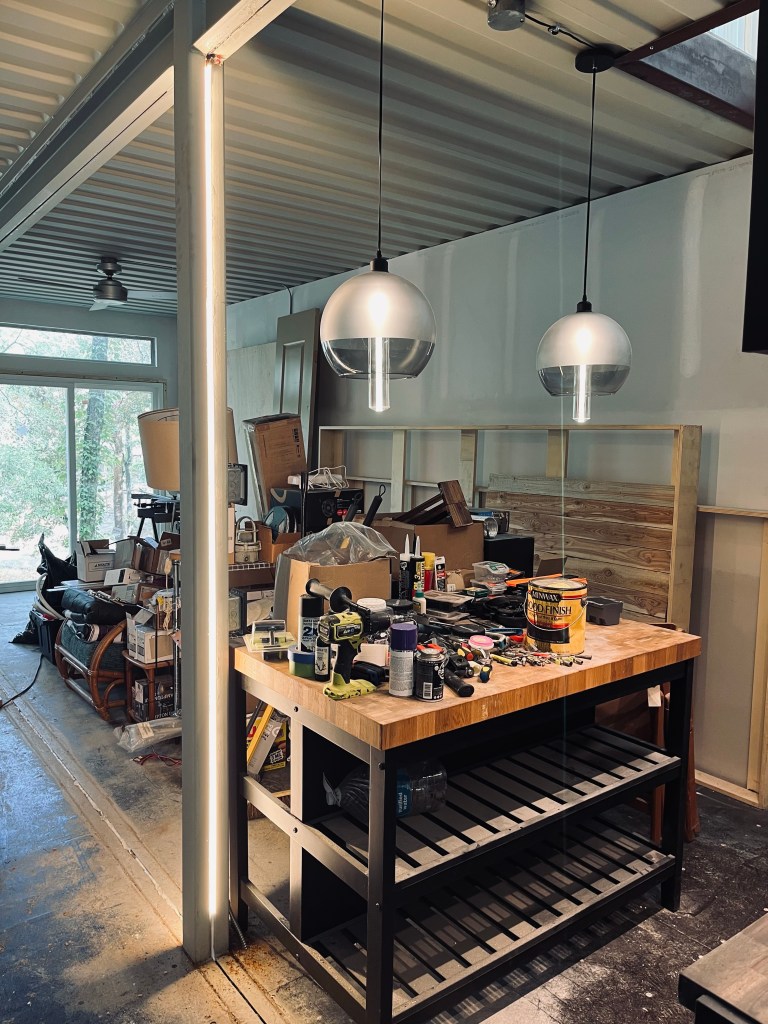
I also got to work on some fun things (for me, at least). I have extrusions for LED lighting that extend across both sides of the main beam on the first floor – almost 40′ on one side and 25′ on the other. They will be painted to match the ceiling and even though I have the LED installed in them, without it being wired up, it isn’t really all that visible so I don’t have a picture of that yet. I did get some other neat lighting installed though. In the first floor hall, I repurposed a very high end fixture that was damaged. I had always planned on covering the damaged part, but since I had the drywall mud out, I thought I would try my hand at mudding it in the way it is supposed to be installed. It still needs some sanding and another skim coat, but I am pretty happy with it. I don’t think I will be covering / hiding it anymore. I will leave it more like the way it is intended to be installed.
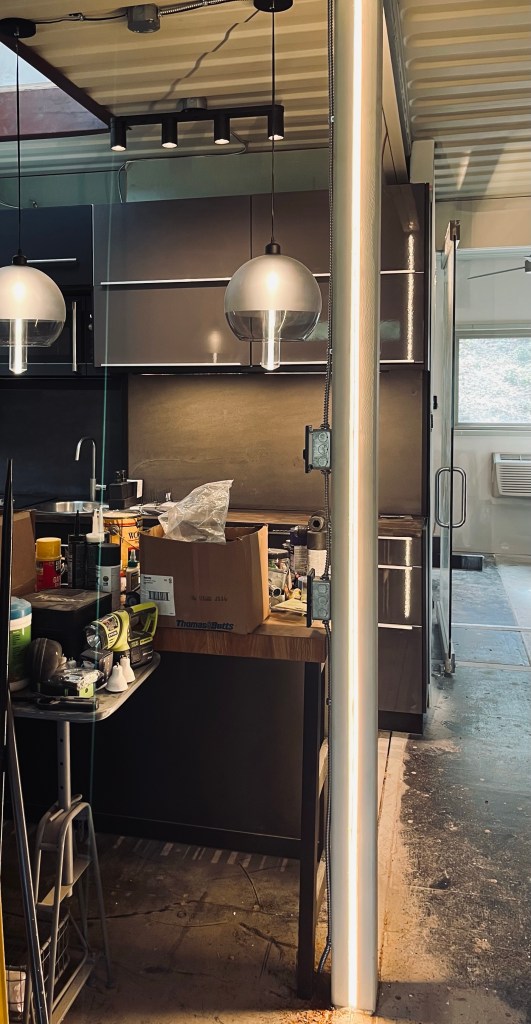
I also had an idea for highlighting the column on the first floor. I designed the kitchen around it, so that the island butts up against it, allowing for a keypad and outlet to be installed on it for use at the island. But I also wanted to make it a statement. Well, my idea worked. I had to caulk the joint in between the two columns (there are actually one on each container for supporting each one, but with them against each other to look like a single column). This seam gave me a place to attach COB lighting. This is a newer style of LED strip that doesn’t have any dots in it. It is to be used where you can’t put extrusions or lenses and will be viewing the light directly. I will still paint the columns dark and put some smoked acrylic over the COB to finish out the look and subdue it a little, but I am happy with the way it turned out. With this and the indirect LED on the beams that will be lit soon, it is very Blade Runner…

Looking great. Well done!
LikeLiked by 1 person